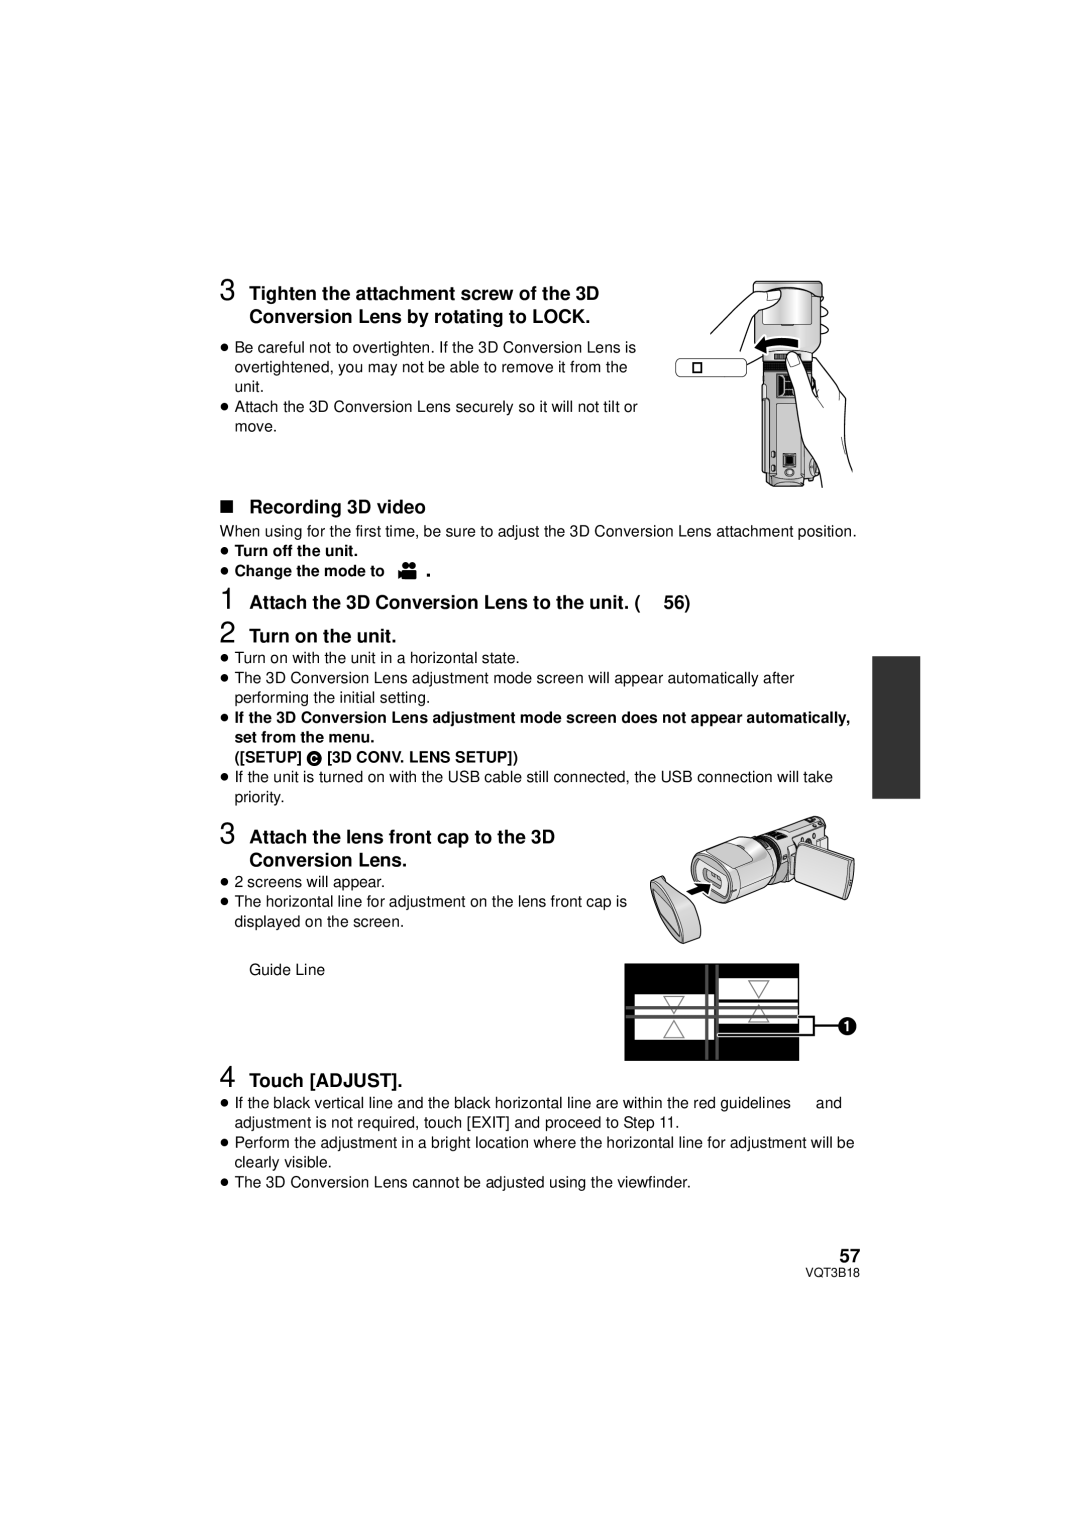
3 Tighten the attachment screw of the 3D Conversion Lens by rotating to LOCK.
≥ Be careful not to overtighten. If the 3D Conversion Lens is
overtightened, you may not be able to remove it from the LOCK unit.
≥ Attach the 3D Conversion Lens securely so it will not tilt or move.
∫Recording 3D video
When using for the first time, be sure to adjust the 3D Conversion Lens attachment position.
≥Turn off the unit.
≥Change the mode to ![]() .
.
1 Attach the 3D Conversion Lens to the unit. (l 56)
2
≥Turn on with the unit in a horizontal state.
≥The 3D Conversion Lens adjustment mode screen will appear automatically after performing the initial setting.
≥If the 3D Conversion Lens adjustment mode screen does not appear automatically, set from the menu.
([SETUP] # [3D CONV. LENS SETUP])
≥If the unit is turned on with the USB cable still connected, the USB connection will take priority.
3 Attach the lens front cap to the 3D Conversion Lens.
≥ 2 screens will appear.
≥The horizontal line for adjustment on the lens front cap is displayed on the screen.
AGuide Line
4 Touch [ADJUST].
|
≥If the black vertical line and the black horizontal line are within the red guidelines A and adjustment is not required, touch [EXIT] and proceed to Step 11.
≥Perform the adjustment in a bright location where the horizontal line for adjustment will be clearly visible.
≥The 3D Conversion Lens cannot be adjusted using the viewfinder.
57
VQT3B18