9 (After checking the operation description, touch [NEXT].)
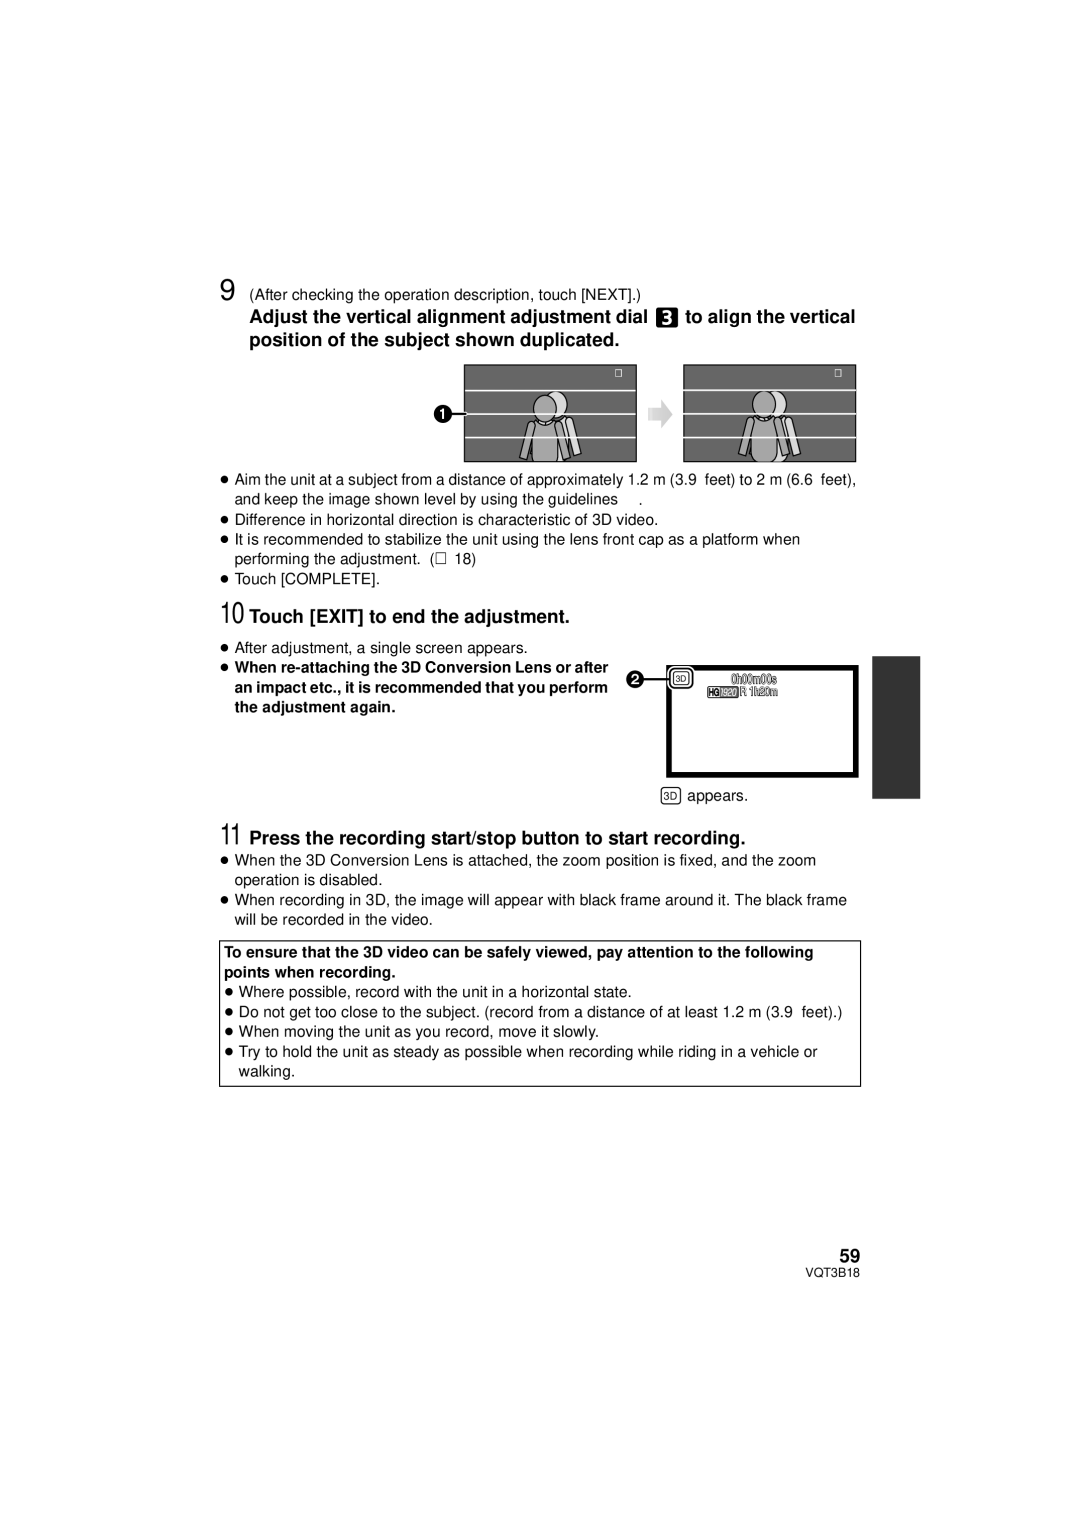
Adjust the vertical alignment adjustment dial ![]() to align the vertical position of the subject shown duplicated.
to align the vertical position of the subject shown duplicated.
7/8
![]()
7/8
≥Aim the unit at a subject from a distance of approximately 1.2 m (3.9 feet) to 2 m (6.6 feet), and keep the image shown level by using the guidelines A.
≥Difference in horizontal direction is characteristic of 3D video.
≥It is recommended to stabilize the unit using the lens front cap as a platform when performing the adjustment. (l 18)
≥Touch [COMPLETE].
10 Touch [EXIT] to end the adjustment.
≥ After adjustment, a single screen appears. |
|
|
≥ When | |
|
an impact etc., it is recommended that you perform |
| |
the adjustment again. |
|
|
3D 0h00m00s
HG![]() R 1h20m
R 1h20m
B 3D appears.
11 Press the recording start/stop button to start recording.
≥When the 3D Conversion Lens is attached, the zoom position is fixed, and the zoom operation is disabled.
≥When recording in 3D, the image will appear with black frame around it. The black frame will be recorded in the video.
To ensure that the 3D video can be safely viewed, pay attention to the following points when recording.
≥Where possible, record with the unit in a horizontal state.
≥Do not get too close to the subject. (record from a distance of at least 1.2 m (3.9 feet).)
≥When moving the unit as you record, move it slowly.
≥Try to hold the unit as steady as possible when recording while riding in a vehicle or walking.
59
VQT3B18