≥Use of a tripod is recommended for recording with a stable picture.
≥The reception range for the remote control might become narrow at the upper side of the unit, so operate from the lower side. (l 50)
≥You will hear a sound when the unit is moved rapidly with the 3D Conversion Lens attached, but this is not a malfunction.
≥When the adjustment dial is rotated too much, you will hear a “clapping” sound and the adjustment screen will stop moving. In such a case, rotate the adjustment dial in the opposite direction until the adjustment screen starts moving.
≥[ECONOMY] will not work while you adjust the 3D Conversion Lens attachment position.
≥When the 3D Conversion Lens is attached, the auto slow shutter setting is [AUTO SLOW SHTR (3D)]. The default setting of [AUTO SLOW SHTR (3D)] is [ON]. (l 75)
≥While 3D recording if moving the unit fast, the message is more likely to appear.
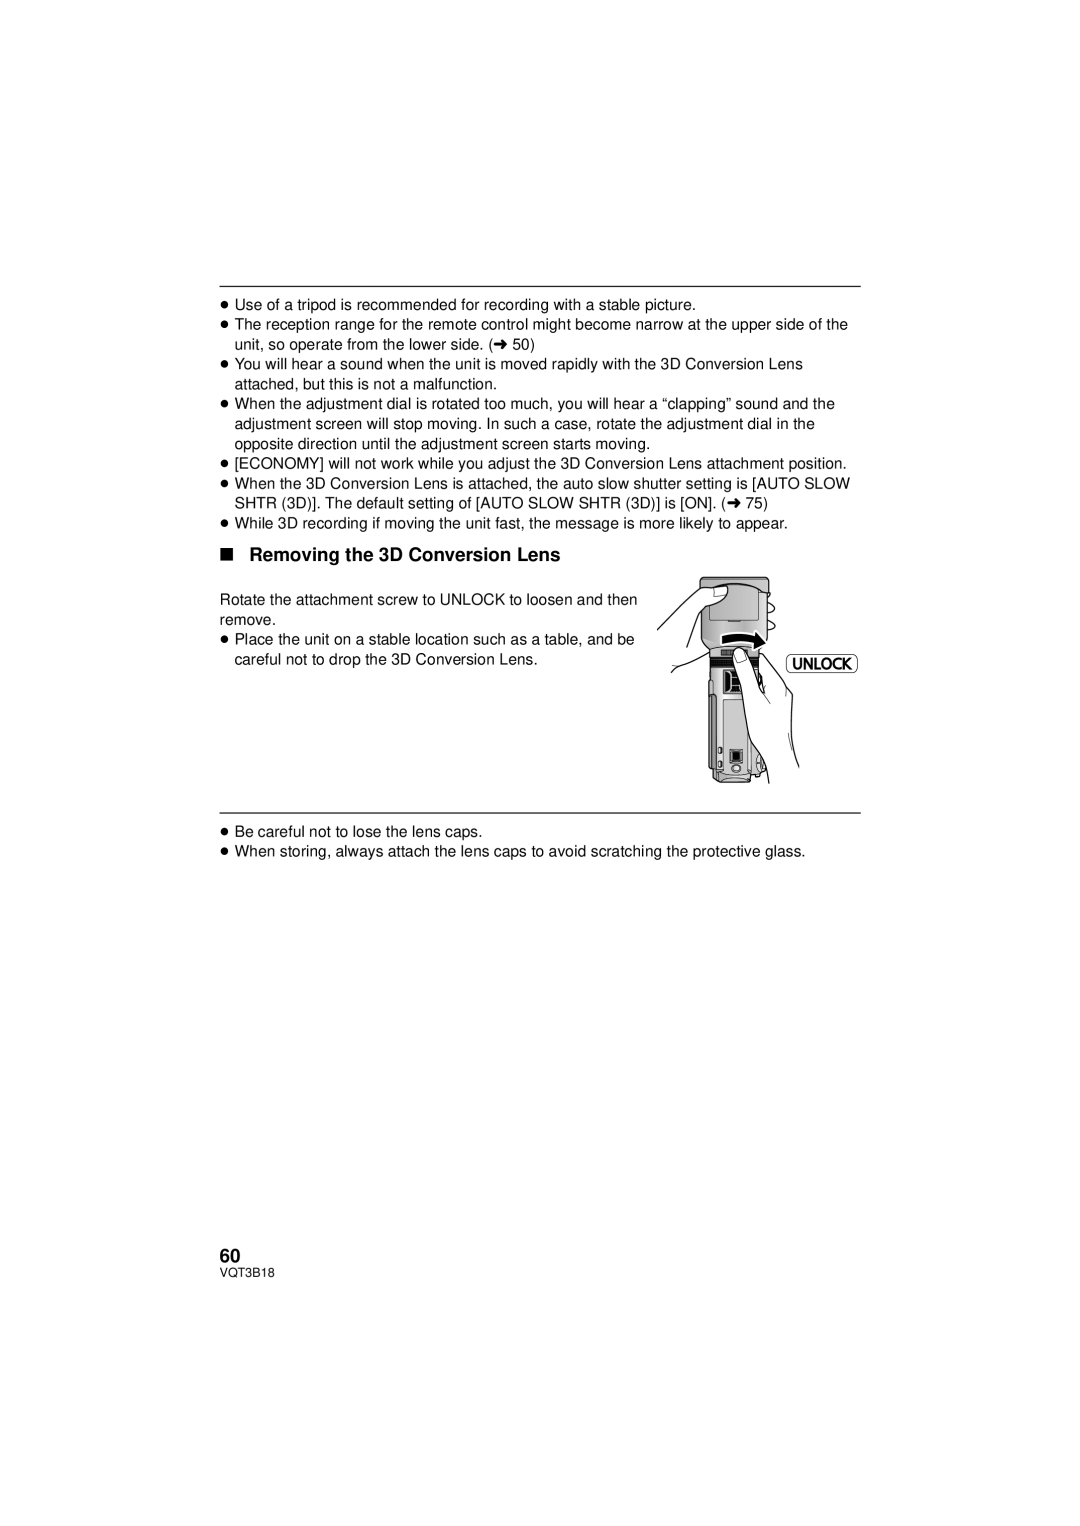
∫Removing the 3D Conversion Lens
Rotate the attachment screw to UNLOCK to loosen and then remove.
≥Place the unit on a stable location such as a table, and be careful not to drop the 3D Conversion Lens.
UNLOCK
≥Be careful not to lose the lens caps.
≥When storing, always attach the lens caps to avoid scratching the protective glass.
60
VQT3B18
