
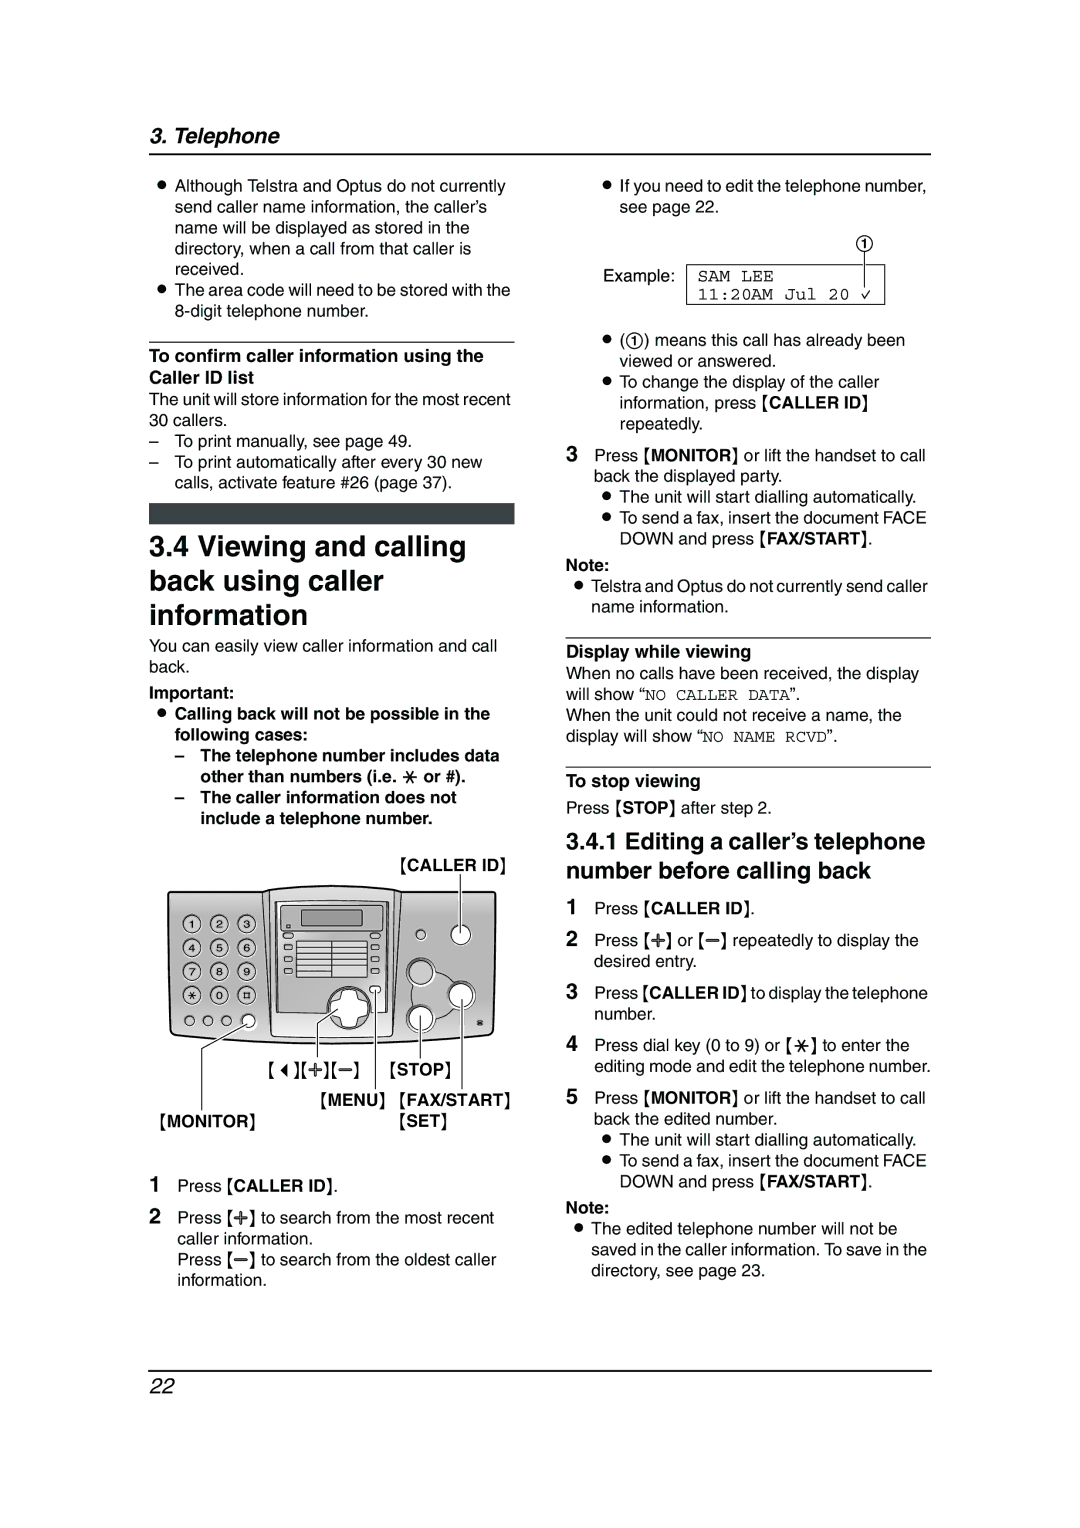
KX-FP343AL specifications
The Panasonic KX-FP343AL is a versatile and efficient addition to your home or office, catering to all your faxing and printing needs. This all-in-one device primarily functions as a fax machine but also integrates features for copying and printing, making it a valuable asset for any workspace.One of the standout features of the KX-FP343AL is its advanced laser printing technology. This ensures high-quality prints with sharp text and crisp images, making your documents look professional. The machine operates at speeds of up to 14 pages per minute, allowing for efficient workflow, especially beneficial in busy environments where time is precious.
In terms of fax capabilities, the KX-FP343AL boasts a high transmission speed of around 14.4 kbps, enabling quick sending and receiving of faxes. It is equipped with a 28.8 kbps modem, which increases efficiency and reduces wait times. The built-in memory can store up to 50 pages, ensuring that important documents can be saved and sent later even if the machine runs out of paper.
Another notable technology integrated into this device is the automatic document feeder (ADF). This feature allows users to load multiple pages at once, streamlining the faxing process. The KX-FP343AL includes a 150-sheet paper capacity, reducing the frequency of paper changes during busy periods.
In addition to faxing and printing, the KX-FP343AL also offers copying functionalities. Users can make quick copies without the need for additional equipment. The machine is user-friendly, thanks to a simple control panel and easy-to-follow instructions, making it accessible for users of all technical skill levels.
The Panasonic KX-FP343AL is designed with efficiency and reliability in mind. It features a compact design that saves space while ensuring durability and longevity. The device is also energy-efficient, complying with industry standards to reduce power consumption, thus benefiting both the environment and your electricity bills.
In conclusion, the Panasonic KX-FP343AL is a multifunctional device that combines faxing, copying, and printing in one compact unit. Its advanced laser technology, efficient fax transmission speeds, and user-friendly features make it an excellent choice for anyone looking to enhance productivity in their home or office setup.