Various projection methods (cont.)
Live mode
Connect a computer to a projector, and display the computer screen over the entire projection screen.
1Check the status indication in the menu bar to make sure that transmission is possible (check that the green lamp is lit).
2Click [Live Mode] from the menu.
The current computer screen is transmitted to the selected projector. In the live mode the projector is occupied by a single computer, so operations from other computers are not possible.
Picture quality and other options can be set on the <Option> window by clicking [OPTION...] from the menu.
•For presentations in live mode, the [PAGE Ÿź] buttons on the remote control will function in the same way as the computer’s Page Up and Page Down keys. This means that if you run a computer application that supports the Page Up and Page Down keys, the presentation screen can be changed using the remote control.
•If the connection error occurs during projection, the message [Stop “Live mode”] will appear, then restart projection from menu.
•Set the [LIVE MODE CUT IN] of the unit to [ON] in advance to enable a different computer to interrupt and project images in live mode. (See page 33)
![]() Notes on sharing projectors with Windows PCs
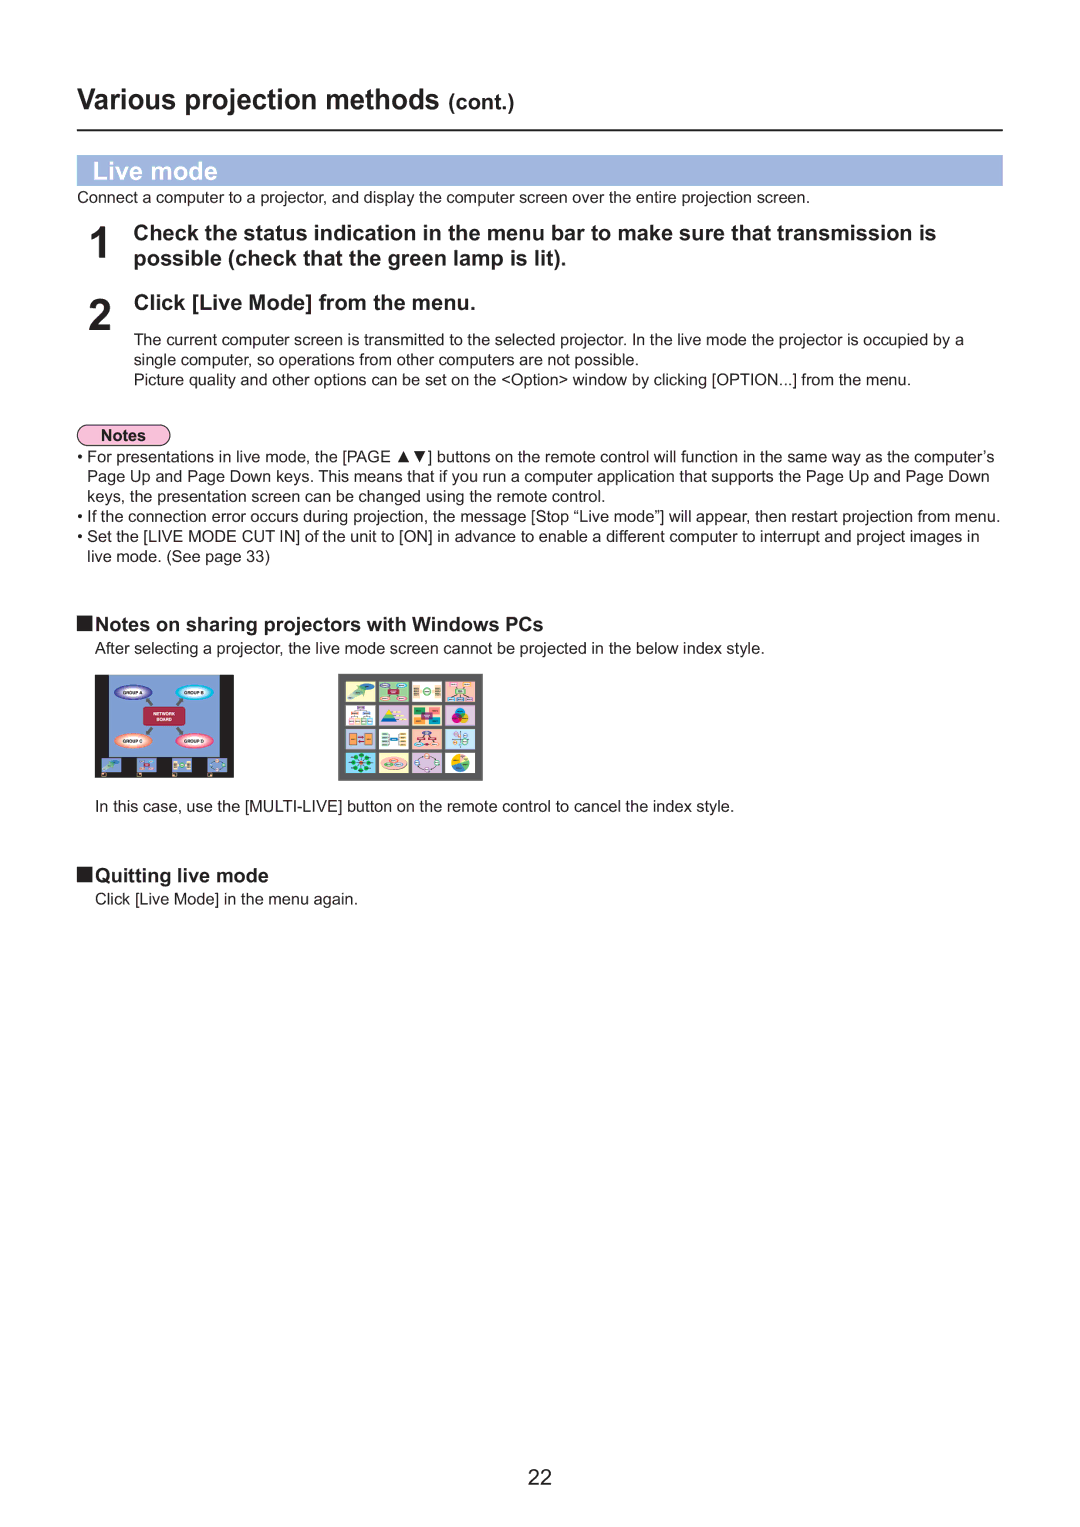
Notes on sharing projectors with Windows PCs
After selecting a projector, the live mode screen cannot be projected in the below index style.
In this case, use the
 Quitting live mode
Click [Live Mode] in the menu again.
22