Network setting of the projector (cont.)
Changing the network number
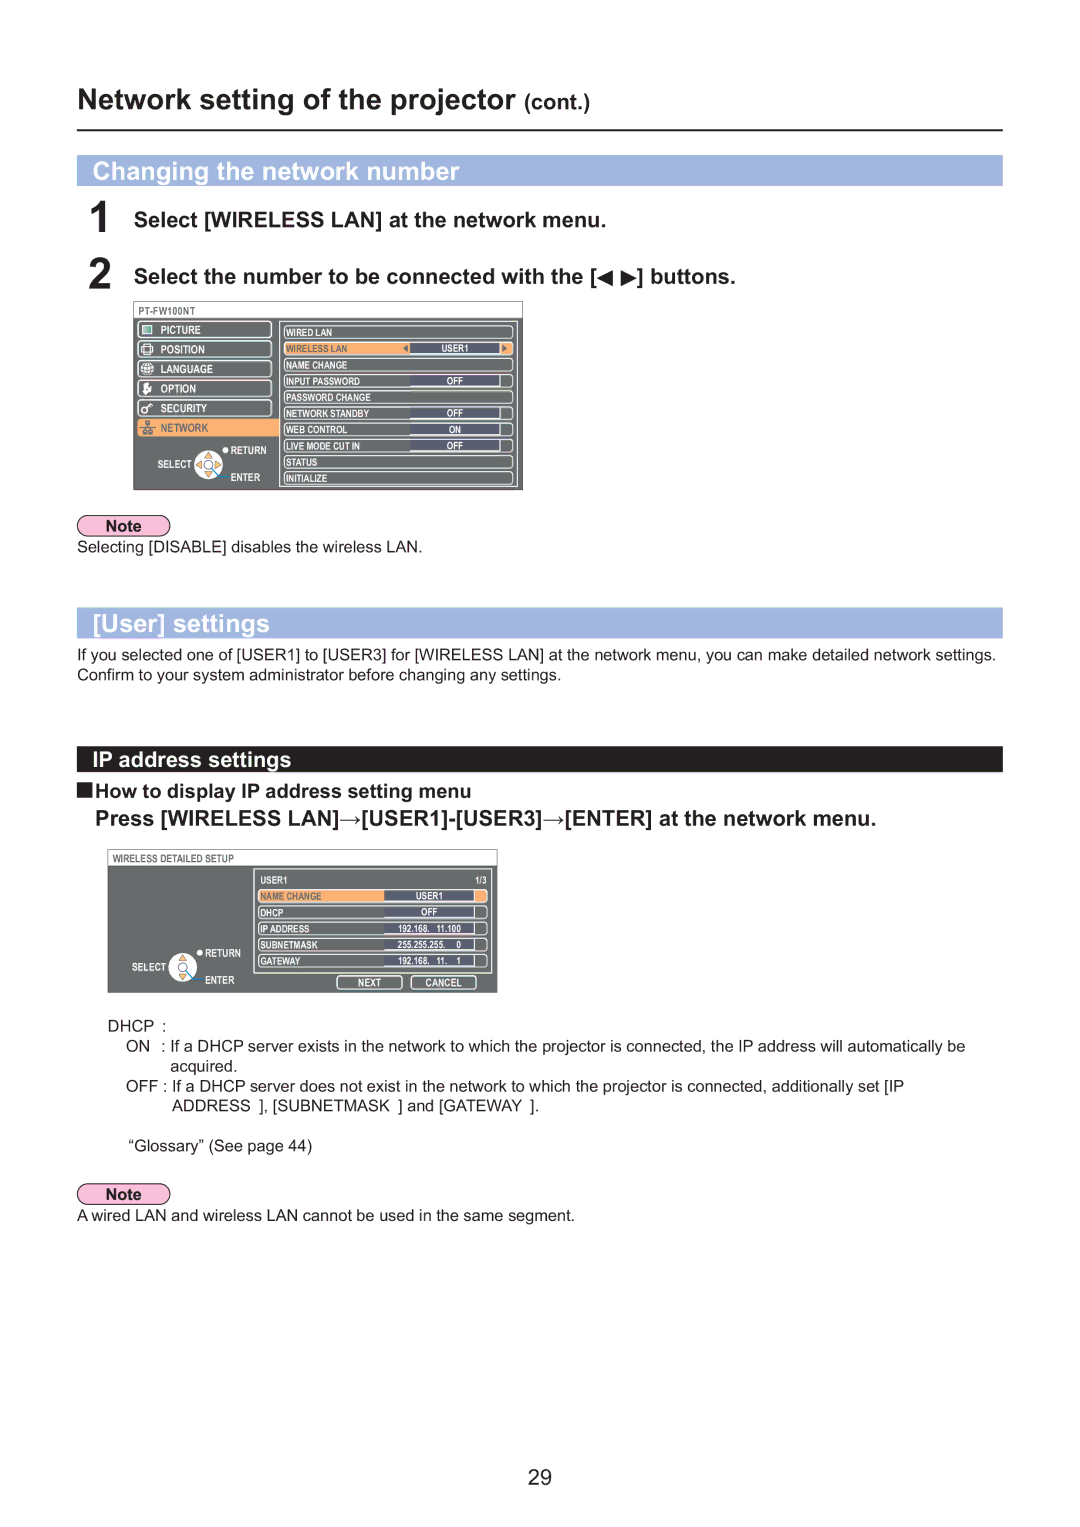
1Select [WIRELESS LAN] at the network menu.
2Select the number to be connected with the [![]()
![]() ] buttons.
] buttons.
|
| ||
PICTURE | WIRED LAN |
| |
POSITION | WIRELESS LAN | USER1 | |
LANGUAGE | NAME CHANGE | OFF | |
OPTION | INPUT PASSWORD | ||
PASSWORD CHANGE |
| ||
SECURITY |
| ||
NETWORK STANDBY | OFF | ||
NETWORK | |||
WEB CONTROL | ON | ||
RETURN | LIVE MODE CUT IN | OFF | |
STATUS |
| ||
SELECT |
| ||
ENTER | INITIALIZE |
|
Selecting [DISABLE] disables the wireless LAN.
[User] settings
If you selected one of [USER1] to [USER3] for [WIRELESS LAN] at the network menu, you can make detailed network settings. Confirm to your system administrator before changing any settings.
IP address settings
 How to display IP address setting menu
Press [WIRELESS LAN] |
| ||||||
|
|
|
|
|
|
|
|
| WIRELESS DETAILED SETUP |
|
|
|
|
|
|
|
| USER1 |
|
| 1/3 |
| |
|
| NAME CHANGE |
|
|
|
|
|
|
|
| USER1 |
|
|
| |
|
| DHCP |
|
|
|
|
|
|
|
| OFF |
|
|
| |
|
| IP ADDRESS |
|
|
|
|
|
|
|
| 192.168. 11.100 |
|
| ||
| RETURN | SUBNETMASK |
| 255.255.255. | 0 |
|
|
|
|
|
|
|
|
| |
| GATEWAY |
| 192.168. 11. | 1 |
|
| |
| SELECT |
|
|
| |||
|
|
|
|
|
|
| |
| ENTER |
| NEXT | CANCEL |
| ||
DHCP※:
ON : If a DHCP server exists in the network to which the projector is connected, the IP address will automatically be acquired.
OFF : If a DHCP server does not exist in the network to which the projector is connected, additionally set [IP ADDRESS※], [SUBNETMASK※] and [GATEWAY※].
※“Glossary” (See page 44)
A wired LAN and wireless LAN cannot be used in the same segment.
29