Controlling the Camera
1Complete the steps in “Connecting to the Computer” (042).
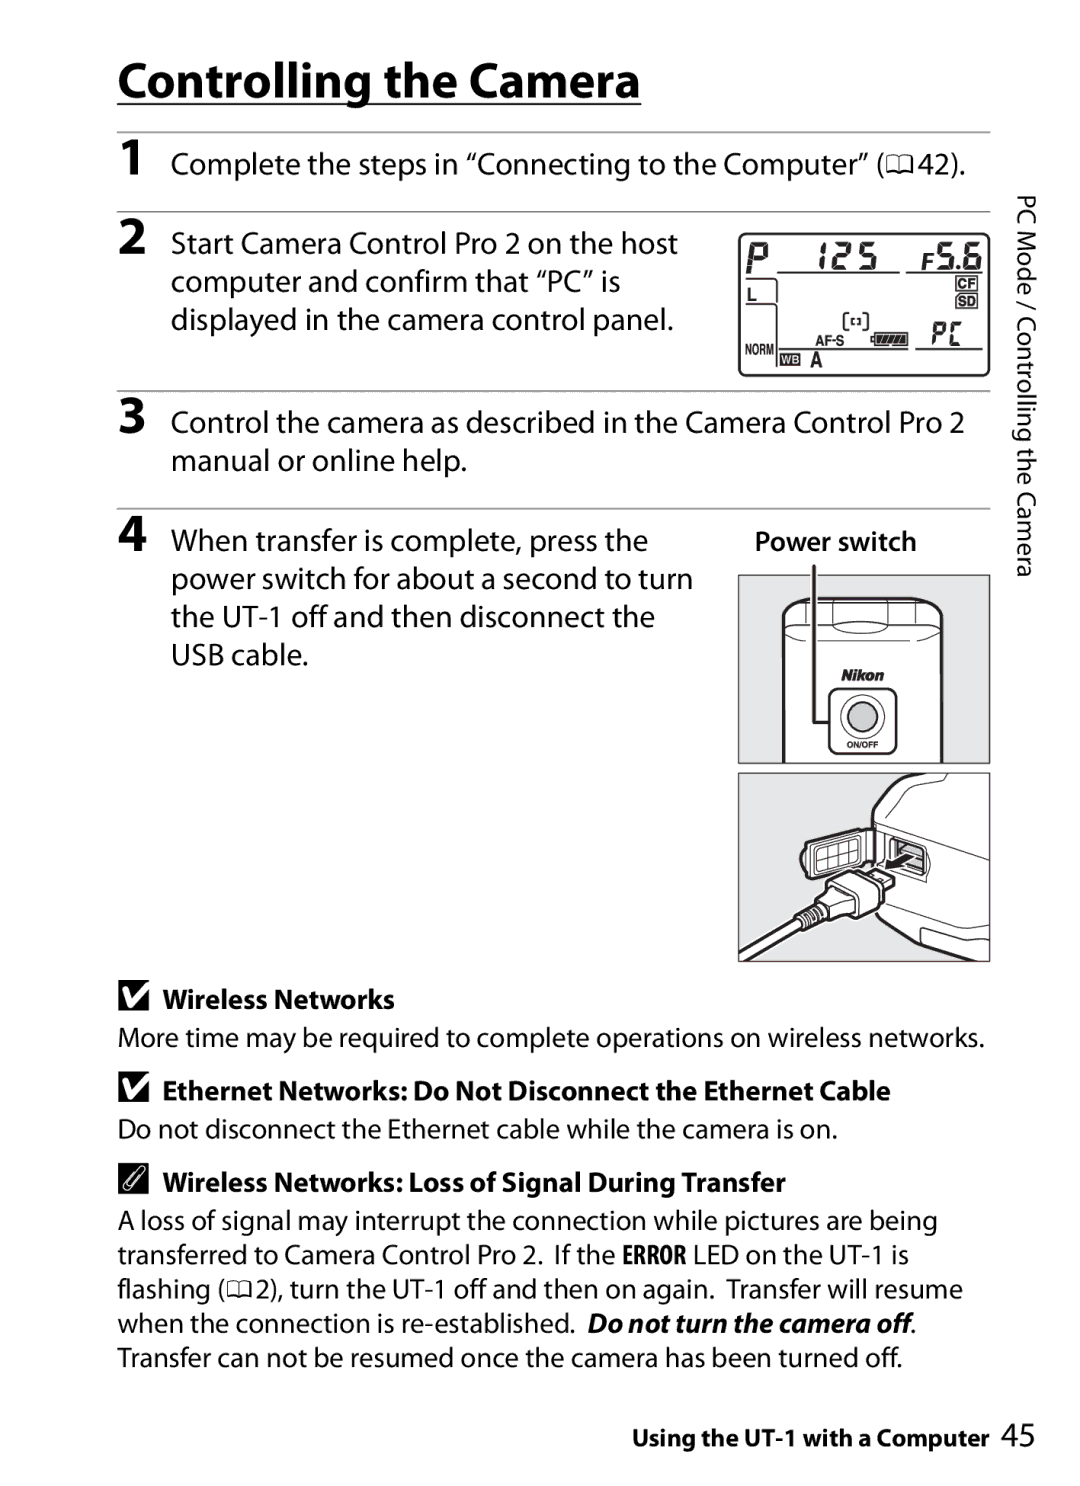
2 Start Camera Control Pro 2 on the host computer and confirm that “PC” is displayed in the camera control panel.
3Control the camera as described in the Camera Control Pro 2 manual or online help.
4 When transfer is complete, press the | Power switch | ||||
power switch for about a second to turn |
|
|
|
|
|
|
|
|
|
| |
the |
|
|
|
|
|
USB cable. |
|
|
|
|
|
|
|
|
|
|
|
|
|
|
|
|
|
|
|
|
|
|
|
|
|
|
|
|
|
DWireless Networks
More time may be required to complete operations on wireless networks.
DEthernet Networks: Do Not Disconnect the Ethernet Cable Do not disconnect the Ethernet cable while the camera is on.
AWireless Networks: Loss of Signal During Transfer
A loss of signal may interrupt the connection while pictures are being transferred to Camera Control Pro 2. If the ERROR LED on the
PC Mode / Controlling the Camera