Uploading Images
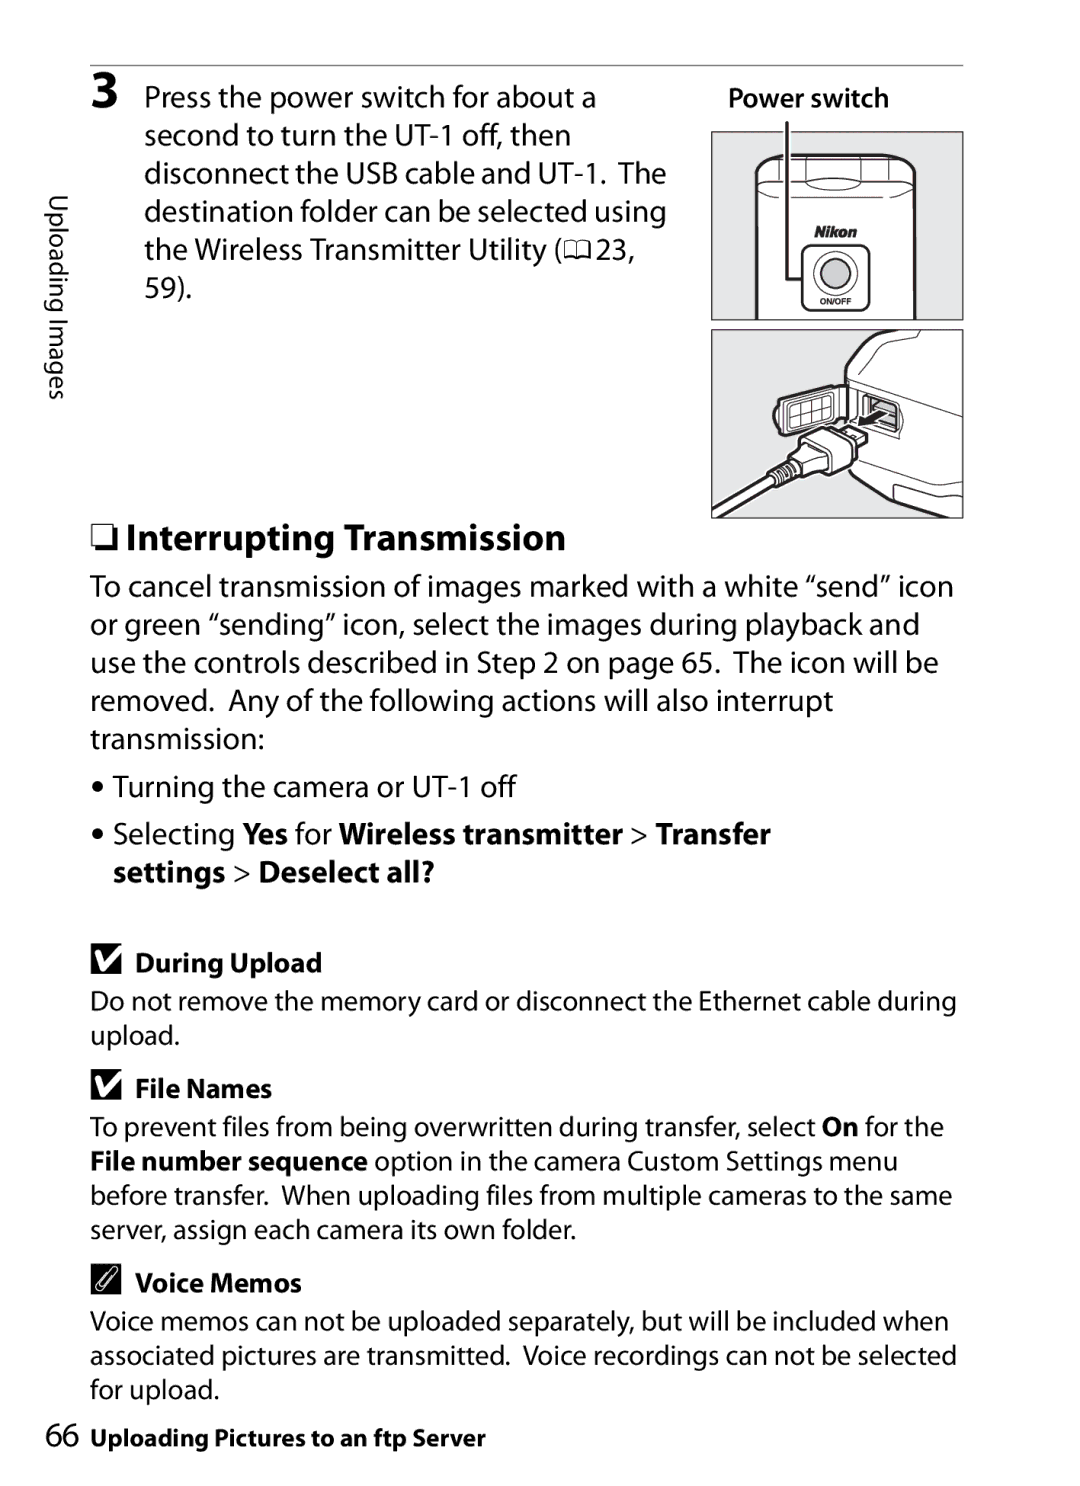
3 Press the power switch for about a | Power switch | ||||
second to turn the |
|
|
|
|
|
|
|
|
|
| |
disconnect the USB cable and |
|
|
|
|
|
destination folder can be selected using |
|
|
|
|
|
the Wireless Transmitter Utility (023, |
|
|
|
|
|
59). |
|
|
|
|
|
|
|
|
|
| |
|
|
|
|
|
|
|
|
|
|
|
|
|
|
|
|
|
|
❏Interrupting Transmission
To cancel transmission of images marked with a white “send” icon or green “sending” icon, select the images during playback and use the controls described in Step 2 on page 65. The icon will be removed. Any of the following actions will also interrupt transmission:
•Turning the camera or
•Selecting Yes for Wireless transmitter > Transfer settings > Deselect all?
DDuring Upload
Do not remove the memory card or disconnect the Ethernet cable during upload.
DFile Names
To prevent files from being overwritten during transfer, select On for the File number sequence option in the camera Custom Settings menu before transfer. When uploading files from multiple cameras to the same server, assign each camera its own folder.
AVoice Memos
Voice memos can not be uploaded separately, but will be included when associated pictures are transmitted. Voice recordings can not be selected for upload.
