Using WebBrowser (cont.)
Detailed settings window
You can make detail network settings for the projector, when connecting without [Admin (administrator)] authority or when connecting through an access point (infrastructure mode).
 LAN settings
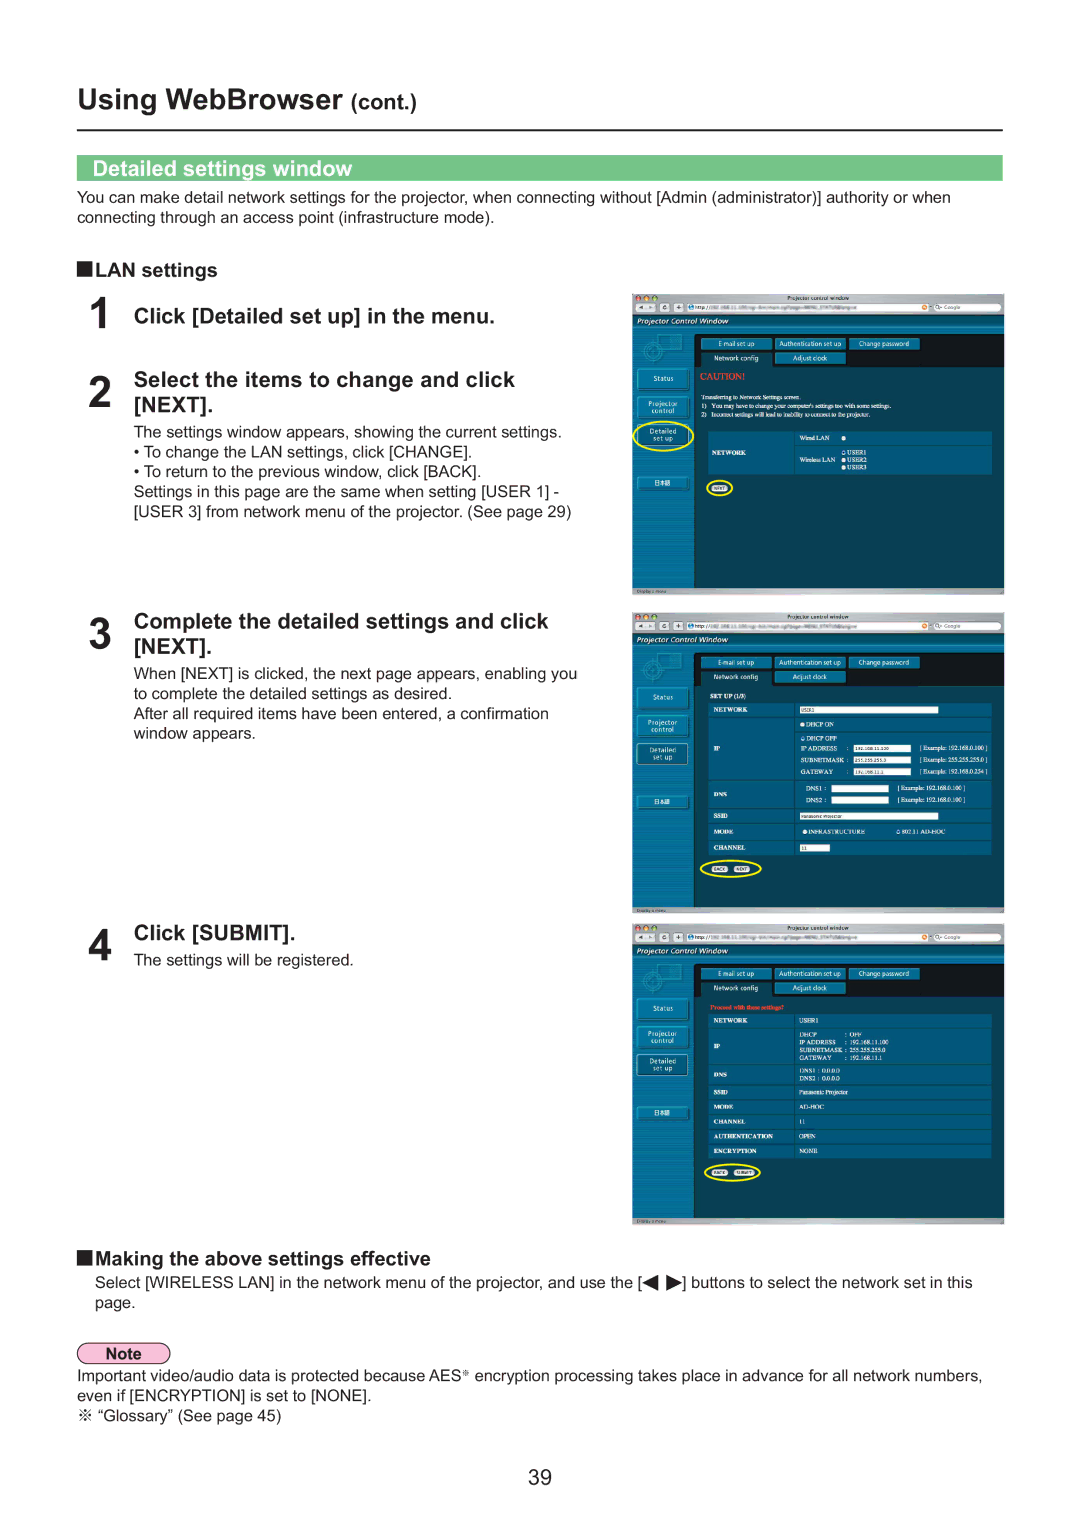
1Click [Detailed set up] in the menu.
2Select the items to change and click [NEXT].
The settings window appears, showing the current settings.
•To change the LAN settings, click [CHANGE].
•To return to the previous window, click [BACK].
Settings in this page are the same when setting [USER 1] - [USER 3] from network menu of the projector. (See page 29)
3Complete[NEXT]. the detailed settings and click
When [NEXT] is clicked, the next page appears, enabling you to complete the detailed settings as desired.
After all required items have been entered, a confirmation window appears.
4 Click [SUBMIT].
The settings will be registered.
 Making the above settings effective
Select [WIRELESS LAN] in the network menu of the projector, and use the [![]()
![]() ] buttons to select the network set in this page.
] buttons to select the network set in this page.
Important video/audio data is protected because AES※ encryption processing takes place in advance for all network numbers, even if [ENCRYPTION] is set to [NONE].
※“Glossary” (See page 45)
39