Manuals
/
Panasonic
/
Home Audio
/
Stereo System
Panasonic
SC-PM71SD 5CD auto recording CD è SD, Program recording, Recording to cassette tape
Models:
SC-PM71SD
1
25
44
44
Download
44 pages
61.91 Kb
22
23
24
25
26
27
28
29
Troubleshooting
Specs
Connecting SD Memory Cards
Warranty
Maintenance
Accessories
Setup
Manual tuning
Remote control
How to
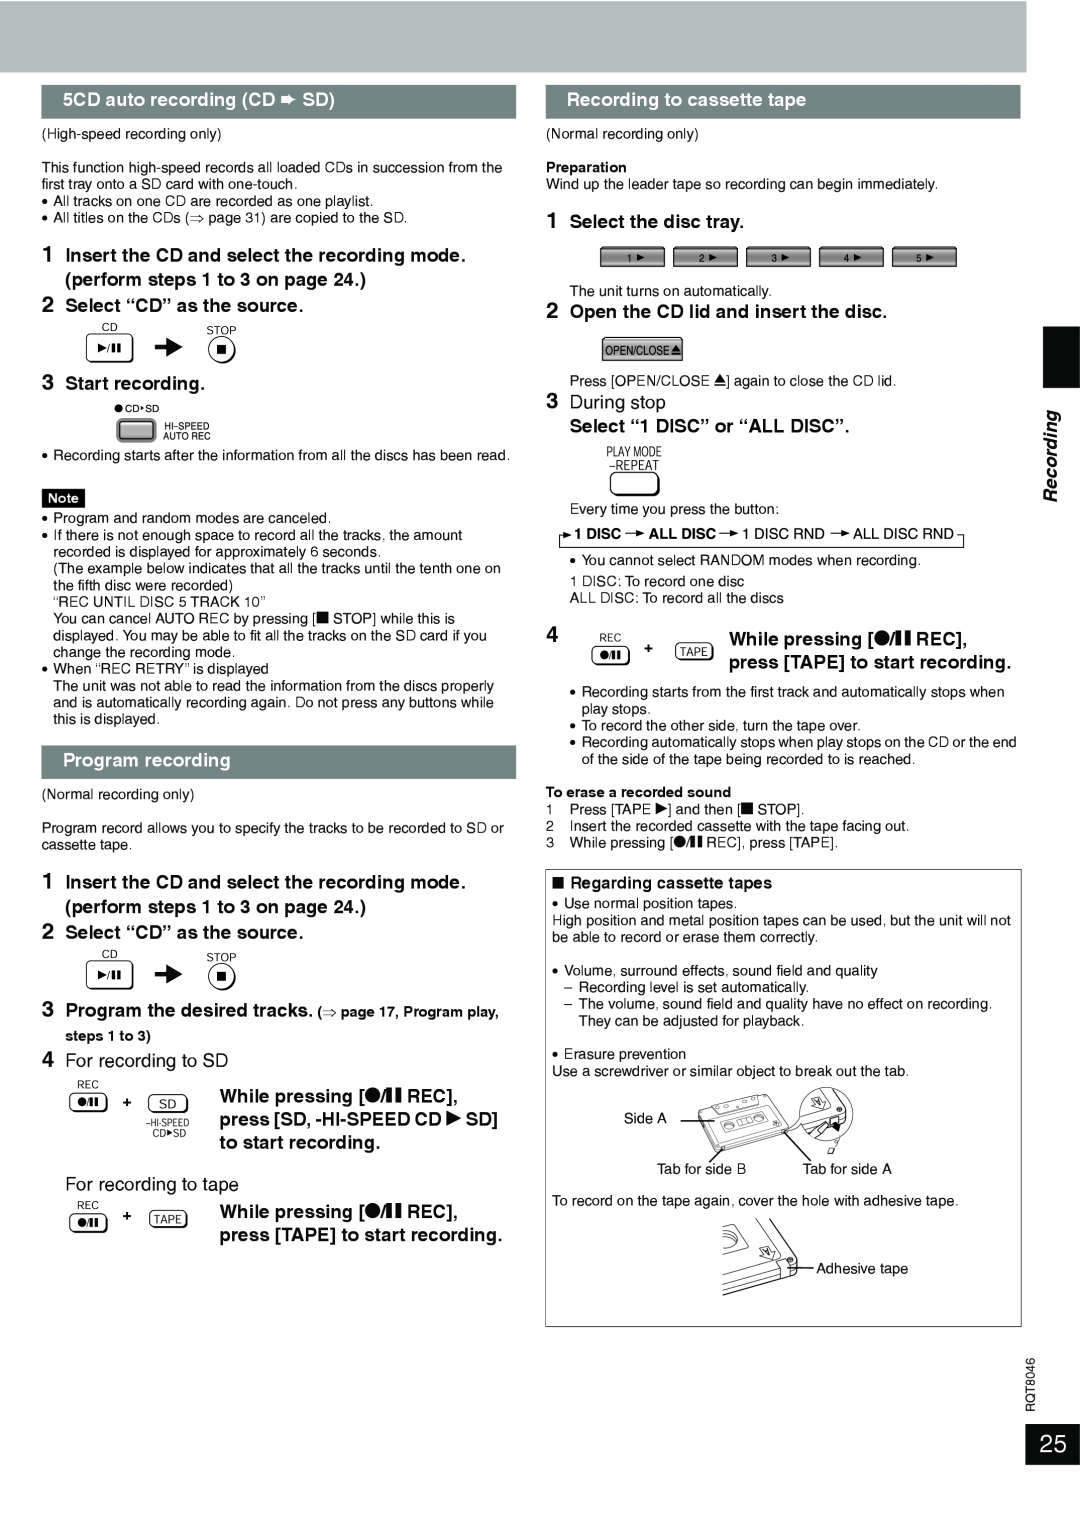
Page 25
Image 25
Page 24
Page 26
Page 25
Image 25
Page 24
Page 26
Contents
SD Stereo System
RQT8046-5P
Operating Instructions
THIS PRODUCT UTILIZES A LASER
Getting started
Table of contents
Playing back
Editing
Listening caution
Accessories
started
System
Getting started
IMPORTANT SAFETY INSTRUCTIONS
Getting started
Disc/Card information
Discs and cards usable on this unit
Suitable SD Memory Cards
nHandling precautions
nHow to hold a disc or card
Disc and card handling
Getting started
Inserting discs
Inserting/Removing the discs and cards
Inserting a card
Getting started
The remote control
Setup
Getting started
Positioning the speakers
Getting started
If the display lights up when the
Connections
DEMO function
FM indoor antenna
AC power supply cord
Speakers
Getting started
Main unit
Control guide
Getting started
Display
started
Remote control
e, r
Playing back
Basic play
Playing discs
1Select a disc tray
Playing back
Playing SD cards
Selecting a disc
All disc play
Other ways of playing discs/cards
back
1During stop
1During stop
1During stop
1During stop
Playing back
During play
Press LIST/ENTER
Playing back
Volume adjustment
Cassette tapes
Playing back
Cassette tape selection and care
Playing back
Sound field and sound quality
During play
H.BASS
Muting the volume
Changing sound field and quality Preset EQ
back
SURROUND
Manual tuning
The radio
Preset tuning
Automatic presetting
nWhen recording at high-speedfrom CD to SD
Recording sources and media
Approximate recording time on SD Memory Card
High-speedrecording
Recording
Recording CDs
Recording to SD
Program recording
5CD auto recording CD è SD
Recording to cassette tape
3 During stop
Recording
Recording from cassette tape/the radio to SD
Recording from cassette tape
Recording from the radio
Recording from SD
Recording from SD/the radio to cassette tape
Recording from the radio
Program recording
Editing
Editing SDs
Erasing tracks - TRACK ERASE/ALL ERASE
Moving tracks - MOVE
Select “CARD FORMAT?”
Formatting a card - CARD FORMAT
Editing playlists - PLAYLIST
Editing
Entering titles
Entering characters
3Press ALBUM/GROUP to enter the character
1Press TITLE IN
Entering titles on a CD CD title memory
Entering titles on a SD after recording
Entering a playlist title
Convenient functions
Convenient functions
1 Press CLOCK/TIMER to select the timer function
Using an external unit
Using other equipment
FM outdoor antenna using a television antenna
Other antenna connections
1Press TUNER/AUX to select “AUX”
Recording from an external unit
2Press EDIT MODE to select a recording method
3While pressing */h REC, press SD, -HI-SPEED
Using a computer
Even more fun with SD
Listening on portable equipment
Convenient functions
Convenient functions
Connecting SD Memory Cards
1Turn on the computer and start Windows
2Connect the SD Memory CARD Reader Writer to
Reference
Troubleshooting guide
Playing back
Radio
Reference
Additional accessories
Unit displays
Limited Warranty
Limited Warranty
Customer Services Directory
Accessory Purchases
Maintenance
Product Service
When moving the unit
For a cleaner, crisper sound cassette deck
Reference
Specifications
nAMPLIFIER SECTION
nFM TUNER SECTION
SD logo is a trademark
Reference
RQT8046-5P
Index
Numerics
Panasonic Consumer Electronics
Top
Page
Image
Contents