•The alarm signal will take approx. 0.2 seconds to reach the alarm terminal of the VCR after the camera detects the object.
Because the alarm signal is multiplexed on the video signal, it may be mistakenly interpreted by other video equipment as a time code signal. Therefore, when this camera is not used in a Panasonic Intelligent CCTV System, select OFF to prevent the above from occurring.
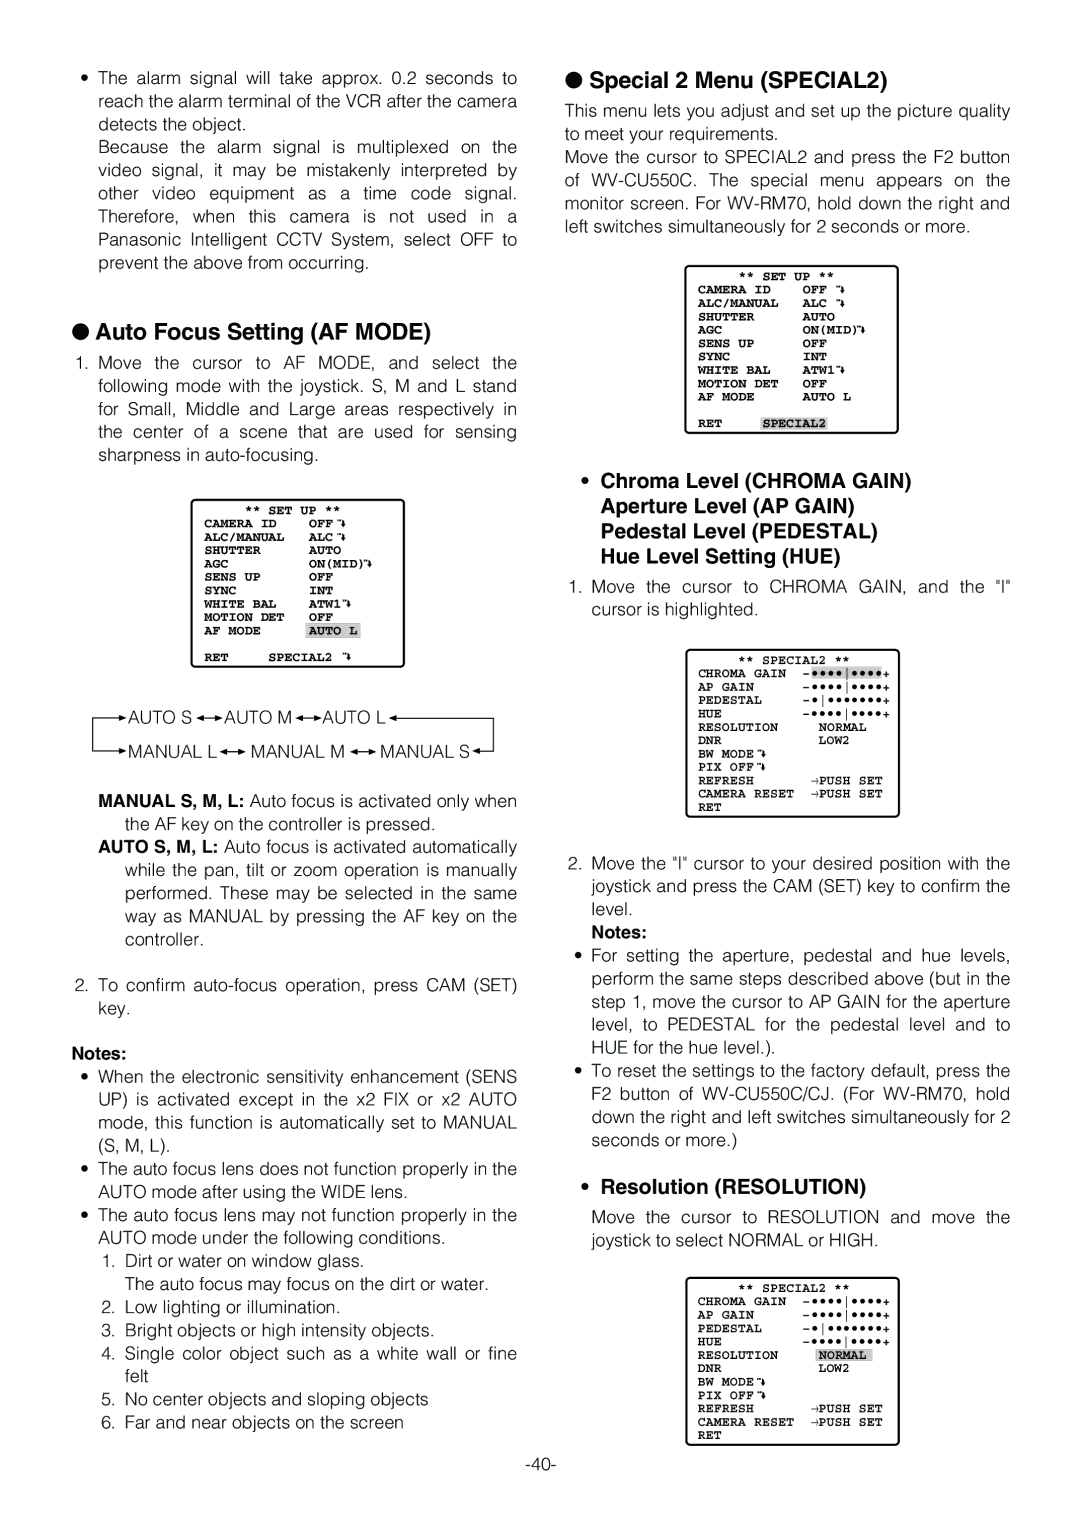
●Auto Focus Setting (AF MODE)
1.Move the cursor to AF MODE, and select the following mode with the joystick. S, M and L stand for Small, Middle and Large areas respectively in the center of a scene that are used for sensing sharpness in
** SET UP **
CAMERA ID | OFF | ||
ALC/MANUAL | ALC | ||
SHUTTER |
| AUTO | |
AGC |
| ON(MID) | |
SENS UP |
| OFF | |
SYNC |
| INT | |
WHITE BAL | ATW1 | ||
MOTION DET | OFF | ||
AF MODE |
| AUTO L |
|
RET | SPECIAL2 | ||
 AUTO S
 AUTO M
 AUTO L
 MANUAL L
 MANUAL M
 MANUAL S
MANUAL S, M, L: Auto focus is activated only when the AF key on the controller is pressed.
AUTO S, M, L: Auto focus is activated automatically while the pan, tilt or zoom operation is manually performed. These may be selected in the same way as MANUAL by pressing the AF key on the controller.
2.To confirm
Notes:
•When the electronic sensitivity enhancement (SENS UP) is activated except in the x2 FIX or x2 AUTO mode, this function is automatically set to MANUAL (S, M, L).
•The auto focus lens does not function properly in the AUTO mode after using the WIDE lens.
•The auto focus lens may not function properly in the AUTO mode under the following conditions.
1.Dirt or water on window glass.
The auto focus may focus on the dirt or water.
2.Low lighting or illumination.
3.Bright objects or high intensity objects.
4.Single color object such as a white wall or fine felt
5.No center objects and sloping objects
6.Far and near objects on the screen
●Special 2 Menu (SPECIAL2)
This menu lets you adjust and set up the picture quality to meet your requirements.
Move the cursor to SPECIAL2 and press the F2 button of
** SET UP **
CAMERA ID | OFF | ||
ALC/MANUAL | ALC | ||
SHUTTER |
| AUTO | |
AGC |
| ON(MID) | |
SENS UP |
| OFF | |
SYNC |
| INT | |
WHITE BAL | ATW1 | ||
MOTION DET | OFF | ||
AF MODE |
| AUTO L | |
RET |
|
| |
SPECIAL2 | |||
•Chroma Level (CHROMA GAIN) Aperture Level (AP GAIN) Pedestal Level (PEDESTAL) Hue Level Setting (HUE)
1.Move the cursor to CHROMA GAIN, and the "I" cursor is highlighted.
** SPECIAL2 **
CHROMA GAIN | – | •••••••• | + |
AP GAIN | |||
PEDESTAL | |||
HUE | |||
RESOLUTION |
| NORMAL | |
DNR |
| LOW2 | |
BW MODE |
|
|
|
PIX OFF | →PUSH SET | ||
REFRESH | |||
CAMERA RESET | →PUSH SET | ||
RET |
|
|
|
2.Move the "I" cursor to your desired position with the joystick and press the CAM (SET) key to confirm the level.
Notes:
•For setting the aperture, pedestal and hue levels, perform the same steps described above (but in the step 1, move the cursor to AP GAIN for the aperture level, to PEDESTAL for the pedestal level and to HUE for the hue level.).
•To reset the settings to the factory default, press the F2 button of
•Resolution (RESOLUTION)
Move the cursor to RESOLUTION and move the joystick to select NORMAL or HIGH.
** SPECIAL2 **
CHROMA GAIN | |||
AP GAIN | |||
PEDESTAL | |||
HUE | |||
RESOLUTION |
| NORMAL |
|
DNR |
| LOW2 | |
BW MODE |
|
|
|
PIX OFF | →PUSH SET | ||
REFRESH | |||
CAMERA RESET | →PUSH SET | ||
RET |
|
|
|