NORMAL: Sets the horizontal resolution to more than 480 lines.
HIGH: Sets the horizontal resolution to more than 510 lines.
Note: After selecting HIGH, noise may increase when the SENS UP function is activated under low illumination.
•Digital Noise Reduction (DNR)
DNR may be used to improve quality under low light conditions. There are 4 levels of DNR, which may be selected depending on local site conditions. Factory default setting: LOW2
You may need to try different settings to find the most suitable conditions for your application.
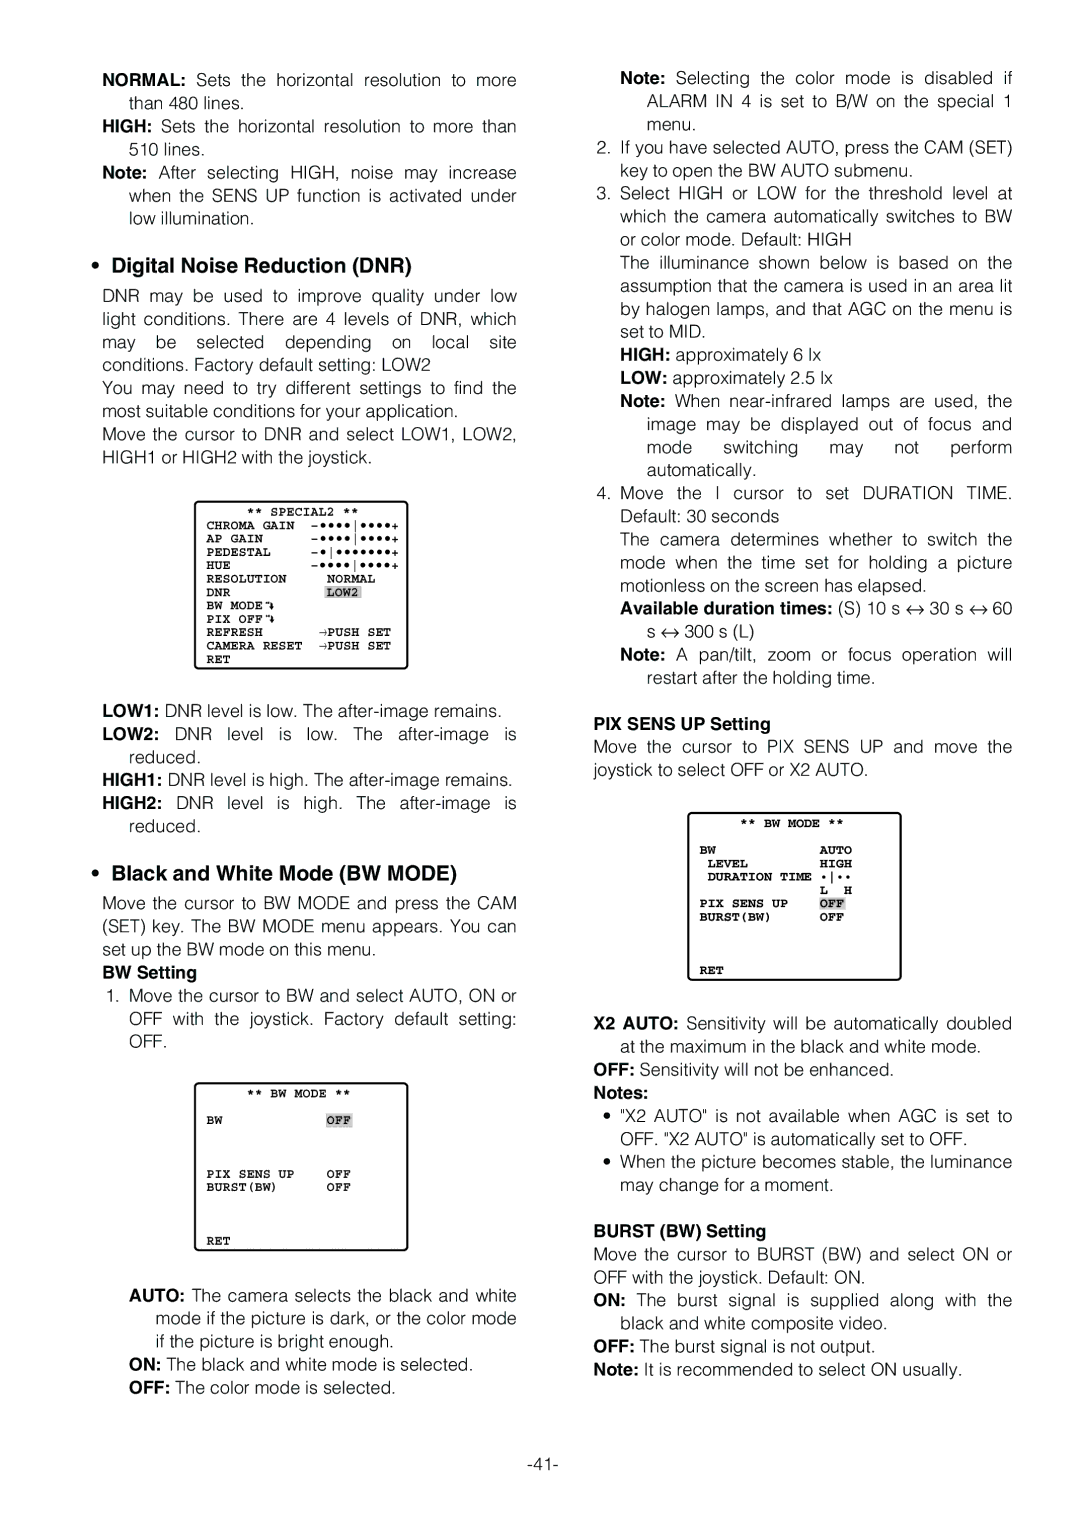
Move the cursor to DNR and select LOW1, LOW2, HIGH1 or HIGH2 with the joystick.
** SPECIAL2 **
CHROMA GAIN | |||
AP GAIN | |||
PEDESTAL | |||
HUE | |||
RESOLUTION |
| NORMAL | |
DNR |
| LOW2 |
|
BW MODE |
|
|
|
PIX OFF | →PUSH SET | ||
REFRESH | |||
CAMERA RESET | →PUSH SET | ||
RET |
|
|
|
LOW1: DNR level is low. The
LOW2: DNR level is low. The
HIGH1: DNR level is high. The
HIGH2: DNR level is high. The
•Black and White Mode (BW MODE)
Move the cursor to BW MODE and press the CAM (SET) key. The BW MODE menu appears. You can set up the BW mode on this menu.
BW Setting
1.Move the cursor to BW and select AUTO, ON or OFF with the joystick. Factory default setting: OFF.
** BW MODE **
BWOFF
PIX SENS UP | OFF |
BURST(BW) | OFF |
RET
AUTO: The camera selects the black and white mode if the picture is dark, or the color mode if the picture is bright enough.
ON: The black and white mode is selected.
OFF: The color mode is selected.
Note: Selecting the color mode is disabled if ALARM IN 4 is set to B/W on the special 1 menu.
2.If you have selected AUTO, press the CAM (SET) key to open the BW AUTO submenu.
3.Select HIGH or LOW for the threshold level at which the camera automatically switches to BW or color mode. Default: HIGH
The illuminance shown below is based on the assumption that the camera is used in an area lit by halogen lamps, and that AGC on the menu is set to MID.
HIGH: approximately 6 lx
LOW: approximately 2.5 lx
Note: When
4.Move the I cursor to set DURATION TIME. Default: 30 seconds
The camera determines whether to switch the mode when the time set for holding a picture
motionless on the screen has elapsed. Available duration times: (S) 10 s ↔ 30 s ↔ 60
s ↔ 300 s (L)
Note: A pan/tilt, zoom or focus operation will restart after the holding time.
PIX SENS UP Setting
Move the cursor to PIX SENS UP and move the joystick to select OFF or X2 AUTO.
** BW MODE **
BW | AUTO | |
LEVEL | HIGH | |
DURATION TIME ••• | ||
PIX SENS UP | L H | |
OFF |
| |
BURST(BW) | OFF | |
RET
X2 AUTO: Sensitivity will be automatically doubled at the maximum in the black and white mode.
OFF: Sensitivity will not be enhanced.
Notes:
•"X2 AUTO" is not available when AGC is set to OFF. "X2 AUTO" is automatically set to OFF.
•When the picture becomes stable, the luminance may change for a moment.
BURST (BW) Setting
Move the cursor to BURST (BW) and select ON or OFF with the joystick. Default: ON.
ON: The burst signal is supplied along with the black and white composite video.
OFF: The burst signal is not output.
Note: It is recommended to select ON usually.