AVIC-D1
Page
License Agreement Pioneer AVIC-D1 for U.S.A
Introduction
Limitation of Liability
Pioneer AVIC-D1 for Canada
Limitation of Liability
Grant of License
Terms and Conditions for the Tele Atlas Data
S. Government Rights
Copyright
About the Data for the Map Database
Chapter
Table of Contents
Traffic flow information
Customizing Your Navigation Sys- tem
117
Function 4
Never use headphones while driving
Important Safety Information
Product registration
Purchasing software upgrade
Precaution
Failure to operate
About this disc
To ensure safe driving
Color difference of the map display between day and night
Rear view camera
About XM NavTraffic Service and Pioneer Navigation
Features Characteristics of this software
Page
Will explain the basics of operating this system
How to use this manual
Describes how to use a CD, MP3/WMA/WAV disc and the radio
Manual Overview
Checking the details of each item on the menu
Chapter describes how to change the settings
Destination, Settings
Terminology
Areas recorded on each disc are as follows
Flow from Startup to Termina- tion
Basic flow of operation
Basic Navigation
How to set your destination
Input the destination city or area
Touch the city or area where your destina- tion is located
You can input text with numbers
Touch the street from the list
Current location Distance to the destination
How to view Map View screen
10Drive in accordance with the screen and voice information
Ance set to Route View or Guide View
To fast forward or reverse, keep touching or
How to listen to a CD
Press the AV button to switch the Audio screen
Press the OPEN/CLOSE button
Touch Pause
Pausing playback
Buttons you can use
To hide the touch key, touch Hide
Chapter
Info/Traffic menu
How to Use Menu Screens
Main menu
Main menu is divided into four
Shortcut menu
Switching the current position screen display mode
How to Use the Map
How to view the map of the cur Rent location
Display during freeway driving
Vehicle Dynamics Display
Enlarged map of the intersection
Rear View
Display items
City Map
Moving the map to the location you want to see
Changing the scale of the map
Finding a destination on the map
When Appears on the right List
Viewing the information of a specified location
Chapter
Name
Finding Your Destination by Selecting the Type of Facility
Searching for Points of Interest POI
Touch Category
Searching the facilities around the scroll cursor
Finding a POI in your surround- ings
Input a telephone number
Touch the freeway
Touch Entrance or Exit
Touch your destination
Book
Canceling the Route Guidance
Selecting Destination from
Destination History and Address
View
Checking the set route with text
Checking the whole route over
Touch, Route Profile or Route Scroll
Checking the set route from the shortcut menu
Recalculating the Route to Your Destination
Touch the map screen
Skipping a way point
Editing Way Points to the Cur- rent Route
Editing a way point
Registering an area to avoid
Setting Areas to Avoid
Registering a POI shortcut
Displaying Certain POI on the Map
Registering/deleting POI Short Cuts
Edit Current Route
Deleting a POI shortcut
Modifying the Route Calculation Conditions
Items that users can operate
Avoid Freeway
Recalculate
Number of Routes
Route Condition
Touch OK
Distance to your destination Travel time to your destination
Home location icon Favorite location icon
Editing Registered Locations
Registering your home and your favorite location
Map icons
Touch Destination in the Main menu, then touch Address Book
Registering a previous location in the Address Book
Editing a location’s information
Touch Registration Touch Save
Selecting sound
Deleting Address Book or Destination History Information
Changing a name
Entering or changing a phone number
Viewing traffic list
Using XM NavTraffic Informa- tion
Changing the position of loca
Tions registered in the Address
Checking traffic information on Route
Confirming traffic information on the map
If there is a traffic congestion informa- tion on the route
When checking traffic conges- tion information manually
Information on avoiding traffic congestion on route ahead
Traffic flow information
Touch the traffic information item to dis- play
Selecting traffic information to display
Checking traffic flow information on the list
Touch Change
Touch On
Displaying stock prices
Set use of Traffic flow information set- ting to off
Registering stocks to be displayed
Confirming your favorite information
Displaying browsable informa- tion
Touch Info/Traffic in the Main menu, then touch Browse
Store
Checking the Reception Status of the XM Tuner
Displaying favorite browsable Information
Registering user information
Emergency Info
Checking the information regis- tered as Emergency Info
Searching for car service in an emergency
Change to another background
When the appears on the right of the list
Changing Background Picture
Select another Picture
Checking sensor learning status and driving status
Setting the Vehicle Dynamics Display
Checking the Navigation Status
To clear values
Facing Right
Correcting the Installation Angle
Facing Left
Facing Center
Items Users can Change
Modifying the Default Settings
Volume
Short-Cut Selection
System Options
Day/Night Display
AV Guide Mode
Map Display Options
Tracking Display
Modify Current Location
Demo Mode
Defined Locations
Time
Restore Factory Settings
Chapter
Selecting a source
Press the AV button to switch Audio oper- ation screen
Basic Operation
Activating the touch panel keys
Auto Antenna
How to display each menu
Operating the Built-in CD Drive
Touch key operation
Operation using the Function menu
MP3/WMA/WAV Scanning folders and tracks
Using compression and BMX
Each touch of the Comp changes the settings as follows
OFF Comp 1 Comp 2 OFF BMX 1 BMX Switching the search mode
Advanced radio operation
Radio Listening to the radio
Storing the strongest broadcast frequencies
Tuning in strong signals
Storing and recalling broadcast frequencies
Radio
Multi-CD Player Listening a CD
Repeating play
Pausing CD playback
Advanced multi-CD player oper
Ation
Playback from your ITS playlist
Using ITS playlists
Selecting tracks from the track list
Creating a playlist with ITS program- ming
Displaying titles on CD Text discs
Using CD Text functions
XM Tuner GEX-P10XMT Listening to XM Satellite Radio
Erasing a CD from your ITS playlist
Storing and recalling broadcast stations
Switching the XM channel select mode
Selecting a channel from the XM
Using the MyMix function
Selecting a channel in the chan
Nel category
Display the Radio ID
Using the direct traffic announcement function
Rized tracks
Setting the notification of the memo
Advanced XM tuner operation
XM Tuner GEX-P910XM Listening to XM Satellite Radio
Mode Touch or To select the desired chan
Switching the XM display
Touch Mode to select the desired channel select setting
Touch Mode to select the Category
Channel name Selected display
CH Number mode
Sirius Tuner Listening to the Sirius
Channel information display
Advanced Sirius tuner opera- tion
Switching the channel select mode
Switching the display
Switching the scroll setting
Watching the TV tuner
Channel indicator
Preset list display
TV Tuner
Storing the strongest broadcast stations sequentially
Changing the wide screen mode
How to change the wide screen mode
Advanced TV tuner operation
Selecting a disc
Pausing disc playback
DVD Player S-DVD
Playing a disc
During Video CD or CD playback
Advanced DVD player operation Scanning tracks of a CD
Touch Repeat in the Function menu
During DVD-Video playback
Advanced external unit opera- tion
Operate the external unit by using 1 key 6 key
Operate the external unit by using Function
External Unit Operating the external unit
Selecting AV as the source
Switching the automatic and manual function
AV Input AV
Selecting AUX as the source
AUX/AV
Using balance adjustment
Audio Adjustments Introduction to audio adjust- ments
Recalling equalizer curves
Using the equalizer
Adjusting equalizer curves
Using the high pass filter
Adjusting loudness
Using subwoofer output
Using non fading output
Setting the rear output and sub- woofer controller
Adjusting source levels
Initial Settings Adjusting initial settings
Switching the auxiliary setting
101
Switching the muting/attenua- tion
Mute Settings Touch TEL/GUIDE in the Initial menu
This function is activated in the following condition
Setting for rear view camera
Switching the auto antenna set
Other Functions Setup adjustments
Setting the video input
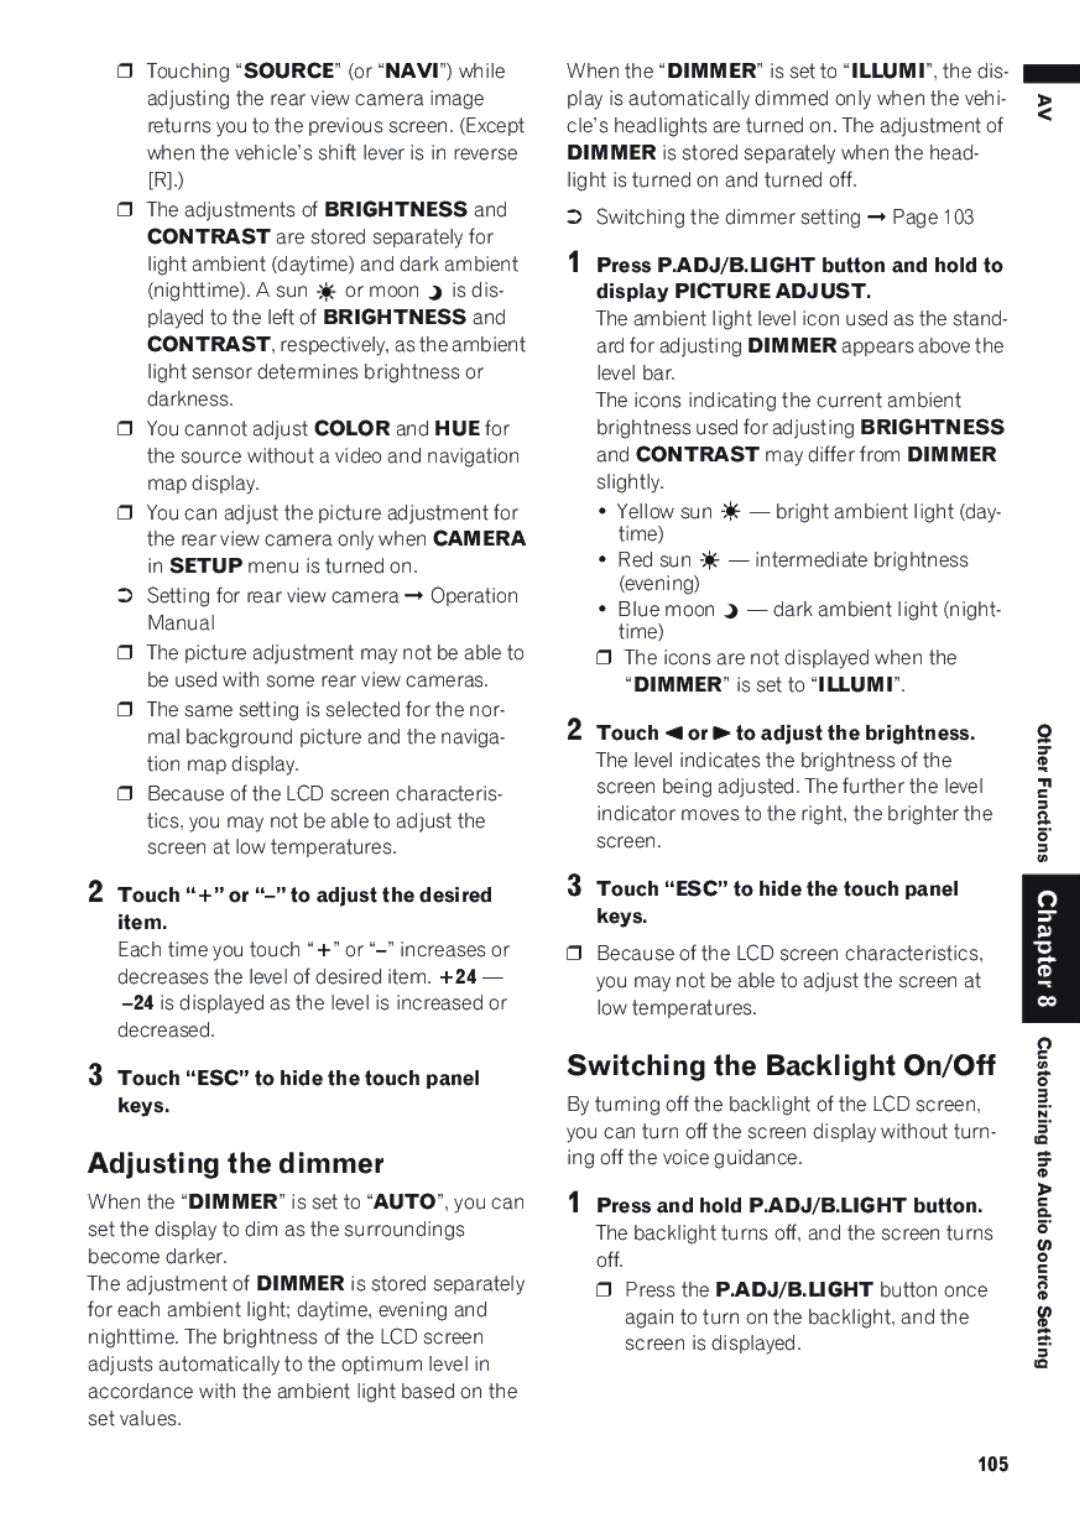
Touch Dimmer in the Initial menu
Switching the dimmer setting
Touch Rear Disp in the Setup menu
Selecting the video of rear dis- play
Mode
Operating the Picture Adjust- ment
Changing the Wide Screen
Switching the Backlight On/Off
Adjusting the dimmer
106
Select the language from the list
Installing the Program
English is the default language of the Naviga
Gation screen Touch Yes/Oui
If necessary, set to summer time
10To complete the setting, touch Back
Gation screen
Sage and touch OK
How do GPS and dead reckon- ing work together?
Positioning Technology
Positioning by GPS
Positioning by dead reckoning
Map matching
Handling Large Errors
When the positioning by GPS is impossible
Map matching
111
Conditions Likely to Cause Noticeable Positioning Errors
Vehicles that Cannot Obtain Speed Pulse Data
112
If there is a loop or similar road configuration
Destination search
About the Data being Deleted
Limitation of Functions for Areas not Stored on the Disc
Displaying the map
Avoid area
Other function limitations
Route information
Overlay POI
115
Troubleshooting
Problems in the screen
116
When the screen is frozen
View
118
Messages and how to react to them
119
Message When What to do
Form the Vicinity Search again
120
Understanding Built-in CD Drive Error Messages
About the route condition
Route Setting Information
Route search specifications
Auto Reroute
Route highlighting
Intersection enlargement
Tracking
Non routable roads pink color road
Types of the Road Stored
Disc
Roads included in the route
ISO9660 format
Route setting
Home location
ID3 tag
Destination
Display Information
127
Settings
128
129
SET UP menu
Menu in the Audio Screen Audio menu
Initial menu
130
Function menu
EXT-1, EXT-2
Pioneer Corporation