Before Proceeding
How to Use This Manual
This manual is set up to follow the course of actions and operations in the order that would seem most logical for someone setting up this unit.
Once the unit has been taken out of the box, and it has been confirmed that all the parts have been received, it may be beneficial to look over the section “Part Names and Functions” starting on page 4 to become acquainted with the plasma monitor and remote control unit, as their respective buttons and controls will be referred to throughout this manual.
The section “Installation and Connections” starting on page 8 covers all the necessary points regarding installation of the plasma display and connections to a wide variety of components.
The section “Setting Up the System” starting on page 18 covers the necessary
The remainder of the sections in this manual is dedicated to the basic operations associated with selecting a source component up to the more complex operations associated with adjusting the plasma display picture to match the requirements of specific components and personal preferences.
About operations in this manual
Operations in this manual are outlined in step by step numbered procedures. Most of the procedures are written in reference to the remote control unit unless the button or control is only present on the main unit. However, if a button or control on the main unit has the same or similar name as that on the remote control unit, that button can be used when performing operations.
Note
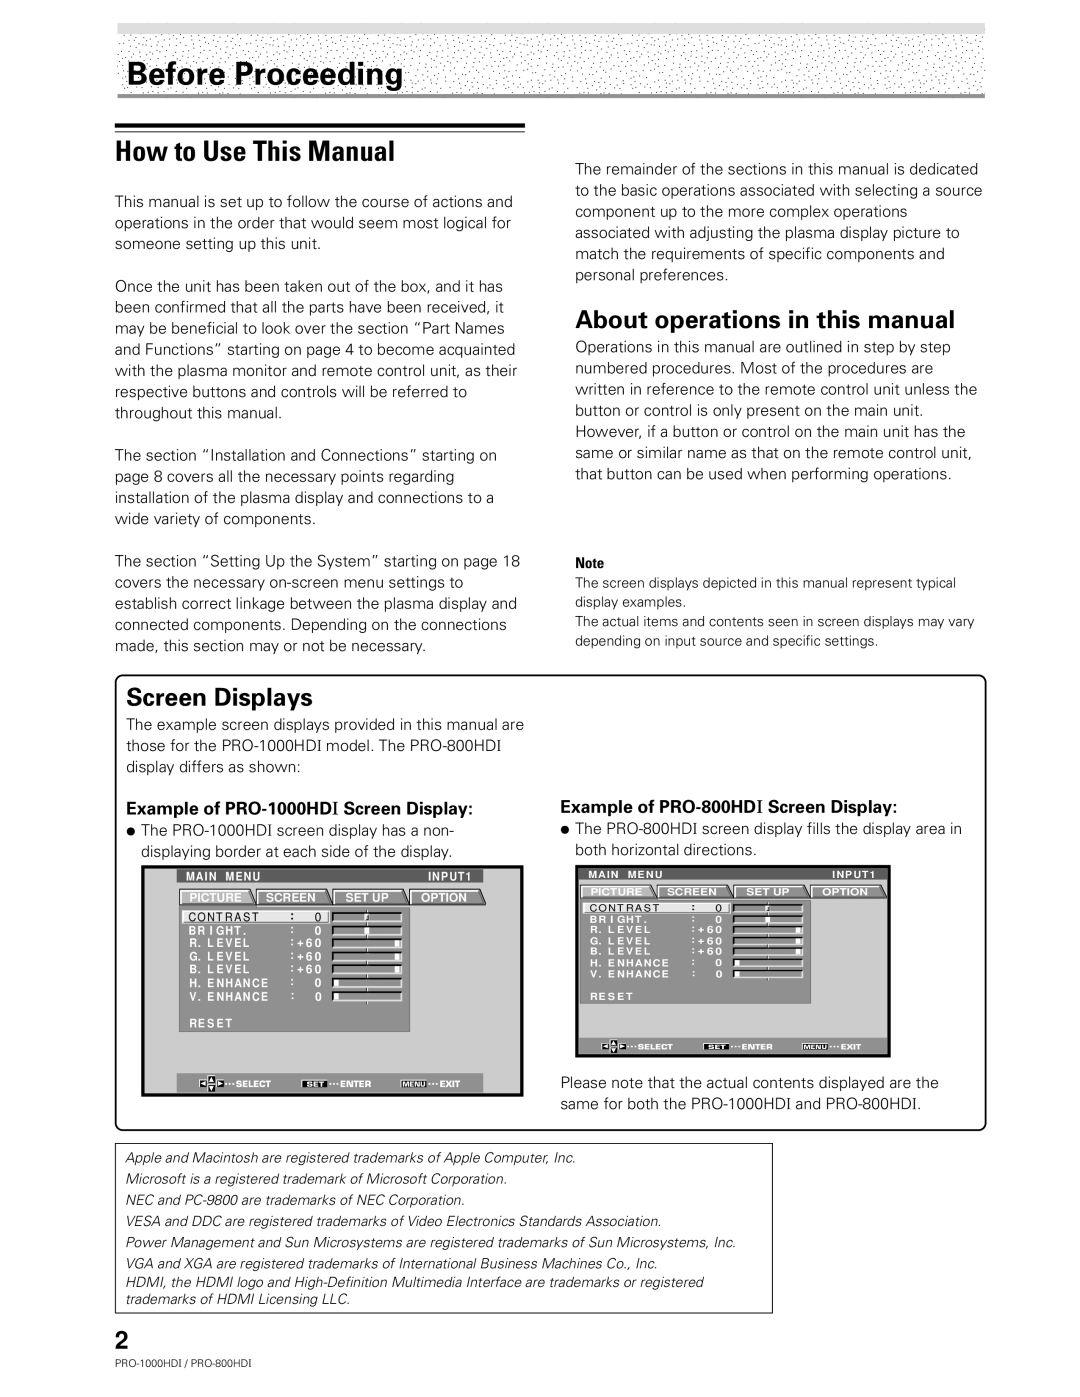
The screen displays depicted in this manual represent typical display examples.
The actual items and contents seen in screen displays may vary depending on input source and specific settings.
Screen Displays
The example screen displays provided in this manual are those for the
Example of PRO-1000HDI Screen Display:
÷The
MAIN MENU |
|
|
|
|
| INPUT1 |
PICTURE | SCREEN | SET UP | OPTION | |||
C O N T R A S T |
| : | 0 |
|
|
|
BR I GHT . |
| : | 0 |
|
|
|
R. L E V E L |
| : + 6 0 |
|
|
| |
G. L E V E L |
| : + 6 0 |
|
|
| |
B. L E V E L |
| : + 6 0 |
|
|
| |
H. E NHAN CE | : | 0 |
|
|
| |
V . E NHAN CE | : | 0 |
|
|
| |
RE S E T |
|
|
|
|
|
|
SELECT |
| SET | ENTER | MENU | EXIT | |
Example of PRO-800HDI Screen Display:
÷The
MAIN MENU |
|
|
|
| INPUT1 |
PICTURE SCREEN | SET UP | OPTION | |||
C O N T R A S T | : | 0 |
|
|
|
B R I GH T . | : | 0 |
|
|
|
R. L E V E L | : + 6 0 |
|
|
| |
G. L E V E L | : + 6 0 |
|
|
| |
B. L E V E L | : + 6 0 |
|
|
| |
H. E NH AN CE | : | 0 |
|
|
|
V . E NH AN CE | : | 0 |
|
|
|
RE S E T |
|
|
|
|
|
|
|
|
|
|
|
SELECT |
|
| ENTER |
| EXIT |
| SET | MENU | |||
|
|
|
|
|
|
Please note that the actual contents displayed are the same for both the
Apple and Macintosh are registered trademarks of Apple Computer, Inc.
Microsoft is a registered trademark of Microsoft Corporation.
NEC and
VESA and DDC are registered trademarks of Video Electronics Standards Association.
Power Management and Sun Microsystems are registered trademarks of Sun Microsystems, Inc.
VGA and XGA are registered trademarks of International Business Machines Co., Inc. HDMI, the HDMI logo and
2
