Additional information | 12 |
Chapter 12
Additional information
Optional system settings
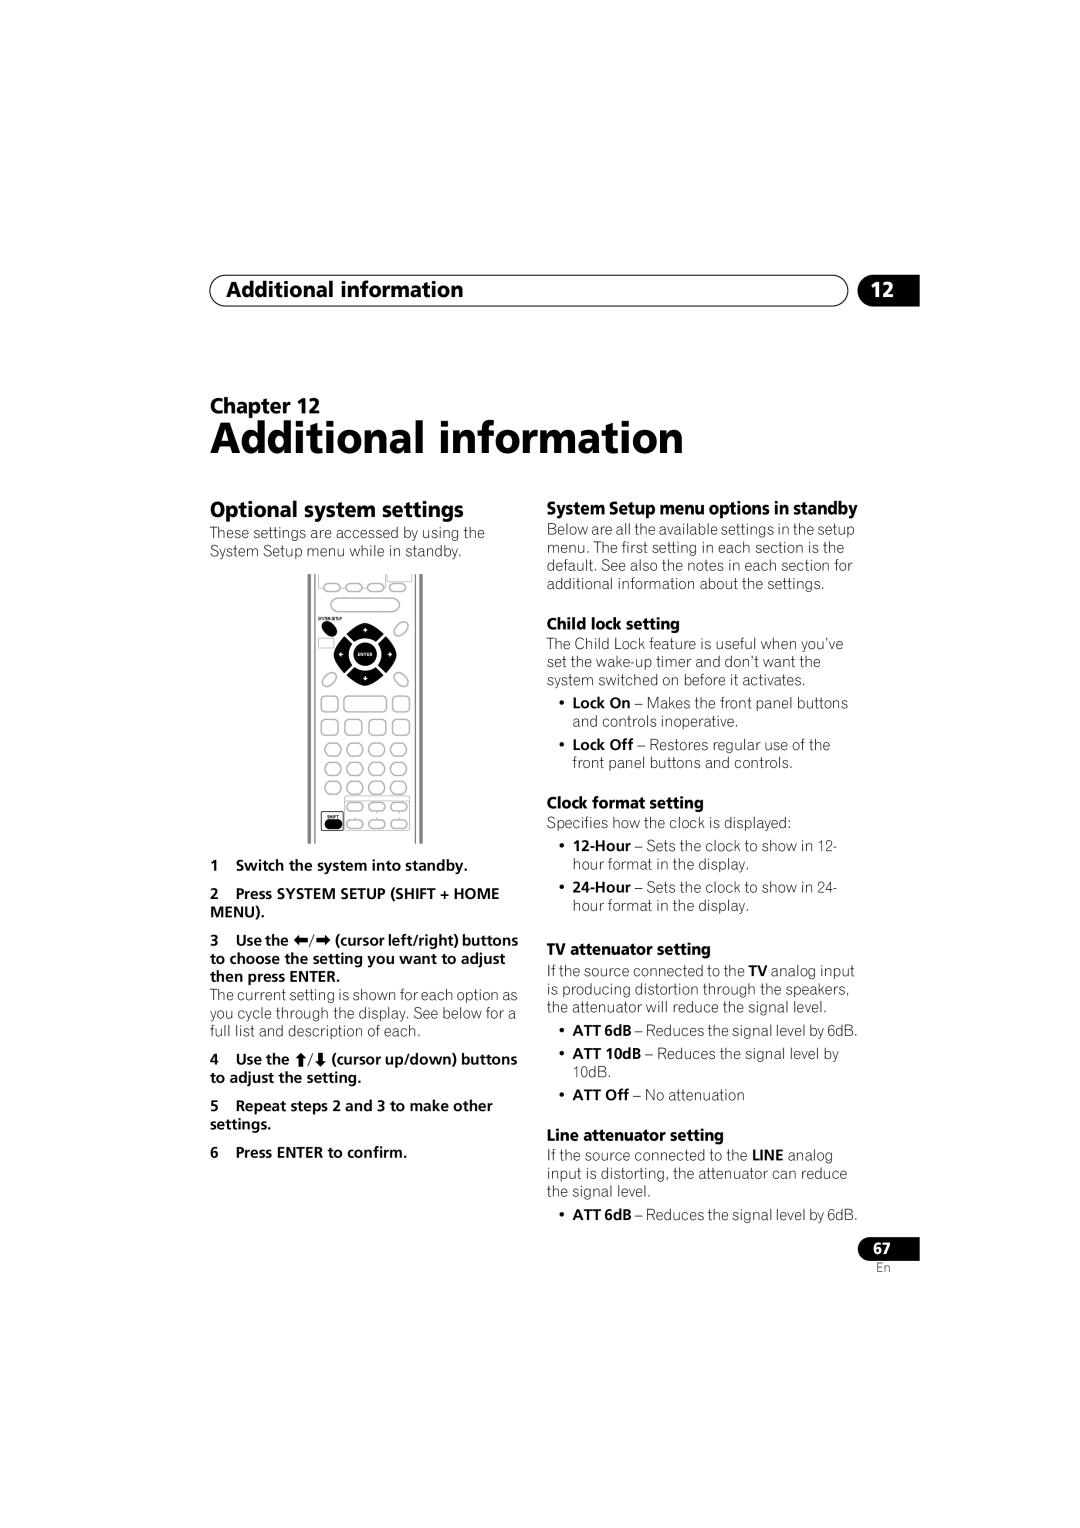
These settings are accessed by using the System Setup menu while in standby.
SYSTEM SETUP
ENTER
SHIFT
1Switch the system into standby.
2Press SYSTEM SETUP (SHIFT + HOME MENU).
3 Use the (cursor left/right) buttons to choose the setting you want to adjust then press ENTER.
The current setting is shown for each option as you cycle through the display. See below for a full list and description of each.
4 Use the (cursor up/down) buttons to adjust the setting.
5Repeat steps 2 and 3 to make other settings.
6Press ENTER to confirm.
System Setup menu options in standby
Below are all the available settings in the setup menu. The first setting in each section is the default. See also the notes in each section for additional information about the settings.
Child lock setting
The Child Lock feature is useful when you’ve set the
•Lock On – Makes the front panel buttons and controls inoperative.
•Lock Off – Restores regular use of the front panel buttons and controls.
Clock format setting
Specifies how the clock is displayed:
•
•
TV attenuator setting
If the source connected to the TV analog input is producing distortion through the speakers, the attenuator will reduce the signal level.
•ATT 6dB – Reduces the signal level by 6dB.
•ATT 10dB – Reduces the signal level by 10dB.
•ATT Off – No attenuation
Line attenuator setting
If the source connected to the LINE analog input is distorting, the attenuator can reduce the signal level.
• ATT 6dB – Reduces the signal level by 6dB.
67
En
