
VSX-39TX specifications
The Pioneer VSX-39TX is a high-performance audio/video receiver that exemplifies the brand's commitment to delivering superior sound quality and advanced technology. Released as part of Pioneer's flagship series, the VSX-39TX is designed for audiophiles and home theater enthusiasts seeking an immersive entertainment experience.One of the standout features of the VSX-39TX is its robust amplification system. It boasts a 7.1-channel configuration that delivers powerful and clear audio across multiple channels. With a total power output of 110 watts per channel, this receiver is capable of driving a wide range of speakers, ensuring an engaging listening experience whether you're enjoying music or diving into a cinematic film.
The VSX-39TX also supports various audio formats, including Dolby Digital EX, DTS-ES, and the latest Dolby TrueHD and DTS-HD Master Audio. This extensive surround sound support allows for a truly immersive audio experience. The receiver’s advanced audio processing technology helps in accurately decoding these formats, ensuring that the sound is not only powerful but also precise and detailed.
Another significant aspect of the Pioneer VSX-39TX is its video capabilities. The receiver features multiple HDMI inputs, supporting 1080p video resolution and providing a complete connection solution for high-definition devices. Its integrated video upscaling feature enhances lower resolution content, allowing users to enjoy their entire media library at the highest quality possible.
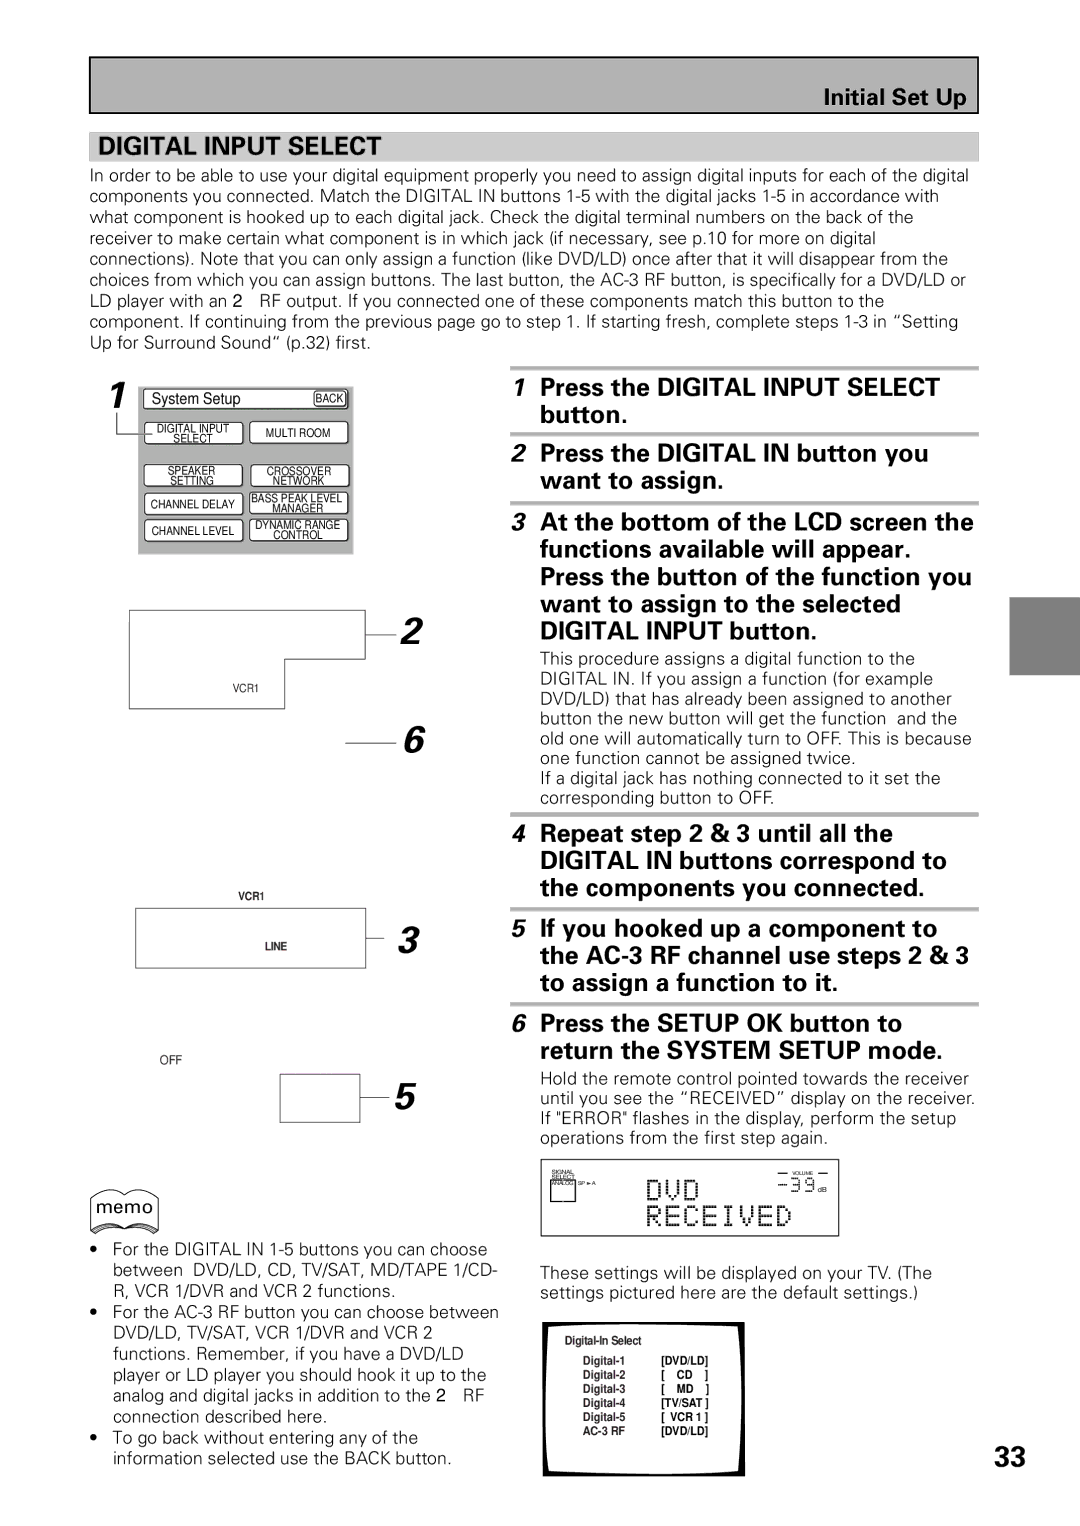
The VSX-39TX also emphasizes flexibility with its extensive connectivity options. In addition to HDMI, it includes composite and component video inputs, making it compatible with a variety of source devices. Furthermore, the receiver features a built-in AM/FM tuner and is equipped with a direct-access port for digital audio input, providing versatility for users.
To enhance user experience, the VSX-39TX comes with a well-designed remote control and an intuitive on-screen display, allowing for easy navigation through the setup process and adjustment of settings. The receiver also supports Pioneer's Multi-Room function, enabling audio playback in different zones of the home.
In summary, the Pioneer VSX-39TX stands out with its combination of powerful amplification, extensive surround sound support, and versatile connectivity options. Its commitment to delivering high-quality audio and video makes it a formidable choice for anyone looking to elevate their home entertainment system. Whether you are listening to music or watching movies, the VSX-39TX is built to provide a captivating audio-visual experience.