Using Other Functions

Recording from Audio Components

The following explanations show you how to record an analog or digital audio signal. Note that your analog components cannot record a player that is only connected digitally (and vice-versa). If you want to record from a digital component to an analog one (for example, a tape deck), or vice-versa, the digital component it must be connected via analog jacks and you need to set the SIGNAL SELECT switch to ANALOG. To make exact digital copies (of digital sources like CDs) both the source component and the recorder must be connected with digital connections. See p.12 for more on analog audio connections and p.13 for digital audio connections.

The receiver's volume, channel level, balance, TONE, DNR, MIDNIGHT, LOUDNESS and surround ef- memo fects have no effect on the recorded signal and the MULTI CH IN cannot be recorded.

In some cases, digital recordings have copy guard protections and making a digital copy is not possible. In this case you can only copy them in an analog manner.

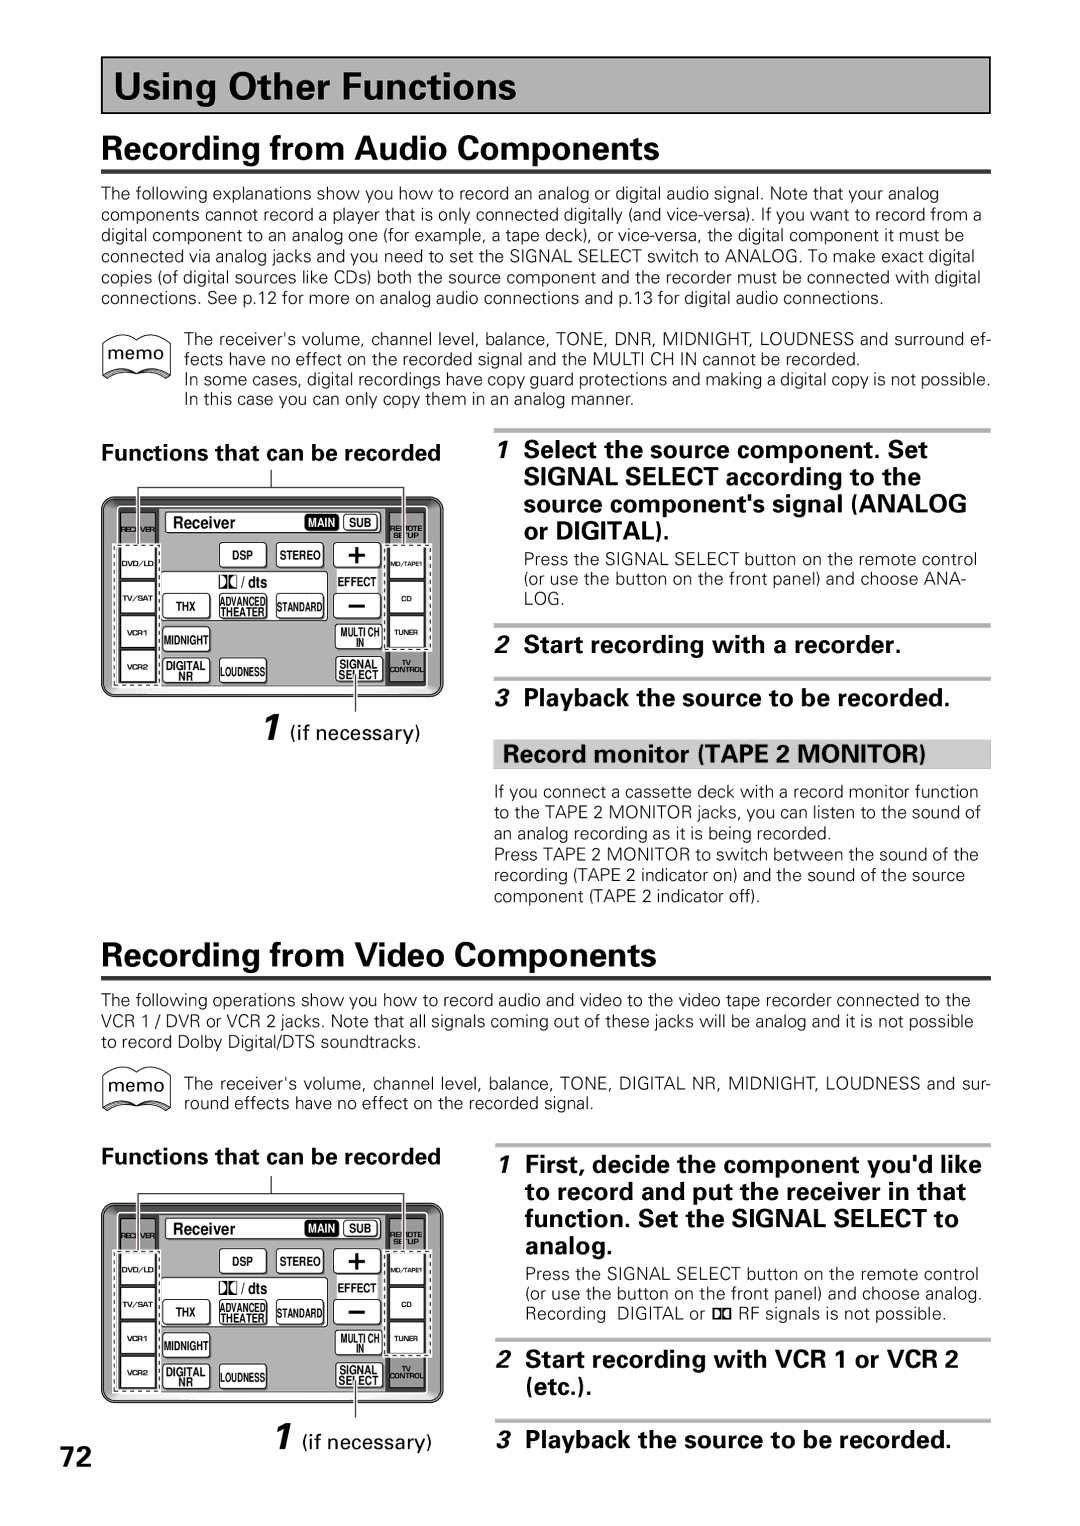
Functions that can be recorded

1Select the source component. Set SIGNAL SELECT according to the source component's signal (ANALOG

o

Receiver

MAIN SUB


DSP

STEREO


/ /dts

EFFECT

THX

ADVANCED

STANDARD


THEATER


MIDNIGHT

DIRECT

MULTI CH

IN


SIGNAL

DIGITAL


SELECT

LOUDNESS

SIGNAL

NR

SELECT

no

n

or DIGITAL).

Press the SIGNAL SELECT button on the remote control (or use the button on the front panel) and choose ANA- LOG.

2Start recording with a recorder.

3Playback the source to be recorded.

1 (if necessary)

Record monitor (TAPE 2 MONITOR)

If you connect a cassette deck with a record monitor function to the TAPE 2 MONITOR jacks, you can listen to the sound of an analog recording as it is being recorded.

Press TAPE 2 MONITOR to switch between the sound of the recording (TAPE 2 indicator on) and the sound of the source component (TAPE 2 indicator off).

Recording from Video Components

The following operations show you how to record audio and video to the video tape recorder connected to the VCR 1 / DVR or VCR 2 jacks. Note that all signals coming out of these jacks will be analog and it is not possible to record Dolby Digital/DTS soundtracks.

memo The receiver's volume, channel level, balance, TONE, DIGITAL NR, MIDNIGHT, LOUDNESS and sur- round effects have no effect on the recorded signal.

Functions that can be recorded

1 First, decide the component you'd like

to record and put the receiver in that

function. Set the SIGNAL SELECT to

o

Receiver

MAIN SUB


DSP

STEREO


/ /dts

EFFECT

THX

ADVANCED

STANDARD


THEATER


MIDNIGHT

DIRECT

MULTI CH

IN


SIGNAL

DIGITAL


SELECT

LOUDNESS

SIGNAL

NR

SELECT

no

n

analog.

Press the SIGNAL SELECT button on the remote control (or use the button on the front panel) and choose analog. Recording DIGITAL or 2RF signals is not possible.

2 Start recording with VCR 1 or VCR 2

(etc.).

72

1 (if necessary)

3 Playback the source to be recorded.

Page 72
Image 72
Pioneer VSX-39TX manual Using Other Functions, Recording from Audio Components, Recording from Video Components

VSX-39TX specifications

The Pioneer VSX-39TX is a high-performance audio/video receiver that exemplifies the brand's commitment to delivering superior sound quality and advanced technology. Released as part of Pioneer's flagship series, the VSX-39TX is designed for audiophiles and home theater enthusiasts seeking an immersive entertainment experience.

One of the standout features of the VSX-39TX is its robust amplification system. It boasts a 7.1-channel configuration that delivers powerful and clear audio across multiple channels. With a total power output of 110 watts per channel, this receiver is capable of driving a wide range of speakers, ensuring an engaging listening experience whether you're enjoying music or diving into a cinematic film.

The VSX-39TX also supports various audio formats, including Dolby Digital EX, DTS-ES, and the latest Dolby TrueHD and DTS-HD Master Audio. This extensive surround sound support allows for a truly immersive audio experience. The receiver’s advanced audio processing technology helps in accurately decoding these formats, ensuring that the sound is not only powerful but also precise and detailed.

Another significant aspect of the Pioneer VSX-39TX is its video capabilities. The receiver features multiple HDMI inputs, supporting 1080p video resolution and providing a complete connection solution for high-definition devices. Its integrated video upscaling feature enhances lower resolution content, allowing users to enjoy their entire media library at the highest quality possible.

The VSX-39TX also emphasizes flexibility with its extensive connectivity options. In addition to HDMI, it includes composite and component video inputs, making it compatible with a variety of source devices. Furthermore, the receiver features a built-in AM/FM tuner and is equipped with a direct-access port for digital audio input, providing versatility for users.

To enhance user experience, the VSX-39TX comes with a well-designed remote control and an intuitive on-screen display, allowing for easy navigation through the setup process and adjustment of settings. The receiver also supports Pioneer's Multi-Room function, enabling audio playback in different zones of the home.

In summary, the Pioneer VSX-39TX stands out with its combination of powerful amplification, extensive surround sound support, and versatile connectivity options. Its commitment to delivering high-quality audio and video makes it a formidable choice for anyone looking to elevate their home entertainment system. Whether you are listening to music or watching movies, the VSX-39TX is built to provide a captivating audio-visual experience.