Advanced setup | 11 |
Use the front panel MULTI JOG dial (or on the remote) to change the character and ENTER to move forward a position. If you want to change a character you input, you can press RETURN to go back one position.
The name can be up to ten characters (the possible characters are listed below).
ABCDEFGHIJKLMNOPQRSTUVWXYZ
abcdefghijklmnopqrstuvwxyz
0123456789
4Select another name to edit, or select ‘Exit’ from the bottom of the list if you’re done.
If you’ve selected another name, repeat step 3, otherwise you’ll return to the System Setup menu.
PHONO/LINE Setup
• Default setting: PHONO
You can choose whether you want to use the PHONO jack on the rear of the receiver to connect a turntable, or a line level component (such as a CD or DVD player).
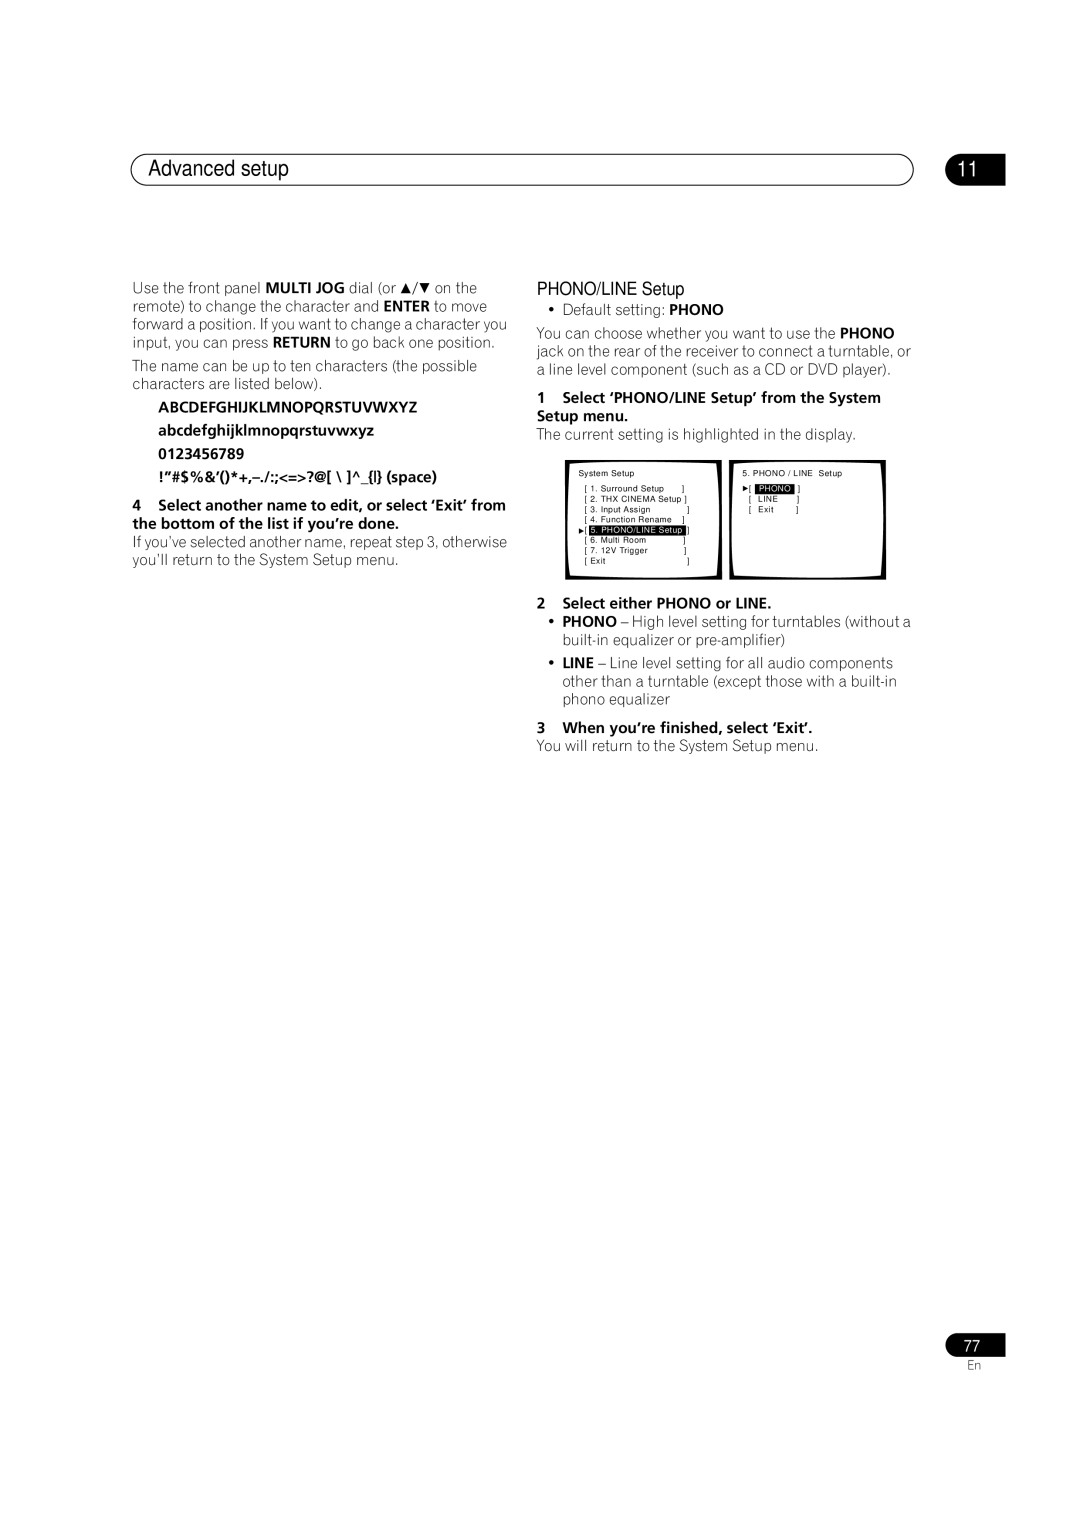
1Select ‘PHONO/LINE Setup’ from the System Setup menu.
The current setting is highlighted in the display.
System Setup |
| 5. PHONO / LINE Setup | ||||
[ 1. Surround Setup | ] | [ |
| ] | ||
PHONO | ||||||
[ 2. THX CINEMA Setup ] | [ | LINE | ] | |||
[ 3. Input Assign | ] | [ | Exit | ] | ||
[ 4. | Function Rename | ] |
|
|
| |
[ | 5. | PHONO/LINE Setup | ] |
|
|
|
[ | 6. | Multi Room | ] |
|
|
|
[ 7. | 12V Trigger | ] |
|
|
| |
[ Exit | ] |
|
|
| ||
2Select either PHONO or LINE.
•PHONO – High level setting for turntables (without a
•LINE – Line level setting for all audio components other than a turntable (except those with a
3When you’re finished, select ‘Exit’.
You will return to the System Setup menu.
77
En