VSX-AX5Ai-S, VSX-AX5Ai-G specifications
The Pioneer VSX-AX5Ai-S and VSX-AX5Ai-G are standout home theater receivers known for their robust performance and advanced features that cater to audio enthusiasts and casual listeners alike. Designed with a focus on versatility and high-fidelity audio reproduction, these receivers deliver exceptional sound quality for both music and movies.One of the most significant features of the VSX-AX5Ai series is its powerful amplification system. With a capacity to drive multiple channels, these receivers provide dynamic sound and enough power to fill even large spaces. The Class D3 amplification technology used in these models ensures efficient performance, producing clean and distortion-free audio. This technology contributes to higher energy efficiency while providing rich bass and clear highs.
These receivers are equipped with advanced audio codecs, including Dolby Atmos and DTS:X, which create an immersive surround sound experience. The ability to decode high-definition audio formats enhances the listening experience, bringing movie soundtracks and music to life with precision and depth. The multi-channel setup allows for easy integration into existing home theater systems, delivering a cinematic atmosphere at home.
Another notable feature is the MCACC (Multi-Channel Acoustic Calibration System). This automatic calibration system optimizes speaker settings based on the room's acoustics, ensuring that users achieve the best possible sound from their speaker setup. It analyzes the acoustics and adjusts the receiver's settings to provide a balanced and harmonious sound profile.
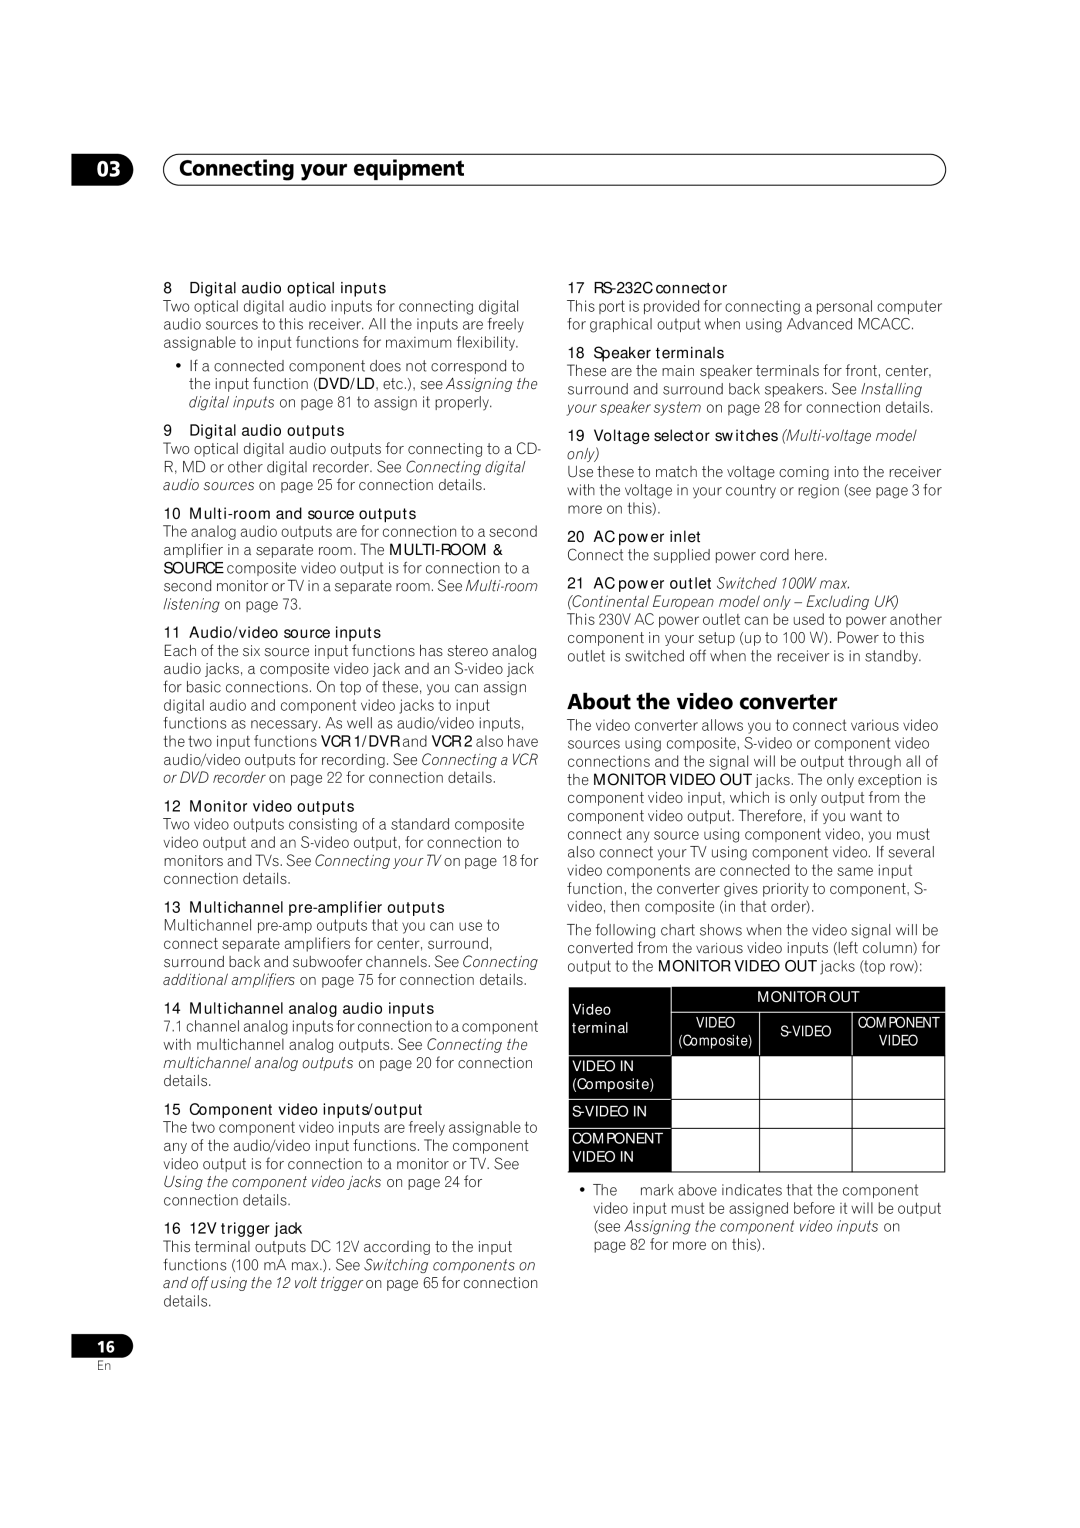
Connectivity is a highlight of the VSX-AX5Ai-S and VSX-AX5Ai-G. They come equipped with multiple HDMI inputs and outputs, allowing users to connect various devices, such as Blu-ray players, gaming consoles, and streaming devices. The presence of digital and analog audio inputs ensures compatibility with a wide range of audio sources. Furthermore, these models support video upscaling, enhancing lower-resolution content for improved playback quality.
The user-friendly interface and remote control make it easy to navigate settings and configurations, providing a seamless user experience. Additionally, both models support streaming services, allowing users to access their favorite music directly from apps over Wi-Fi.
In summary, the Pioneer VSX-AX5Ai-S and VSX-AX5Ai-G are exceptional receivers that combine powerful amplification, advanced audio processing, and user-friendly features. With technologies designed to optimize sound quality and provide versatile connectivity, these models are an excellent choice for anyone looking to enhance their home audio experience. Whether for movies, music, or gaming, they deliver a premium listening experience that stands out in the competitive home theater market.

