Initial Set Up
On Screen Display
There are a number of possible ways to hook up the receiver to your video components, like a DVD player, and hook up to your receiver to your TV, but some of them will not allow you to use the
1Always use the same type of video cords to hook up your video components to the receiver as you use to hook up the receiver to your TV. For example, if you use composite video cords to hook up your DVD player to the receiver, use composite video cords to hook up the receiver to your TV. If you use S video cords to hook up your DVD player and the receiver, use S video cords to hook up the receiver to your TV.
2Always make sure your TV is set to the appropriate input channel (for example, video 1). Your TV may have a number of input channels and if you do not select the proper one, you will not be able to use this receiver’s
You might, for example, use both composite and S video cords to hook up your video components with this receiver and then use composite video cords to hook up this receiver to your TV. This arrangement would still NOT let you see the
Switching video system between PAL and NTSC (if necessary)
This receiver is able to use two types of video systems for its OSD (on screen display) either PAL or NTSC. If you don't match the system on the amplifier with your home system no OSD will appear on your TV. The default setting is NTSC, which is the standard in North America. If you use this system you don't need to make any settings here. People with
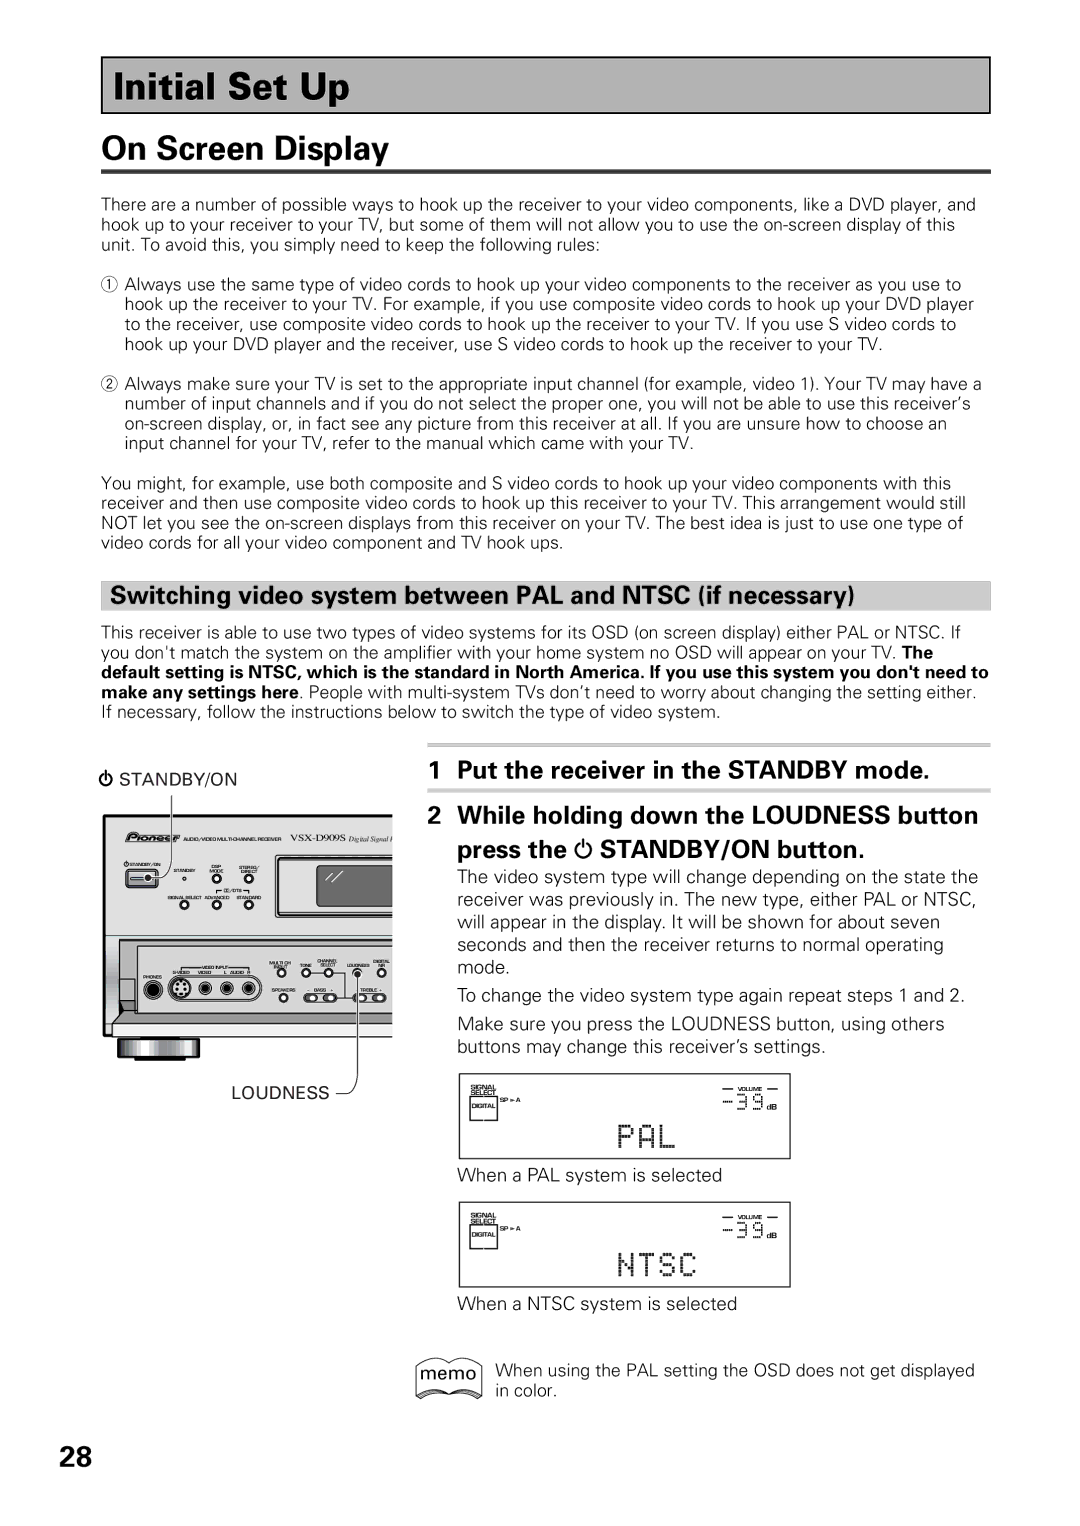
STANDBY/ON |
|
| 1 Put the receiver in the STANDBY mode. | ||
|
|
|
|
| 2 While holding down the LOUDNESS button |
AUDIO/VIDEO | press the STANDBY/ON button. | ||||
STANDBY/ON |
|
|
|
| |
DSP | STEREO/ |
|
| The video system type will change depending on the state the | |
STANDBY | MODE | DIRECT |
|
| |
|
|
|
|
| |
|
| /DTS |
|
| receiver was previously in. The new type, either PAL or NTSC, |
SIGNAL SELECT ADVANCED STANDARD |
|
| |||
|
|
|
|
| will appear in the display. It will be shown for about seven |
|
|
|
|
| seconds and then the receiver returns to normal operating |
|
| MULTI CH | CHANNEL | DIGITAL | mode. |
| VIDEO INPUT | INPUT | TONE SELECT | LOUDNESS NR | |
PHONES | VIDEO L | AUDIO R |
|
| |
|
| SPEAKERS | - BASS + | - TREBLE + | To change the video system type again repeat steps 1 and 2. |
|
|
|
|
| Make sure you press the LOUDNESS button, using others |
|
|
|
|
| buttons may change this receiver’s settings. |
|
| LOUDNESS |
|
| |
|
|
|
|
| When a PAL system is selected |
When a NTSC system is selected
memo When using the PAL setting the OSD does not get displayed ![]() in color.
in color.
28