Video Adjust menu | 10 |
Chapter 10
Video Adjust menu
Video Adjust
• Default setting: Standard
From the Video Adjust screen you can select the standard video presentation or define presets of your own.
1Press HOME MENU and select ‘Video Adjust’ from the
| Video Adjust |
2 Use the | (cursor left/right) buttons |
to select a preset.
![]() Video Adjust
Video Adjust
Standard
•Standard
•
3Press ENTER to make the setting and exit the Video Adjust screen.
•Depending on the disc and the TV/monitor, you may not see the effect clearly.
Creating your own presets
You can create up to two presets of your own.
1Select one of the Memory presets (see above).
2 Press (cursor down) to select ‘Detailed Settings’ then press ENTER.
![]() Video Adjust
Video Adjust
Memory1
Detailed Settings
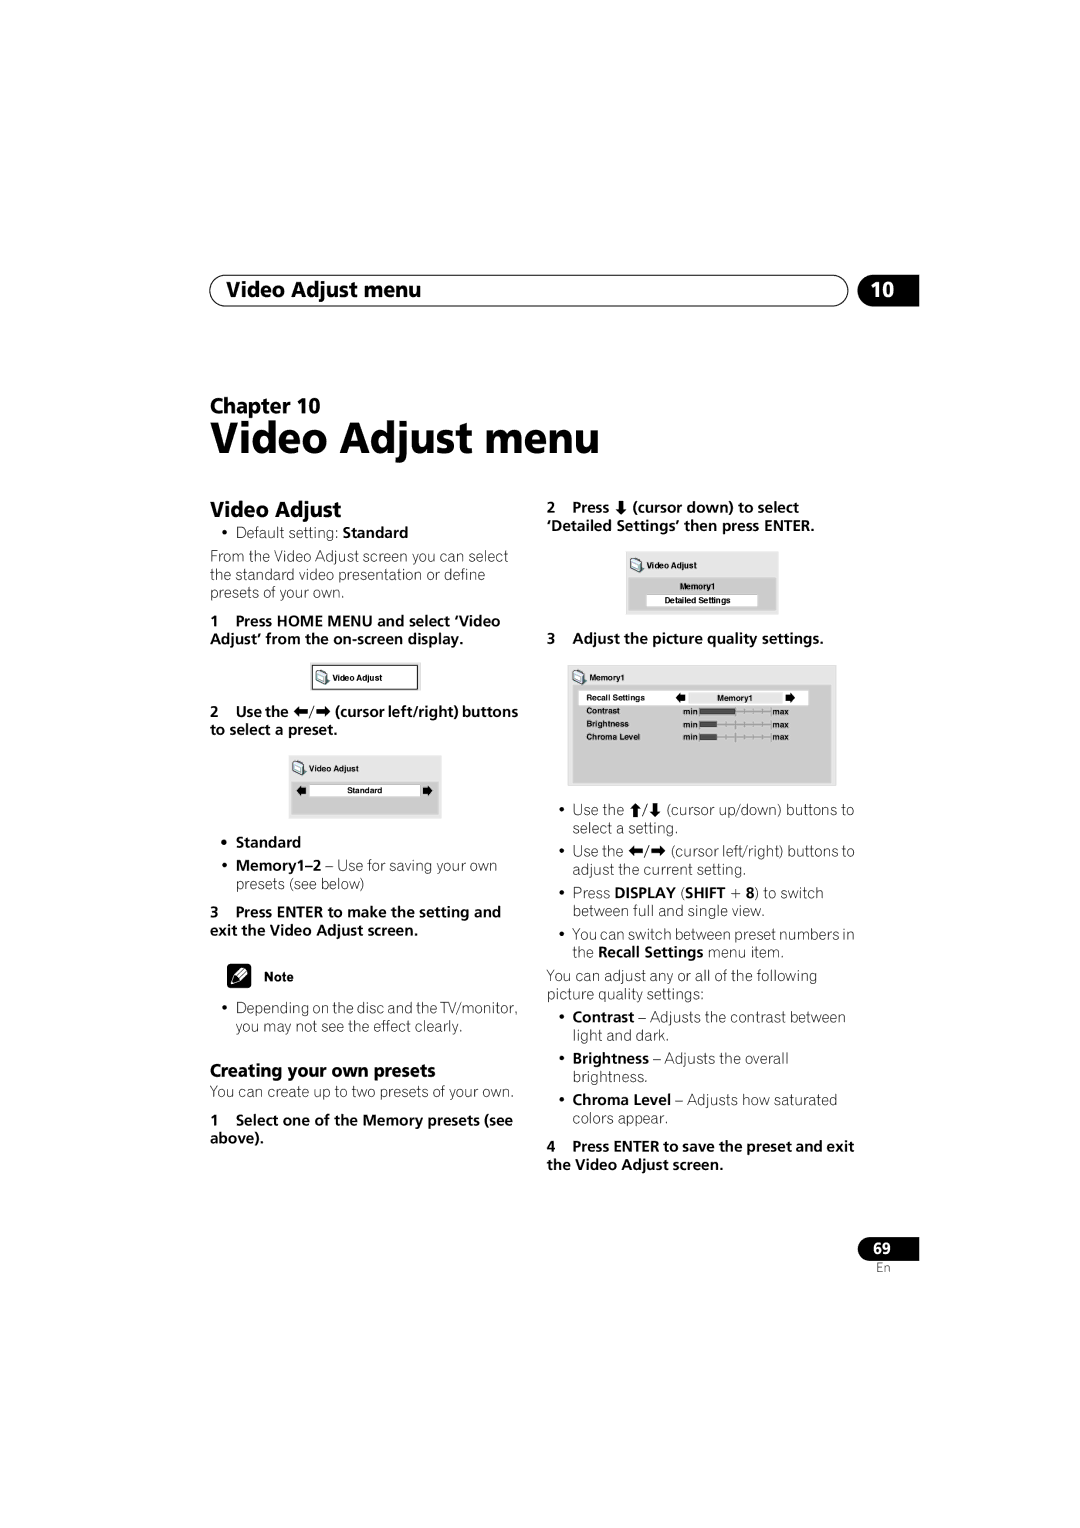
3 Adjust the picture quality settings.
![]() Memory1
Memory1
Recall Settings |
|
|
| Memory1 |
| ||
|
|
|
|
|
|
|
|
Contrast | min |
|
|
| max | ||
|
|
| |||||
Brightness | min |
|
|
| max | ||
Chroma Level | min |
|
|
| max | ||
• Use the | (cursor up/down) buttons to |
select a setting. | |
• Use the | (cursor left/right) buttons to |
adjust the current setting.
•Press DISPLAY (SHIFT + 8) to switch between full and single view.
•You can switch between preset numbers in the Recall Settings menu item.
You can adjust any or all of the following picture quality settings:
•Contrast – Adjusts the contrast between light and dark.
•Brightness – Adjusts the overall brightness.
•Chroma Level – Adjusts how saturated colors appear.
4Press ENTER to save the preset and exit the Video Adjust screen.
69
En