PD7170 Home Theater Projector
Page
For Projectors, Video Processors and Controllers
TWO Year Limited Warranty
Contact a Planar Authorized Service Center to Obtain Service
Additional Information
Important Safety Instructions
Declaration of Conformity
Compliance Information
FCC Part
Table of Contents
Operation
Maintenance and Troubleshooting
Serial Communications
Specifications
Xii
List Of Figures
List Of Figures
Introduction
Carriage return must be used after each command or
About This Manual
Target Audience
If you need Turn to
Using This Manual
Key Features and Benefits
Description, Features and Benefits
Optional Accessories
Parts List
PD7170 at a Glance
Controls and Functions
Exhaust Vent
Planar Logo Badge Rear Cover
Component
PD7170 Rear Panel
IR Input
PD7170 Remote Control
Enter
PIP
Controls and Functions
Operation
Installation
Remote Control
IR Reception Angles
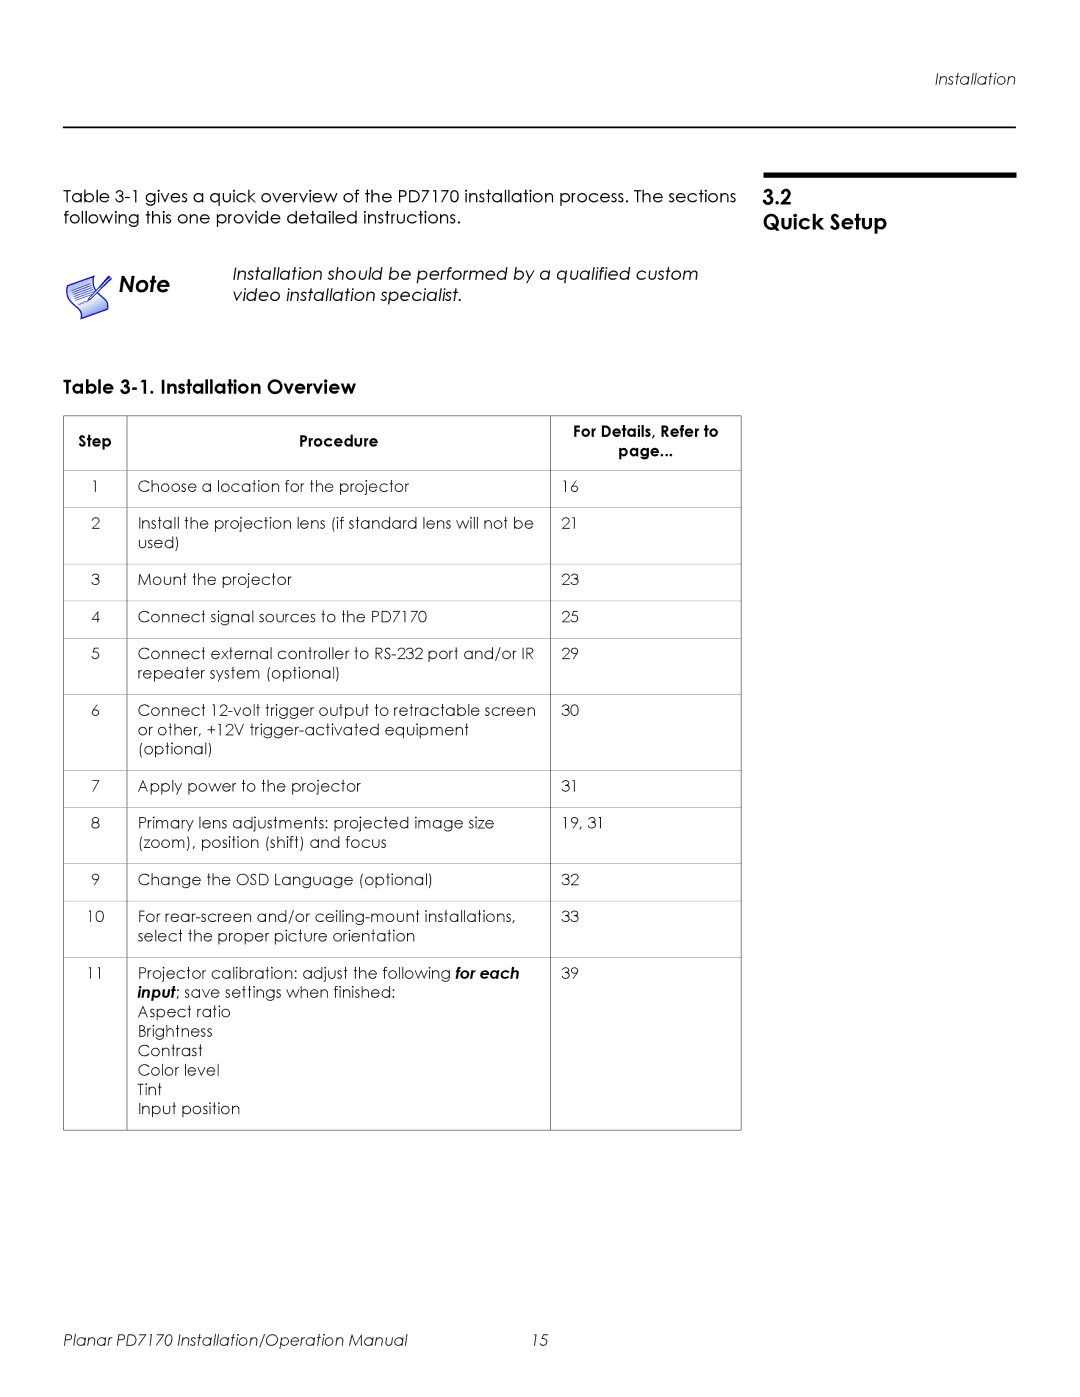
Installation Overview
Quick Setup
Installation should be performed by a qualified custom
Video installation specialist
Projector Installation Options
Installation
Installation Type
Considerations
Throw Distance
Ambient Light
Position
PD7170 Lens Options and Throw Ratios
Vertical and Horizontal
Width, as shown in -4 and Figure
Lens Shift
Folded Optics
Vertical lens shift figures are for ceiling mount
Lens Replacement
Trim Ring
Lens Motor Connector
Connections to the PD7170
Mounting the PD7170
Connector Panel Access
Connecting Source Components to the PD7170
Highest video quality because the signal is carried
Use the Hdmi inputs whenever possible. This ensures
Component output into the projector
RGB Connections
Component Video Connections
10. Composite and S-Video Connections
Communications on
RS-232 Controller
Connection
Connecting an External IR
Connecting 12-Volt
Trigger Output to External
Theater Equipment
Focus Zoom Lens Shift
Turning on the Power Lens Adjustments
Connecting to AC Power
Lens shift exceeds 50 per cent of the screen height
Changing the OSD Language
Rear Projection Ceiling Mode
Adjusting the Picture Orientation
Installation
Selecting Video Memory
Operation
Selecting an Aspect Ratio
Selecting An Input Source
Available Main and PIP Source Combinations
Using Picture-In-Picture PIP
PIP Input Source
Main
Using the On-Screen Menus
PD7170 OSD Menu Structure
Other image quality settings in this menu refer to
DynamicBlack to Off before adjusting Brightness, Contrast
PIP source, switch to the PIP source thereby making it
Active source, adjust the controls and then switch
169
Aspect Ratio Settings
Aspect Geometry of Projected Image
Letterbox
Native
Sub-menu
You must enter a passcode to access the Save ISF
Typical Pluge Pattern for Adjusting Brightness
Brightness and Contrast controls are interactive. a change
Achieve the optimum setting
Change to the other in order to achieve the optimum setting
Operation
Overscan Examples
Crop
Source Select Sub-Menu
PD7170 Advanced Menu
Advanced
Operation
Color
X/y Color Gamut Values
To the same frame rate as the main source
RGB Adjust Sub-Menu
Higher Offset settings reduce the image brightness
Generally, higher Gain settings reduce the image contrast
Remove high-frequency noise from the signal
Adjust the Phase after adjusting Tracking see below. If
Some shimmer from a video or Hdtv source persists, use
Noise Reduction controls described on page 46 to
11. PD7170 System Menu
System
If Scart is enabled, both Component 1 and Video must be
If either Component 1 or Video is enabled, Scart must be
Disabled
PIP
14. PIP Split-Screen Mode
15. PD7170 Control Menu
Control
Operation
Language
16. PD7170 Service Menu
Service
Operation
Mode
OSD menus are not available when in test pattern
Lamp Replacement
Maintenance and Troubleshooting
Symptom Possible Causes Solution
Troubleshooting Tips
Troubleshooting Chart
LED is flashing red PD7170 internal
Maintenance and Troubleshooting
Serial Communications
Key Commands
RS232 Remote Button IR Code Description Keyname Set
Serial Command Key Names and IR Codes
Gam.brig
Operations Control Commands Function Action on unit
Operations Commands
Values
Serial Commands
Save.isf
Source.sel = ?
Dblack = ?
Blank.screen = ?
Act.source
PD7170 Specifications
Specifications
PD7170 Specifications
Performance
Native Resolution
Microdisplay
Aspect Ratios
Weight without lens
Dimensions
Operating Temperature
Universal Power Supply
1shows the PD7170 dimensions, in millimeters
PD7170 Dimensions
Supported Timings
Supported Signal Timings by Input
PAL-B/G
Page
Part No -0882-01 rev. a May