Installation
The PD8130/PD8150 ships with various types of AC power cords. Choose the one that is appropriate to your locale.
Plug the female end of the power cord into the AC receptacle on the rear of the projector (AC 100V ~ 240V); see Figure
1. Turn on your source components.
ON
2. Press the ON l button on the remote control to turn on the PD8130/PD8150. The LED flashes green to indicate that it is warming up.
3. When the projector is ready for use, the LED turns off.
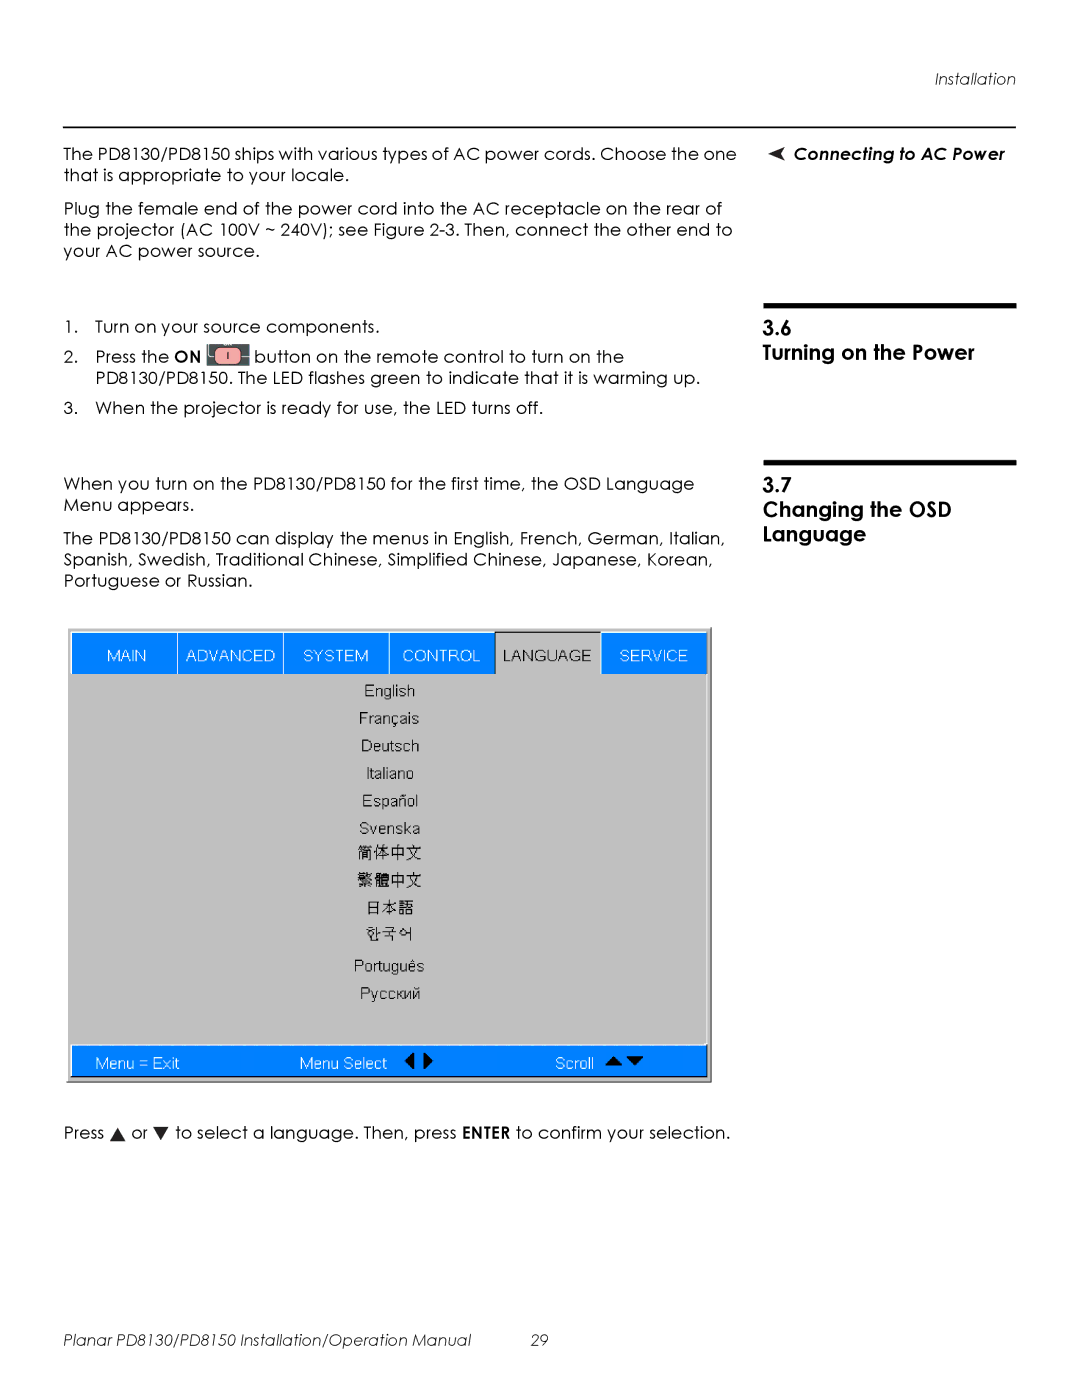
When you turn on the PD8130/PD8150 for the first time, the OSD Language Menu appears.
The PD8130/PD8150 can display the menus in English, French, German, Italian, Spanish, Swedish, Traditional Chinese, Simplified Chinese, Japanese, Korean, Portuguese or Russian.
Press ![]() or
or ![]() to select a language. Then, press ENTER to confirm your selection.
to select a language. Then, press ENTER to confirm your selection.
 Connecting to AC Power
3.6
Turning on the Power
3.7
Changing the OSD Language
Planar PD8130/PD8150 Installation/Operation Manual | 29 |