Installation
3.8 | If the PD8130/PD8150 is installed behind the screen, you must change the |
Adjusting the Picture | picture orientation to match the installation method. To do this, press MENU on |
Orientation | the remote control. Then, select System from the Main Menu. |
Rear Projection ➤ | If the projector is used in a |
| repeatedly to select Rear Projection from the System Menu. Press or to set it |
| to On. |
Ceiling Mode ➤ | If the projector is |
| image. If this automatic inversion is not desired, select Ceiling Mode from the |
| System Menu and set it to Off. |
|
|
3.9 | The PD8130/PD8150 gives you a great deal of control over the picture size, |
Lens Adjustments | position and focus. |
Focus ➤ | To focus the projected image, grasp the |
| lens by the front ring and rotate it. |
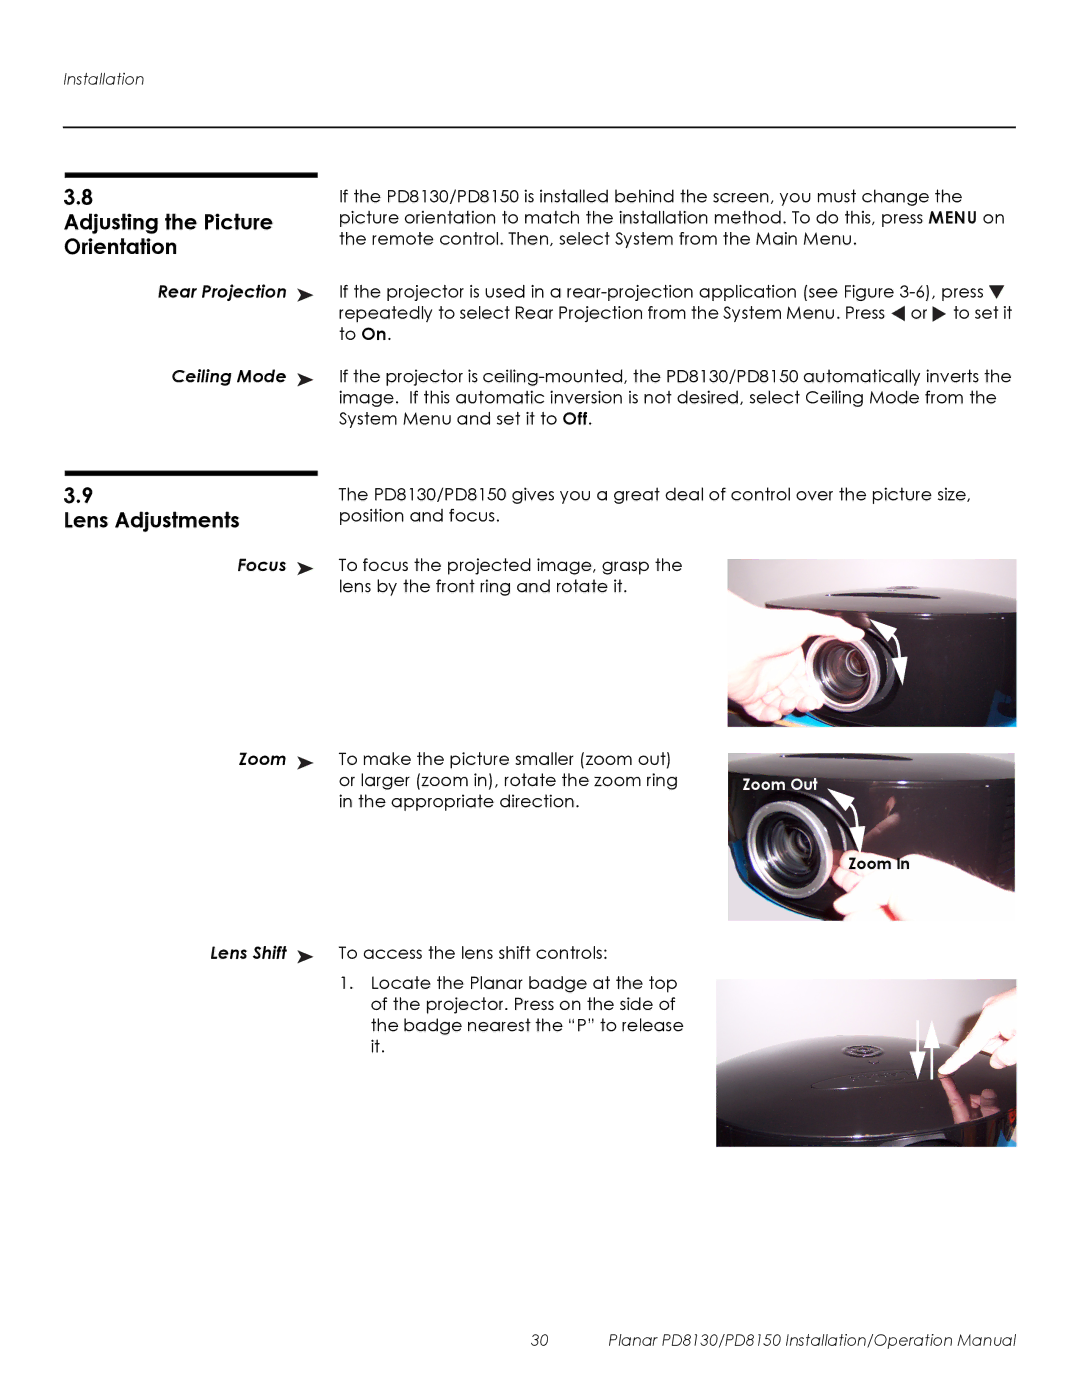
Zoom ➤ | To make the picture smaller (zoom out) |
|
| or larger (zoom in), rotate the zoom ring | Zoom Out |
| in the appropriate direction. |
|
Zoom In
Lens Shift ➤ To access the lens shift controls:
1. Locate the Planar badge at the top of the projector. Press on the side of the badge nearest the “P” to release it.
30 | Planar PD8130/PD8150 Installation/Operation Manual |