Selection 4(port 33, 34, 35, 36, 37, 38, 39, 40)
Group 6: Selection 1(Disable)
Selection 2(port 41, 42)
Selection 3(port 41, 42, 43, 44)
Selection 4(port 41, 42, 43, 44, 45, 46, 47, 48)
Group 7: Selection 1(Disable)
Selection 2(port 49, 50)
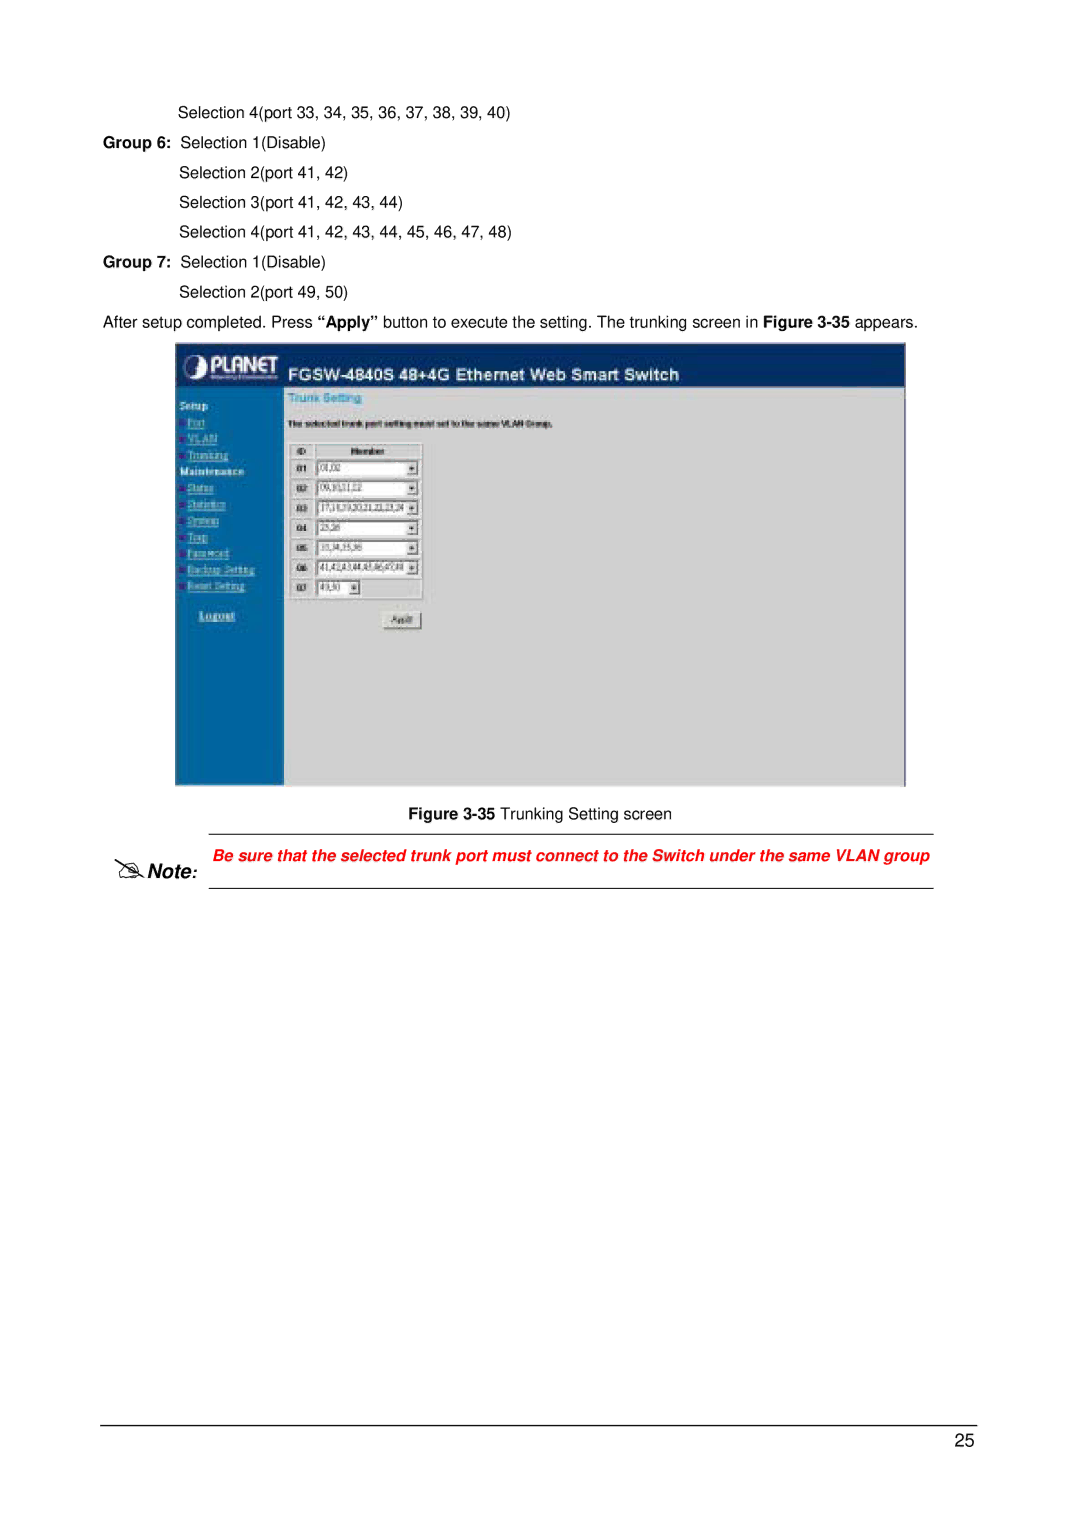
After setup completed. Press “Apply” button to execute the setting. The trunking screen in Figure
Note:
Figure 3-35 Trunking Setting screen
Be sure that the selected trunk port must connect to the Switch under the same VLAN group
25
