Polycom RMX 4000 Hardware Guide
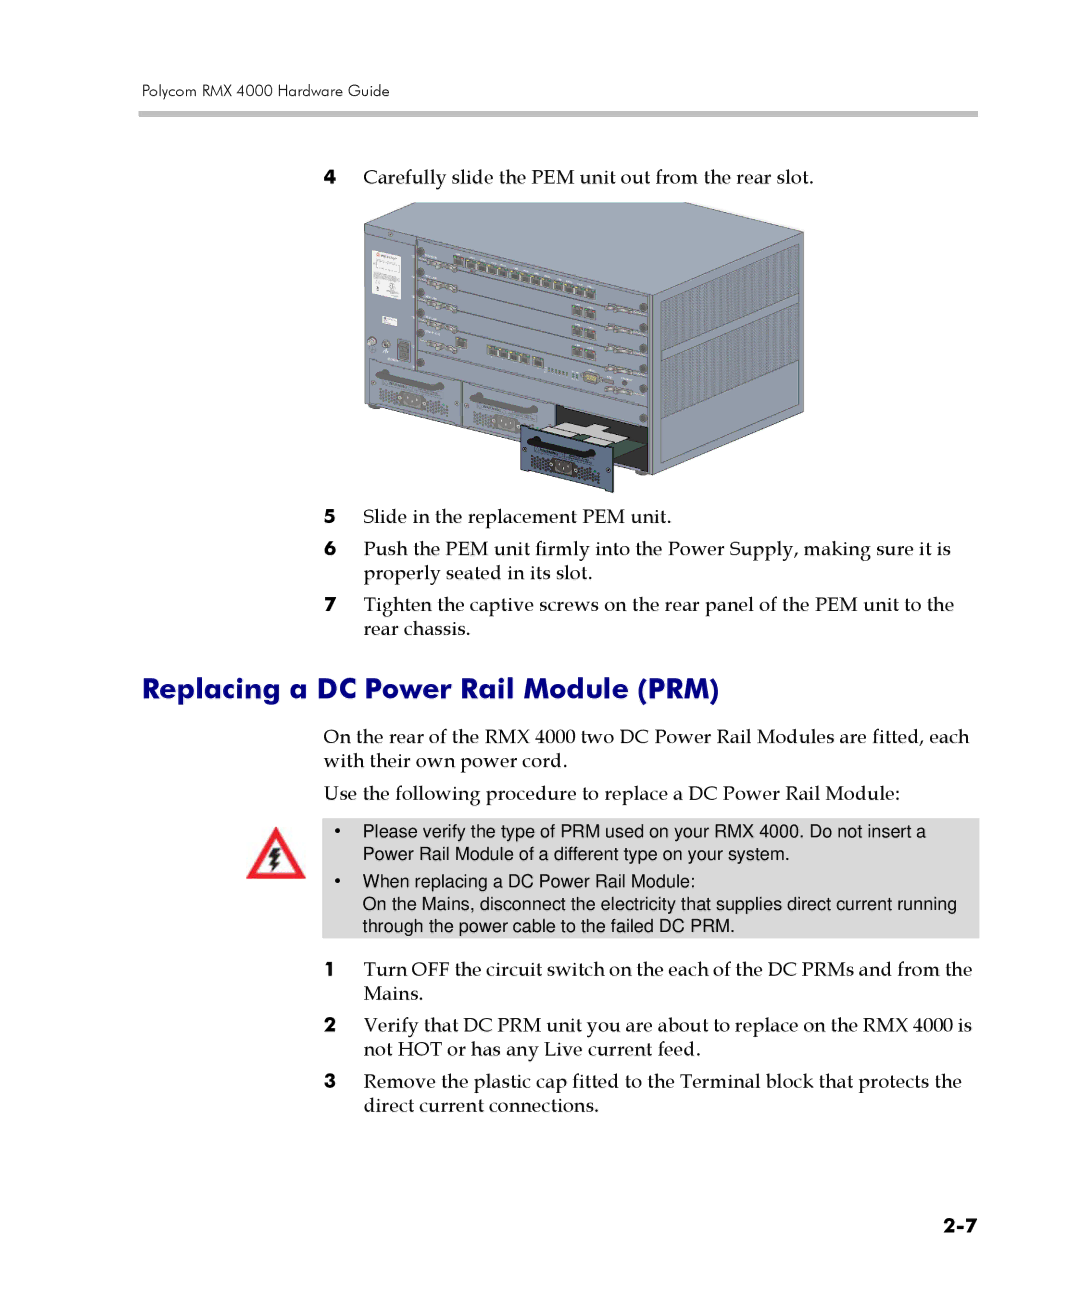
4Carefully slide the PEM unit out from the rear slot.
5Slide in the replacement PEM unit.
6Push the PEM unit firmly into the Power Supply, making sure it is properly seated in its slot.
7Tighten the captive screws on the rear panel of the PEM unit to the rear chassis.
Replacing a DC Power Rail Module (PRM)
On the rear of the RMX 4000 two DC Power Rail Modules are fitted, each with their own power cord.
Use the following procedure to replace a DC Power Rail Module:
•Please verify the type of PRM used on your RMX 4000. Do not insert a Power Rail Module of a different type on your system.
•When replacing a DC Power Rail Module:
On the Mains, disconnect the electricity that supplies direct current running through the power cable to the failed DC PRM.
1Turn OFF the circuit switch on the each of the DC PRMs and from the Mains.
2Verify that DC PRM unit you are about to replace on the RMX 4000 is not HOT or has any Live current feed.
3Remove the plastic cap fitted to the Terminal block that protects the direct current connections.