Chapter 2- Component Replacement
Replacing the RTM-IP 4000
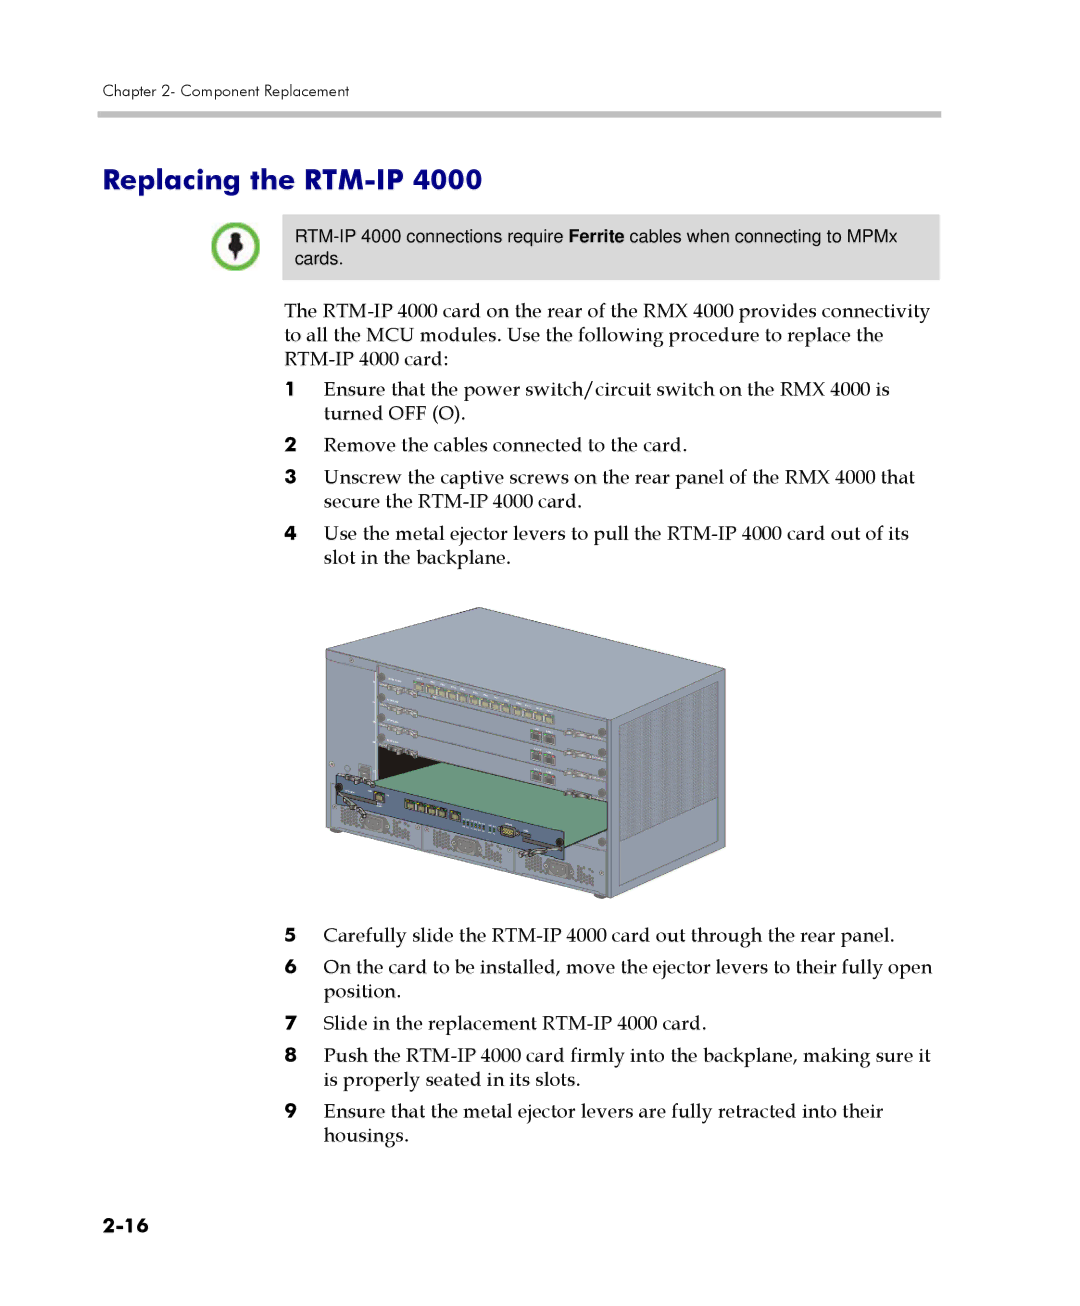
The
1Ensure that the power switch/circuit switch on the RMX 4000 is turned OFF (O).
2Remove the cables connected to the card.
3Unscrew the captive screws on the rear panel of the RMX 4000 that secure the
4Use the metal ejector levers to pull the
5Carefully slide the
6On the card to be installed, move the ejector levers to their fully open position.
7Slide in the replacement
8Push the
9Ensure that the metal ejector levers are fully retracted into their housings.