Polycom RMX 4000 Hardware Guide
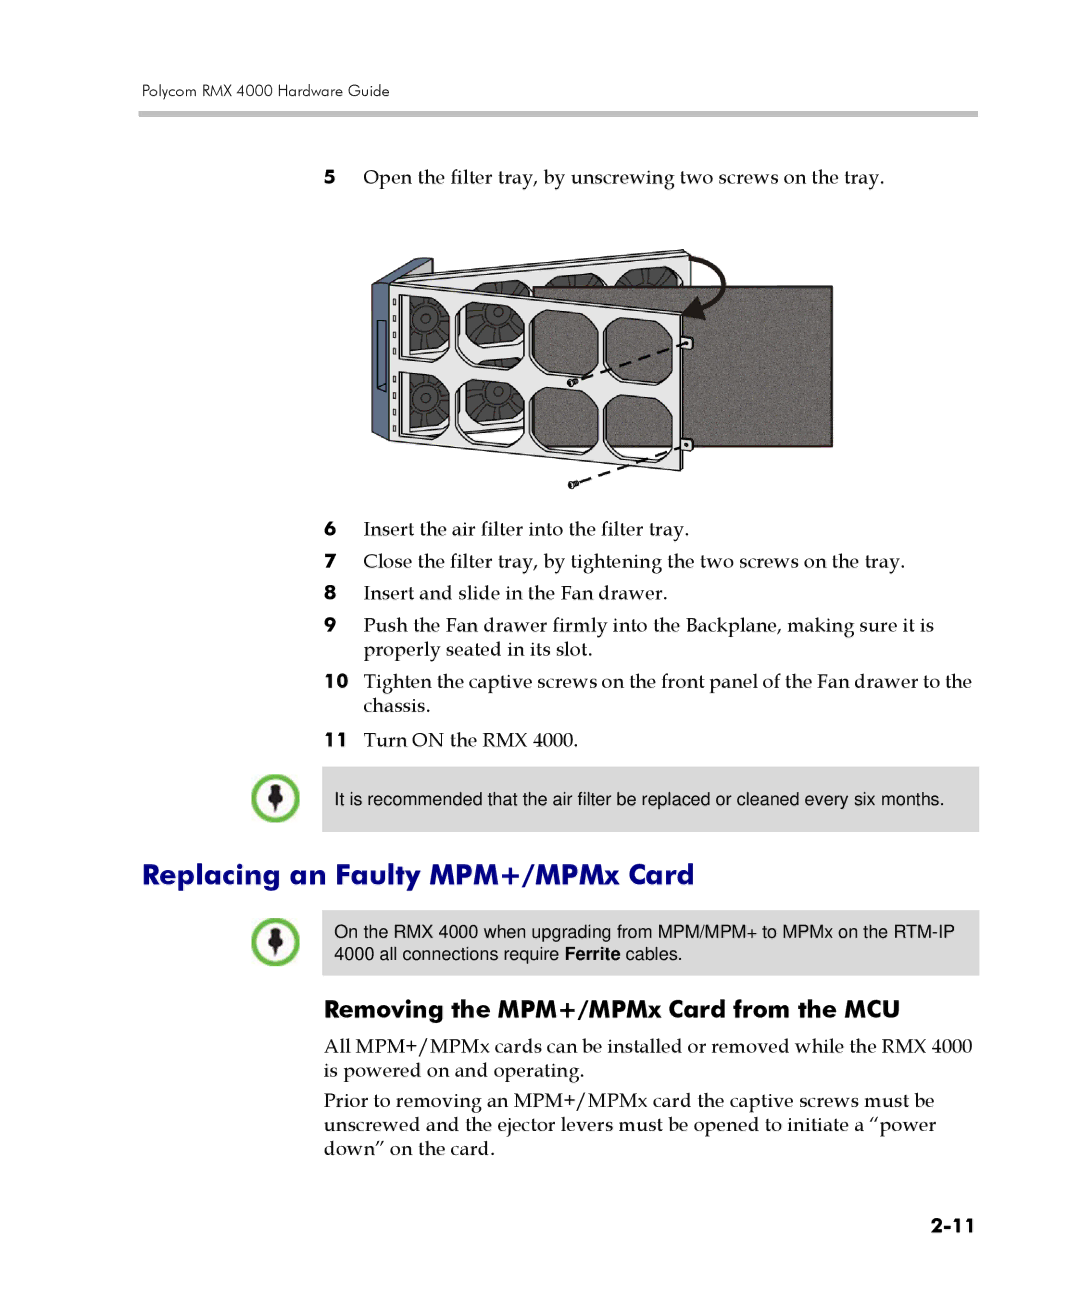
5Open the filter tray, by unscrewing two screws on the tray.
6Insert the air filter into the filter tray.
7Close the filter tray, by tightening the two screws on the tray.
8Insert and slide in the Fan drawer.
9Push the Fan drawer firmly into the Backplane, making sure it is properly seated in its slot.
10Tighten the captive screws on the front panel of the Fan drawer to the chassis.
11Turn ON the RMX 4000.
It is recommended that the air filter be replaced or cleaned every six months.
Replacing an Faulty MPM+/MPMx Card
On the RMX 4000 when upgrading from MPM/MPM+ to MPMx on the
Removing the MPM+/MPMx Card from the MCU
All MPM+/MPMx cards can be installed or removed while the RMX 4000 is powered on and operating.
Prior to removing an MPM+/MPMx card the captive screws must be unscrewed and the ejector levers must be opened to initiate a “power down” on the card.