Polycom RMX 4000 Hardware Guide
Replacing the Fan Drawer
Eight fans are mounted in the Fan drawer, where the airflow is from right to left. Should one of these fans fail as indicated by a Fan LED, you are required to replace the Fan drawer.
1Unscrew the captive screws on the front panel of the Fan drawer secured to the Fan chassis.
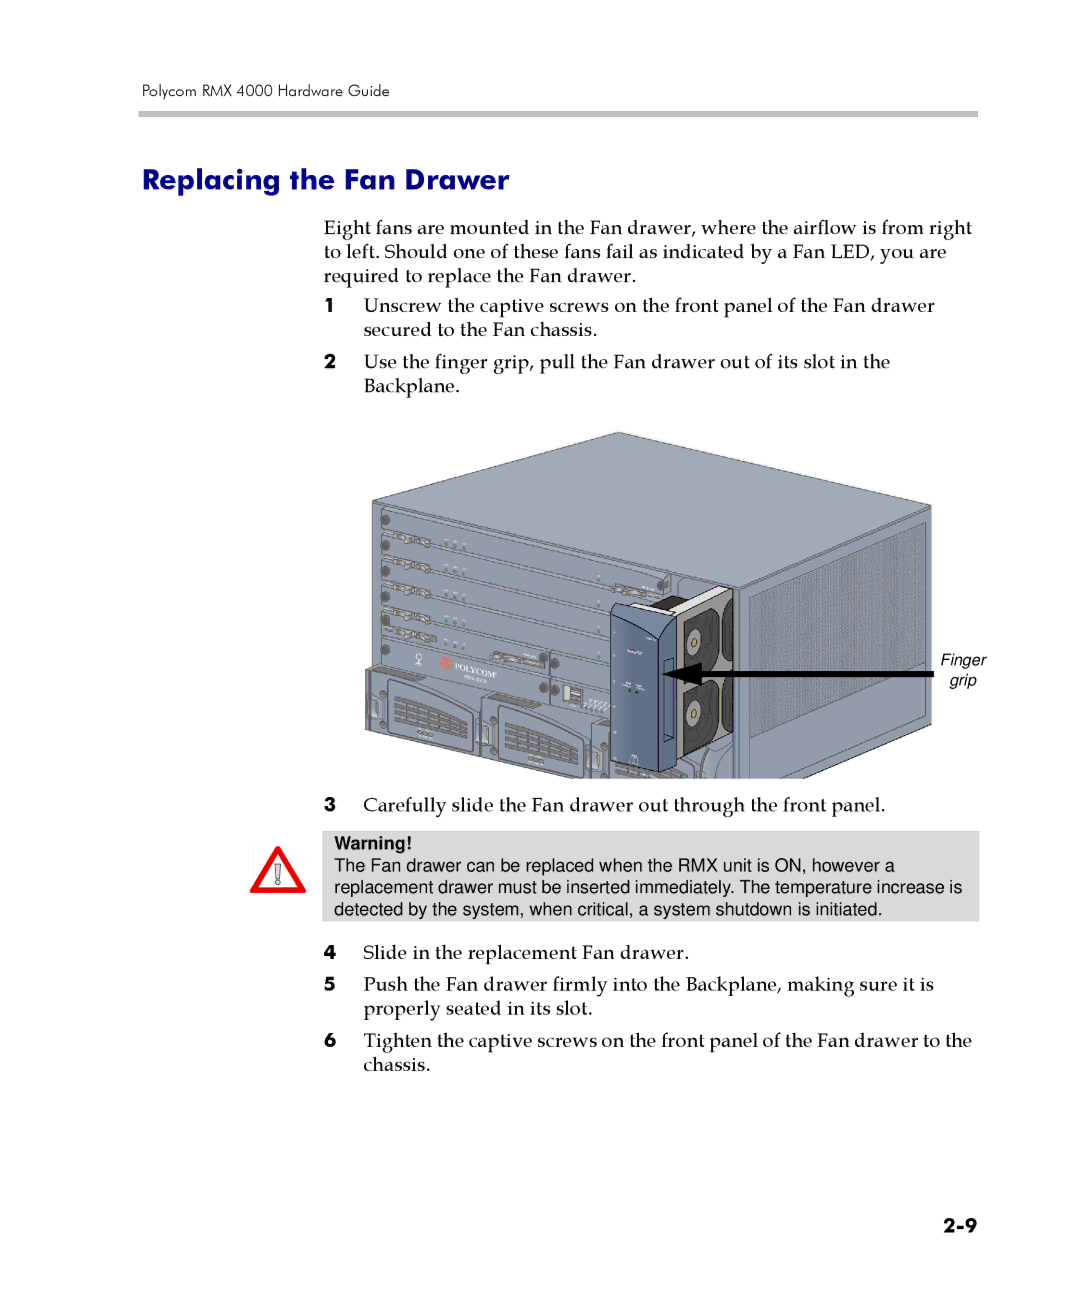
2Use the finger grip, pull the Fan drawer out of its slot in the Backplane.
Finger
grip
3Carefully slide the Fan drawer out through the front panel.
Warning!
The Fan drawer can be replaced when the RMX unit is ON, however a replacement drawer must be inserted immediately. The temperature increase is detected by the system, when critical, a system shutdown is initiated.
4Slide in the replacement Fan drawer.
5Push the Fan drawer firmly into the Backplane, making sure it is properly seated in its slot.
6Tighten the captive screws on the front panel of the Fan drawer to the chassis.