Resaw Pin
Refer to Figure 35.
A resaw pin is provided with the band saw. It provides a single contact point while ripping a workpiece into thinner boards.
Remove the aluminum resaw fence and mount the resaw pin to the slot in the fence body, securing it with the knob, as shown. The resaw pin is usually positioned so that its center is approximately even with the front edge of the blade.
See under “Operation” for further information on using the resaw pin.
Miter Gauge
Refer to Figures 36 and 37.
A miter gauge is provided for crosscutting operations. Install the miter gauge by sliding the end of the miter gauge bar into the table’s
The miter gauge should fit snugly within the miter slot while still sliding easily. The bar of the miter gauge has two slots, each with a set screw (Figure 36). Rotate one or both of these set screws with a 5/32” (4mm) hex wrench as needed to eliminate any play between the miter gauge bar and miter slot.
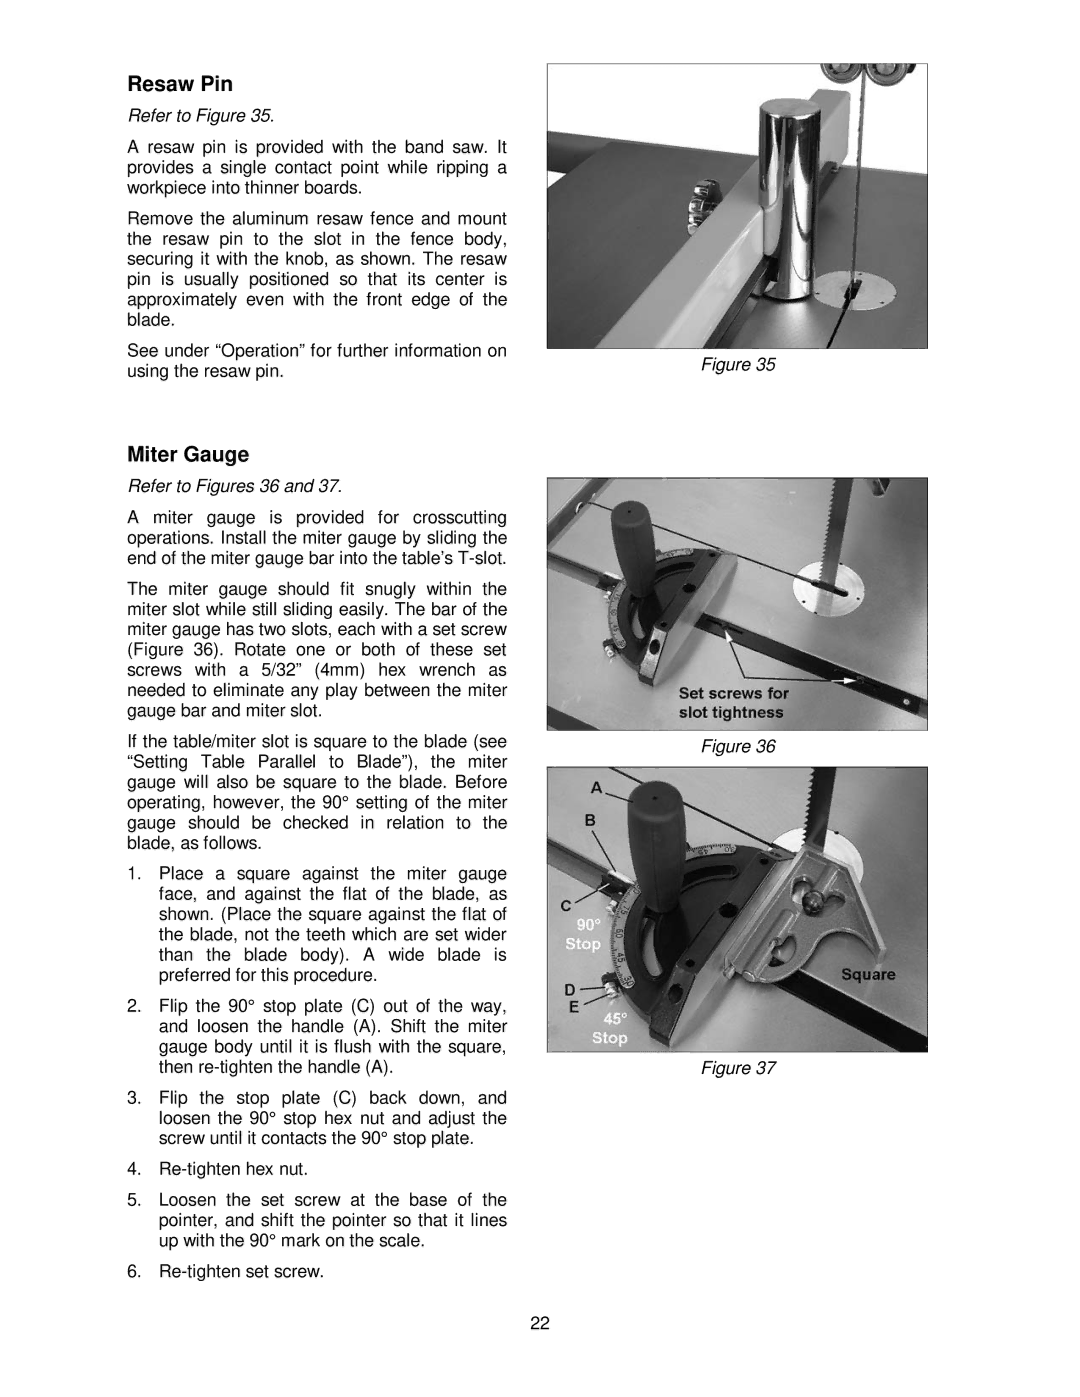
If the table/miter slot is square to the blade (see “Setting Table Parallel to Blade”), the miter gauge will also be square to the blade. Before operating, however, the 90° setting of the miter gauge should be checked in relation to the blade, as follows.
1.Place a square against the miter gauge face, and against the flat of the blade, as shown. (Place the square against the flat of the blade, not the teeth which are set wider than the blade body). A wide blade is preferred for this procedure.
2.Flip the 90° stop plate (C) out of the way, and loosen the handle (A). Shift the miter gauge body until it is flush with the square, then
3.Flip the stop plate (C) back down, and loosen the 90° stop hex nut and adjust the screw until it contacts the 90° stop plate.
4.
5.Loosen the set screw at the base of the pointer, and shift the pointer so that it lines up with the 90° mark on the scale.
6.
Figure 35
Figure 36
Figure 37
22