8.Guide new blade through table slot. Place blade loosely in the upper and lower blade guides. Make sure blade teeth point down toward table, and toward the front of the saw. (If the teeth will not point down, no matter how you orient the blade, then the blade is twisted
9.Position blade at the center of the upper and lower wheels.
10.
11.Before operating the band saw, the new blade must be tensioned and tracked, in that order. Find instructions for tensioning and tracking the blade under “Blade Tension” and “Blade Tracking.” The blade guides must also be set properly according to the instructions on pages 19 and 20.
Blade Tension
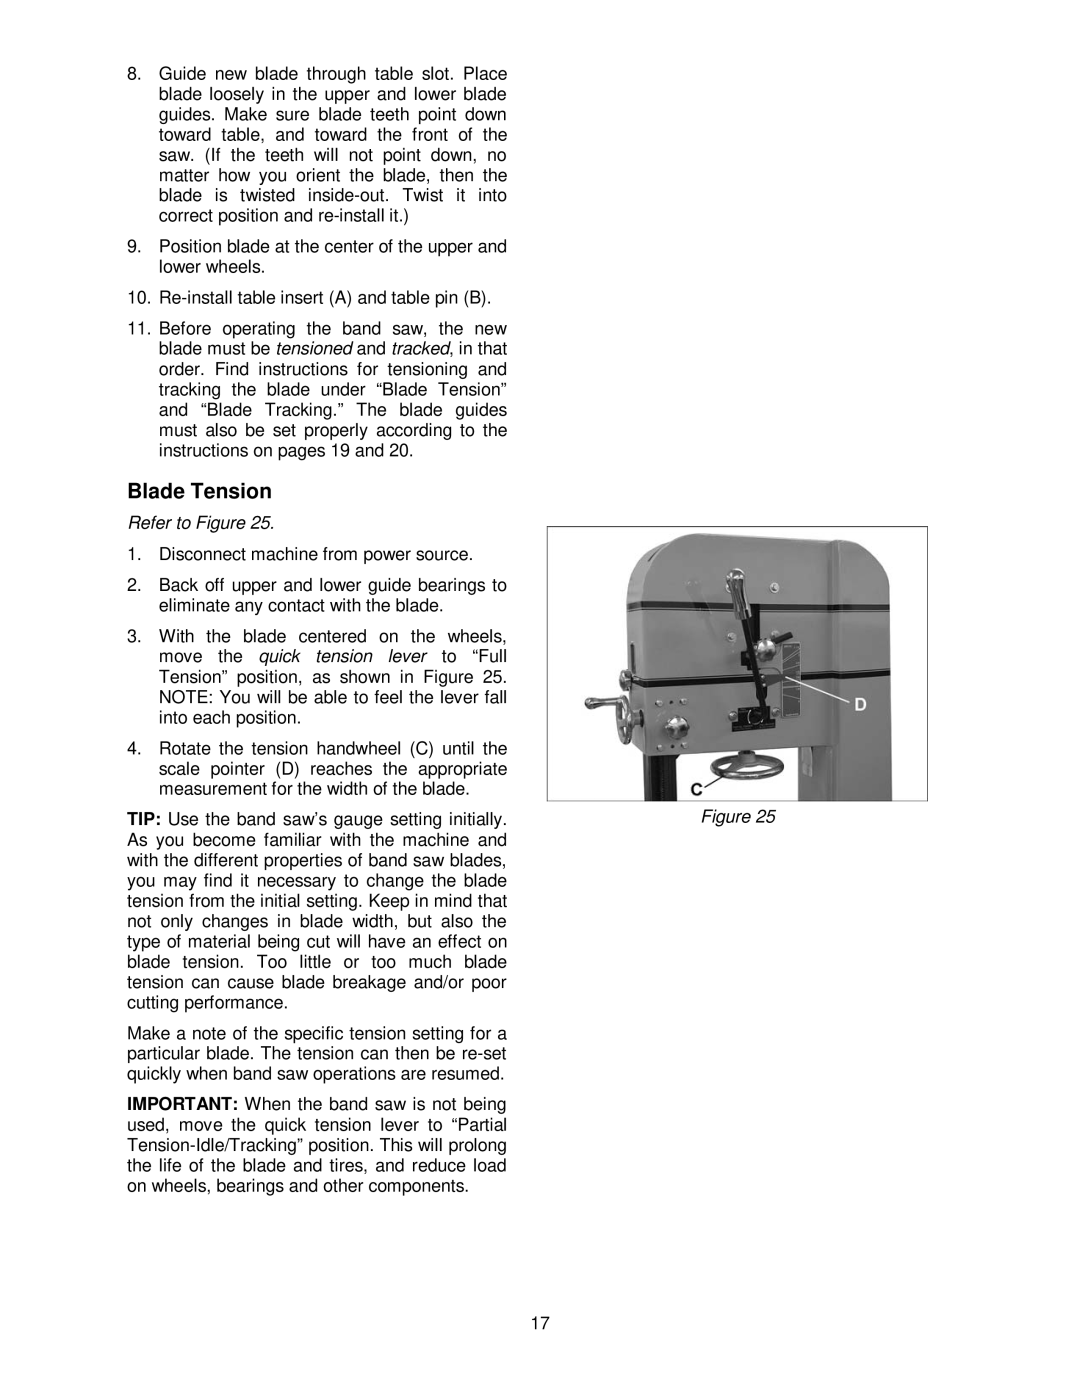
Refer to Figure 25.
1. Disconnect machine from power source.
2. Back off upper and lower guide bearings to eliminate any contact with the blade.
3. With the blade centered on the wheels, move the quick tension lever to “Full Tension” position, as shown in Figure 25. NOTE: You will be able to feel the lever fall into each position.
4. Rotate the tension handwheel (C) until the scale pointer (D) reaches the appropriate measurement for the width of the blade.
TIP: Use the band saw’s gauge setting initially. | Figure 25 |
As you become familiar with the machine and |
|
with the different properties of band saw blades, |
|
you may find it necessary to change the blade |
|
tension from the initial setting. Keep in mind that |
|
not only changes in blade width, but also the |
|
type of material being cut will have an effect on |
|
blade tension. Too little or too much blade |
|
tension can cause blade breakage and/or poor |
|
cutting performance. |
|
Make a note of the specific tension setting for a |
|
particular blade. The tension can then be |
|
quickly when band saw operations are resumed. |
|
IMPORTANT: When the band saw is not being |
|
used, move the quick tension lever to “Partial |
|
| |
the life of the blade and tires, and reduce load |
|
on wheels, bearings and other components. |
|
17