TOC | INDEX |
H. INSTALLING THE INK CARTRIDGE
Your printer has a
In order to make this system work properly, the cartridge must be changed using the procedure listed below. Failure to follow this procedure could result in inaccurate ink level tracking and could cause your print quality to suffer.
Ink cartridge is changed as follows:
If using a PC:
1.Click Start>Printers and Faxes
2.
3.Click on Printing Preferences from the
4.Find the option labeled "Clean/Change Cartridge & Check Ink…" and click "Properties"
5.Click "Change Cartridge"
If using a Mac:
1.Open the Hard Drive \ Applications \ Utilities
2.Click on the Printer Setup Utility.
3.Select the Color Label Printer.
4.Click the Utility button on the menu bar.
5.Click the Change Cartridge button.
For Macintosh and PC:
6.Open the Top Cover of the printer
7.The Cartridge Carrier will align itself to the center of the print area.
8.Press the Cartridge Cover Release to open the Cartridge Holder.
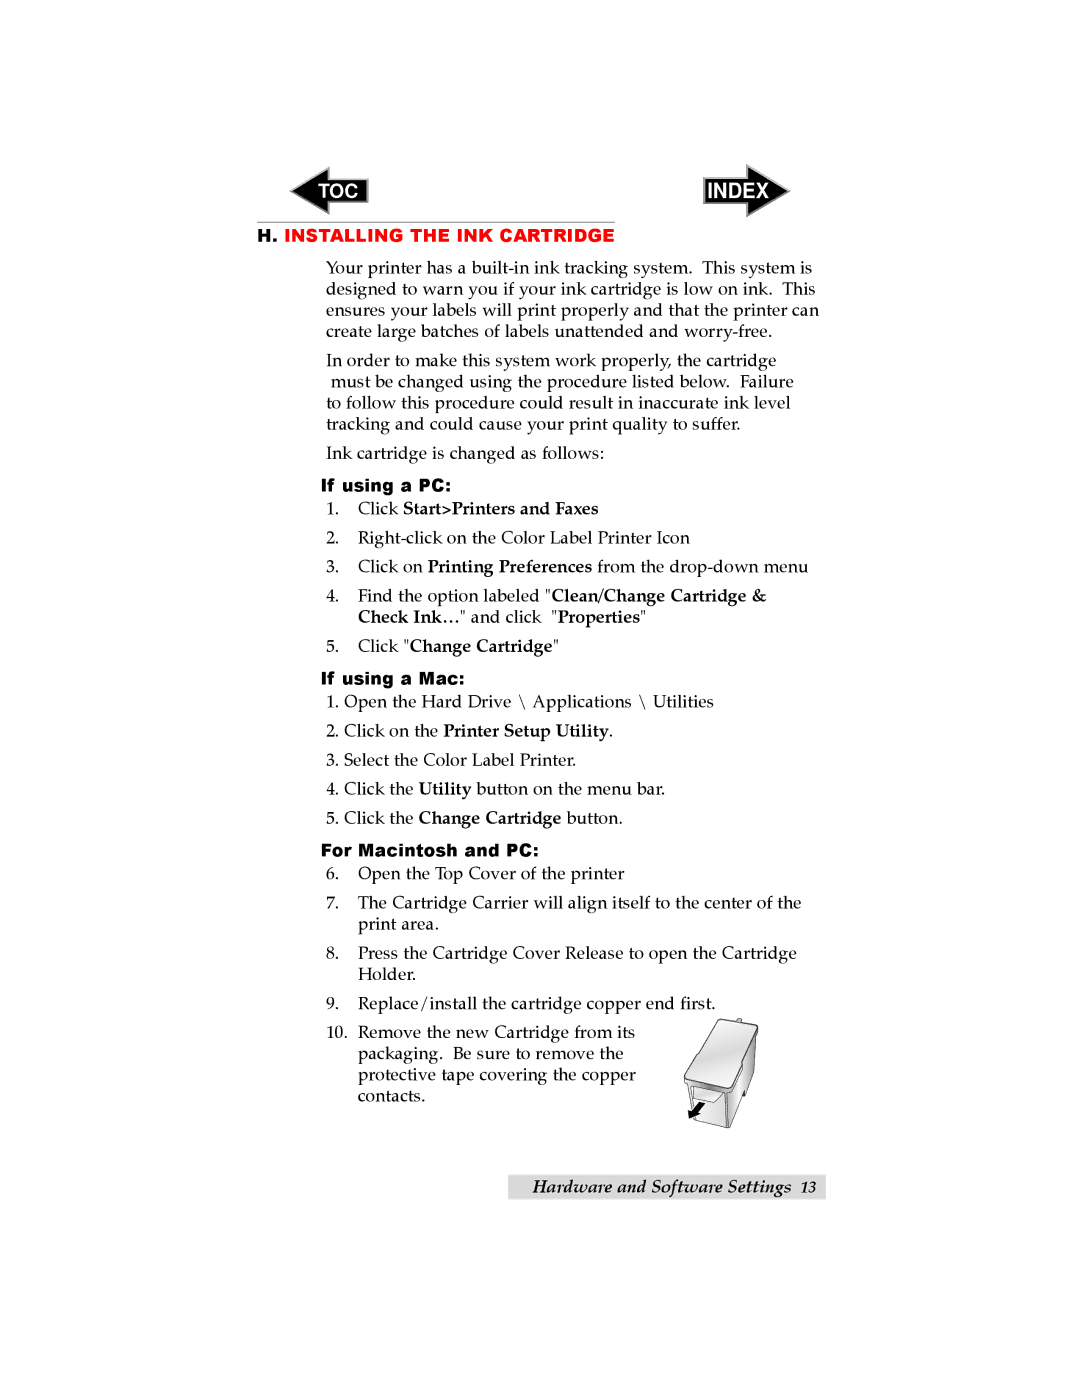
9.Replace/install the cartridge copper end first.
10.Remove the new Cartridge from its packaging. Be sure to remove the protective tape covering the copper
contacts.
Hardware and Software Settings 13