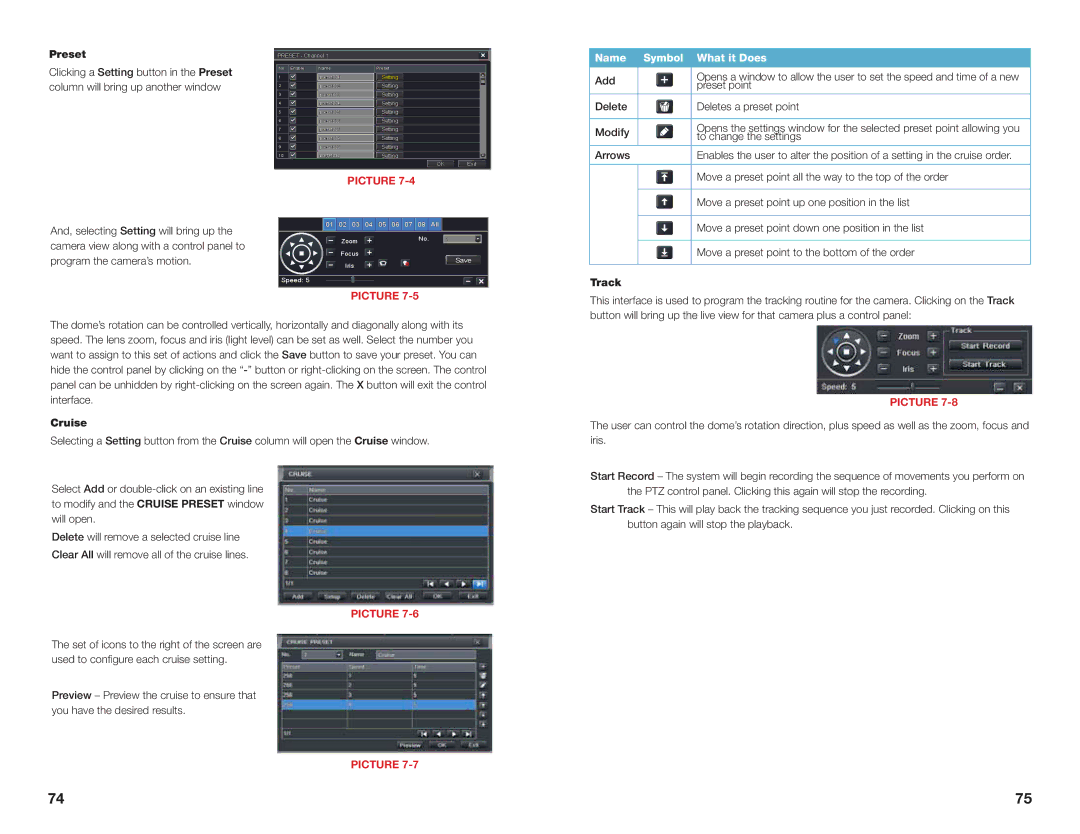
Preset
Clicking a Setting button in the Preset column will bring up another window
PRESET - Channel 1
No. Enable | Name | Preset |
1 | preset001 | Setting |
2 | preset002 | Setting |
3 | preset003 | Setting |
|
4 | preset004 | Setting |
|
5 | preset005 | Setting |
|
6 | preset006 | Setting |
|
7 | preset007 | Setting |
|
8 | preset008 | Setting |
|
9 | preset009 | Setting |
|
10 | preset010 | Setting |
|
|
| OK | Exit |
PICTURE 7-4
Name | Symbol What it Does | |
Add | Opens a window to allow the user to set the speed and time of a new | |
preset point | ||
| ||
Delete | Deletes a preset point | |
Modify | Opens the settings window for the selected preset point allowing you | |
to change the settings | ||
|
Arrows | Enables the user to alter the position of a setting in the cruise order. |
| Move a preset point all the way to the top of the order |
| Move a preset point up one position in the list |
And, selecting Setting will bring up the | 01 | 02 | 03 | 04 | 05 | 06 | 07 | 08 | All |
|
|
|
|
|
|
| No. | 1 | |
camera view along with a control panel to |
| Zoom |
|
|
|
| |||
|
|
|
|
|
|
| |||
| Focus |
|
|
|
|
|
| ||
program the camera’s motion. |
|
|
|
|
|
| Save | ||
| Iris |
|
|
|
|
| |||
|
|
|
|
|
|
|
| ||
Speed: 5
PICTURE 7-5
The dome’s rotation can be controlled vertically, horizontally and diagonally along with its speed. The lens zoom, focus and iris (light level) can be set as well. Select the number you want to assign to this set of actions and click the Save button to save your preset. You can hide the control panel by clicking on the
Cruise
Selecting a Setting button from the Cruise column will open the Cruise window.
Select Add or
Delete will remove a selected cruise line Clear All will remove all of the cruise lines.
PICTURE 7-6
The set of icons to the right of the screen are used to configure each cruise setting.
Preview – Preview the cruise to ensure that you have the desired results.
PICTURE 7-7
Move a preset point down one position in the list |
Move a preset point to the bottom of the order |
Track |
This interface is used to program the tracking routine for the camera. Clicking on the Track button will bring up the live view for that camera plus a control panel:
PICTURE 7-8
The user can control the dome’s rotation direction, plus speed as well as the zoom, focus and iris.
Start Record – The system will begin recording the sequence of movements you perform on the PTZ control panel. Clicking this again will stop the recording.
Start Track – This will play back the tracking sequence you just recorded. Clicking on this button again will stop the playback.
74 | 75 |