4.7 ADVANCED
In this set of commands, the user can erase all the settings, import or export data files to and from the DVR and control who can remotely access the DVR through three submenus: Reset, Import/Export and Black/White List.
RESET
Clicking on this option will open a warning dialogue asking you to confirm that you wish to remove all settings and reboot the system. You must select OK to continue with the reset or hit CANCEL to exit without changes.
PICTURE 4-30
IMPORT/EXPORT
Use this interface to export select data files to mobile Flash drives or an external USB drive through the backup function. Specific data files can also be retrieved from mobile or external storage devices and recorded onto the DVR.
PICTURE 4-31
BLOCK/ALLOW LIST
From here, an authorized user can control which computer users are allowed to access the DVR.
PICTURE 4-32
The Block List is used to deny access to remote computers within a certain IP address segment.
The Allow List is used to permit access by users from select IP address segments.
EXAMPLE: You wish to block access to the DVR from computer users within the IP address segment ranging from 196.168.000.002 to 196.168.000.004. Select the Block button and then enter the first segment in the IP From field and the last address within the segment in the To field. You may add additional segments before hitting Apply to save your settings and then exiting this window.
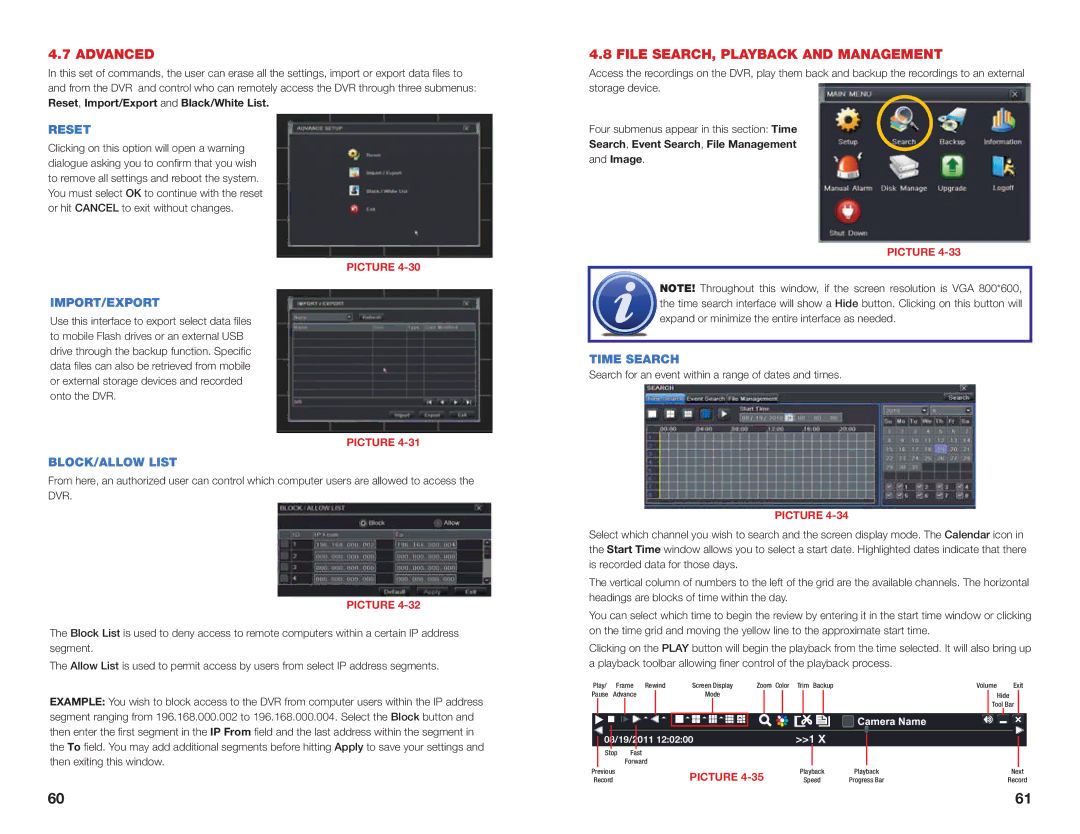
4.8 FILE SEARCH, PLAYBACK AND MANAGEMENT
Access the recordings on the DVR, play them back and backup the recordings to an external storage device.
Four submenus appear in this section: Time
Search, Event Search, File Management
and Image.
PICTURE 4-33
![]() NOTE! Throughout this window, if the screen resolution is VGA 800*600, the time search interface will show a Hide button. Clicking on this button will expand or minimize the entire interface as needed.
NOTE! Throughout this window, if the screen resolution is VGA 800*600, the time search interface will show a Hide button. Clicking on this button will expand or minimize the entire interface as needed.
TIME SEARCH
Search for an event within a range of dates and times.
PICTURE 4-34
Select which channel you wish to search and the screen display mode. The Calendar icon in the Start Time window allows you to select a start date. Highlighted dates indicate that there is recorded data for those days.
The vertical column of numbers to the left of the grid are the available channels. The horizontal headings are blocks of time within the day.
You can select which time to begin the review by entering it in the start time window or clicking on the time grid and moving the yellow line to the approximate start time.
Clicking on the PLAY button will begin the playback from the time selected. It will also bring up a playback toolbar allowing finer control of the playback process.
Play/ | Frame | Rewind | Screen Display | Zoom Color Trim Backup | Volume |
| Exit | ||||||||||
Pause | Advance |
|
| Mode |
|
|
|
|
|
|
| Hide |
| ||||
|
|
|
|
|
|
|
|
|
|
|
|
|
| Tool Bar |
| ||
|
|
|
|
|
|
|
|
|
|
|
|
|
|
|
|
|
|
08/19/2011 12:02:00 | >>1 X |
Stop Fast
Forward
Previous | PICTURE | Playback | Playback | Next |
Record | Speed | Progress Bar | Record |
60 | 61 |