REMOTE MONITORING | CHAPTER 2 |
2.1 ACCESSING YOUR DVR REMOTELY
Once you have configured the network settings on the DVR to match those on your router and forwarded the ports needed by the DVR to enable remote access over the Internet, you will be ready to remotely view your cameras using a webcam program based on an ActiveX control.
For this to work, you will have to enable the ActiveX control options that are built into Internet Explorer. It is strongly suggested that you be running the latest version of Internet Explorer (currently IE9). As of this writing, the QS434 is being updated to work with IE9. In the interim, continue to use IE 8. The instructions below will describe the process using both version 8 and 9 of Internet Explorer.
ACCESSING THE DVR USING INTERNET EXPLORER
User Account Control for Windows Vista and Windows 7
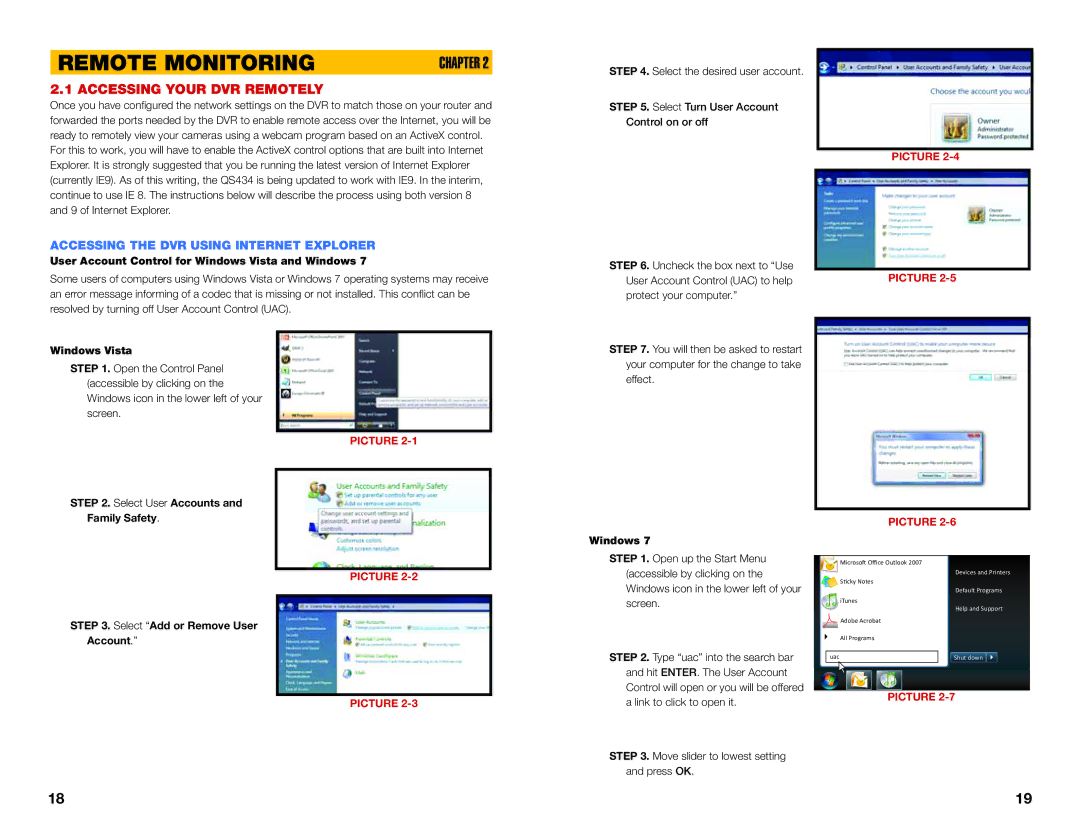
Some users of computers using Windows Vista or Windows 7 operating systems may receive an error message informing of a codec that is missing or not installed. This conflict can be resolved by turning off User Account Control (UAC).
STEP 4. Select the desired user account.
STEP 5. Select Turn User Account Control on or off
STEP 6. Uncheck the box next to “Use User Account Control (UAC) to help protect your computer.”
PICTURE
PICTURE
Windows Vista
STEP 1. Open the Control Panel (accessible by clicking on the Windows icon in the lower left of your screen.
STEP 2. Select User Accounts and Family Safety.
PICTURE
STEP 7. You will then be asked to restart your computer for the change to take effect.
Windows 7
PICTURE
STEP 3. Select “Add or Remove User Account.”
PICTURE
STEP 1. Open up the Start Menu (accessible by clicking on the Windows icon in the lower left of your screen.
STEP 2. Type “uac” into the search bar
![]() Microsoft Office Outlook 2007
Microsoft Office Outlook 2007
![]() Sticky Notes
Sticky Notes
![]() iTunes
iTunes
![]() Adobe Acrobat
Adobe Acrobat
All Programs
uac
Devices and Printers Default Programs
Help and Support
Shut down ![]()
![]()
![]()
![]()
PICTURE
and hit ENTER. The User Account Control will open or you will be offered a link to click to open it.
PICTURE |
STEP 3. Move slider to lowest setting and press OK.
18 | 19 |
