REMOTE SETUP
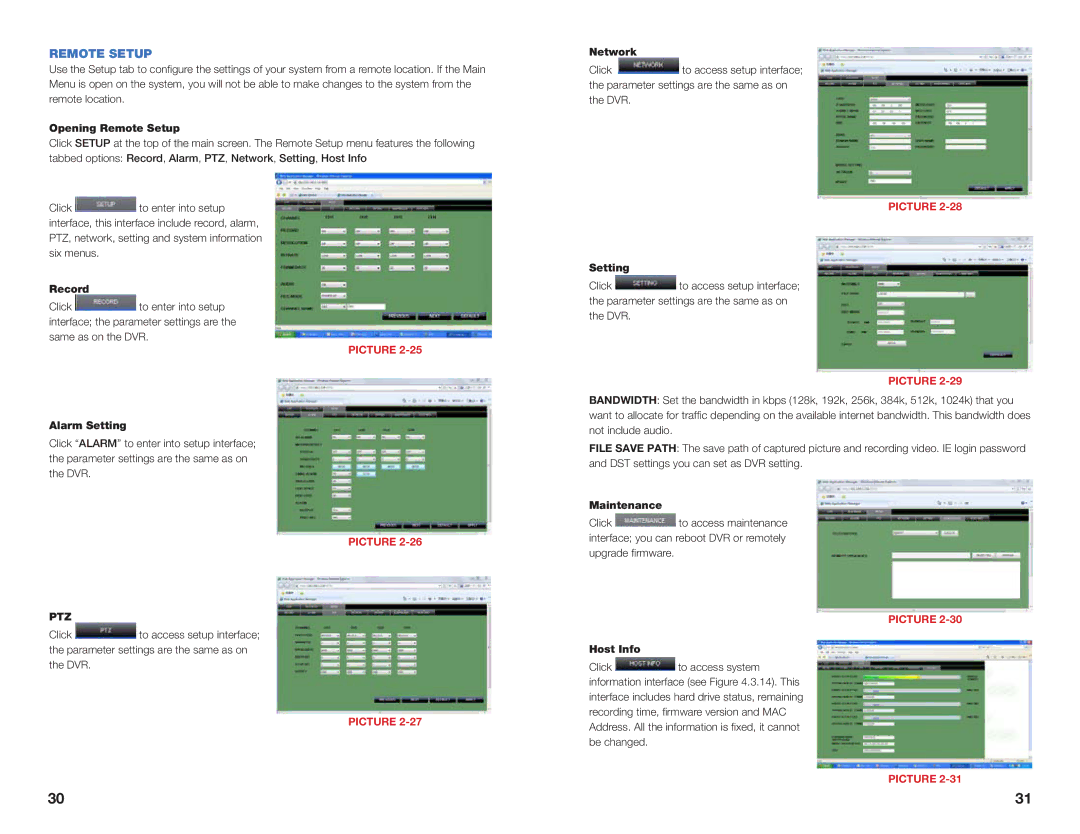
Use the Setup tab to configure the settings of your system from a remote location. If the Main Menu is open on the system, you will not be able to make changes to the system from the remote location.
Opening Remote Setup
Click SETUP at the top of the main screen. The Remote Setup menu features the following tabbed options: Record, Alarm, PTZ, Network, Setting, Host Info
Click ![]() to enter into setup interface, this interface include record, alarm, PTZ, network, setting and system information six menus.
to enter into setup interface, this interface include record, alarm, PTZ, network, setting and system information six menus.
Record
Click ![]() to enter into setup interface; the parameter settings are the same as on the DVR.
to enter into setup interface; the parameter settings are the same as on the DVR.
PICTURE
Alarm Setting
Click “ALARM” to enter into setup interface; the parameter settings are the same as on the DVR.
PICTURE
PTZ
Click ![]() to access setup interface; the parameter settings are the same as on the DVR.
to access setup interface; the parameter settings are the same as on the DVR.
PICTURE
Network
Click ![]() to access setup interface; the parameter settings are the same as on the DVR.
to access setup interface; the parameter settings are the same as on the DVR.
PICTURE
Setting
Click ![]() to access setup interface; the parameter settings are the same as on the DVR.
to access setup interface; the parameter settings are the same as on the DVR.
PICTURE
BANDWIDTH: Set the bandwidth in kbps (128k, 192k, 256k, 384k, 512k, 1024k) that you want to allocate for traffic depending on the available internet bandwidth. This bandwidth does not include audio.
FILE SAVE PATH: The save path of captured picture and recording video. IE login password and DST settings you can set as DVR setting.
Maintenance
Click ![]() to access maintenance interface; you can reboot DVR or remotely upgrade firmware.
to access maintenance interface; you can reboot DVR or remotely upgrade firmware.
PICTURE
Host Info
Click ![]() to access system information interface (see Figure 4.3.14). This interface includes hard drive status, remaining recording time, firmware version and MAC Address. All the information is fixed, it cannot be changed.
to access system information interface (see Figure 4.3.14). This interface includes hard drive status, remaining recording time, firmware version and MAC Address. All the information is fixed, it cannot be changed.
PICTURE
30 | 31 |
