STEP 13. Click the Reset button
STEP 14. Click “Yes” when asked, “Are
you sure you want to change the setting for this zone?”
STEP 15. Click OK
STEP 16. Click Apply
STEP 17. Click OK
STEP 18. Close Internet Explorer
PICTURE
You are now ready to access the DVR using Internet Explorer.
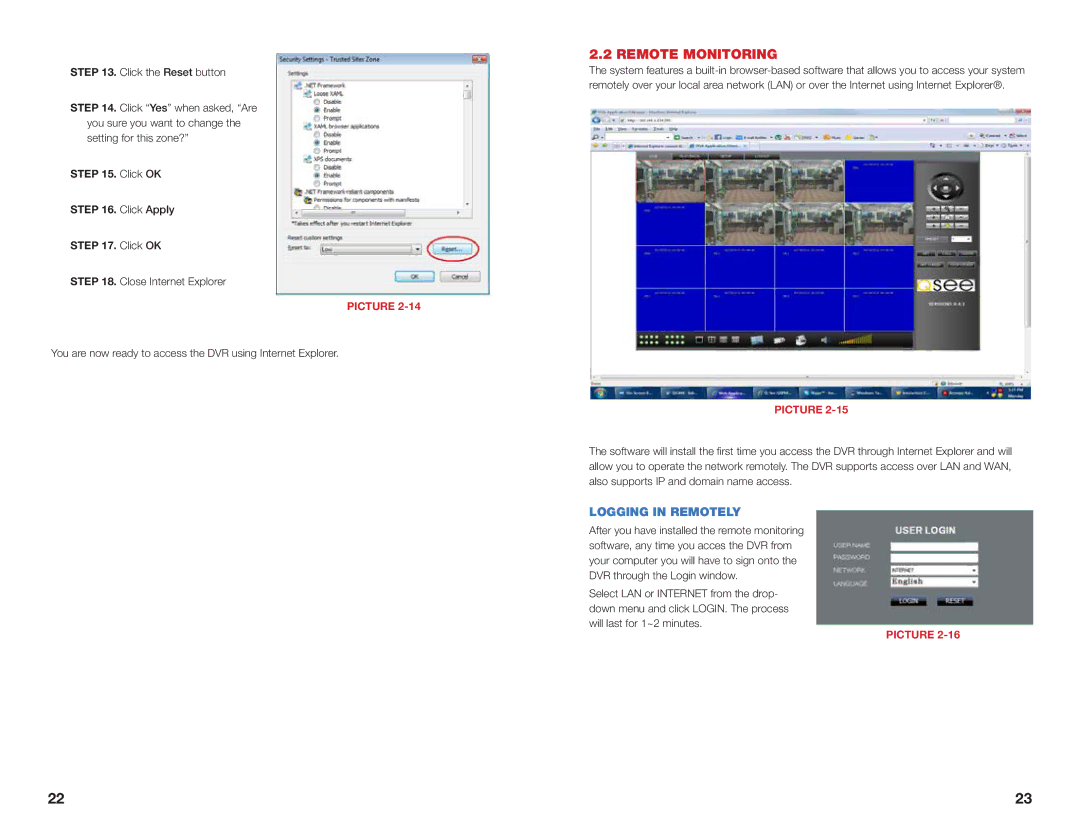
2.2 REMOTE MONITORING
The system features a
PICTURE
The software will install the first time you access the DVR through Internet Explorer and will allow you to operate the network remotely. The DVR supports access over LAN and WAN, also supports IP and domain name access.
LOGGING IN REMOTELY
After you have installed the remote monitoring software, any time you acces the DVR from your computer you will have to sign onto the DVR through the Login window.
Select LAN or INTERNET from the drop- down menu and click LOGIN. The process will last for 1~2 minutes.
PICTURE
22 | 23 |
