6. Programming Macro Buttons
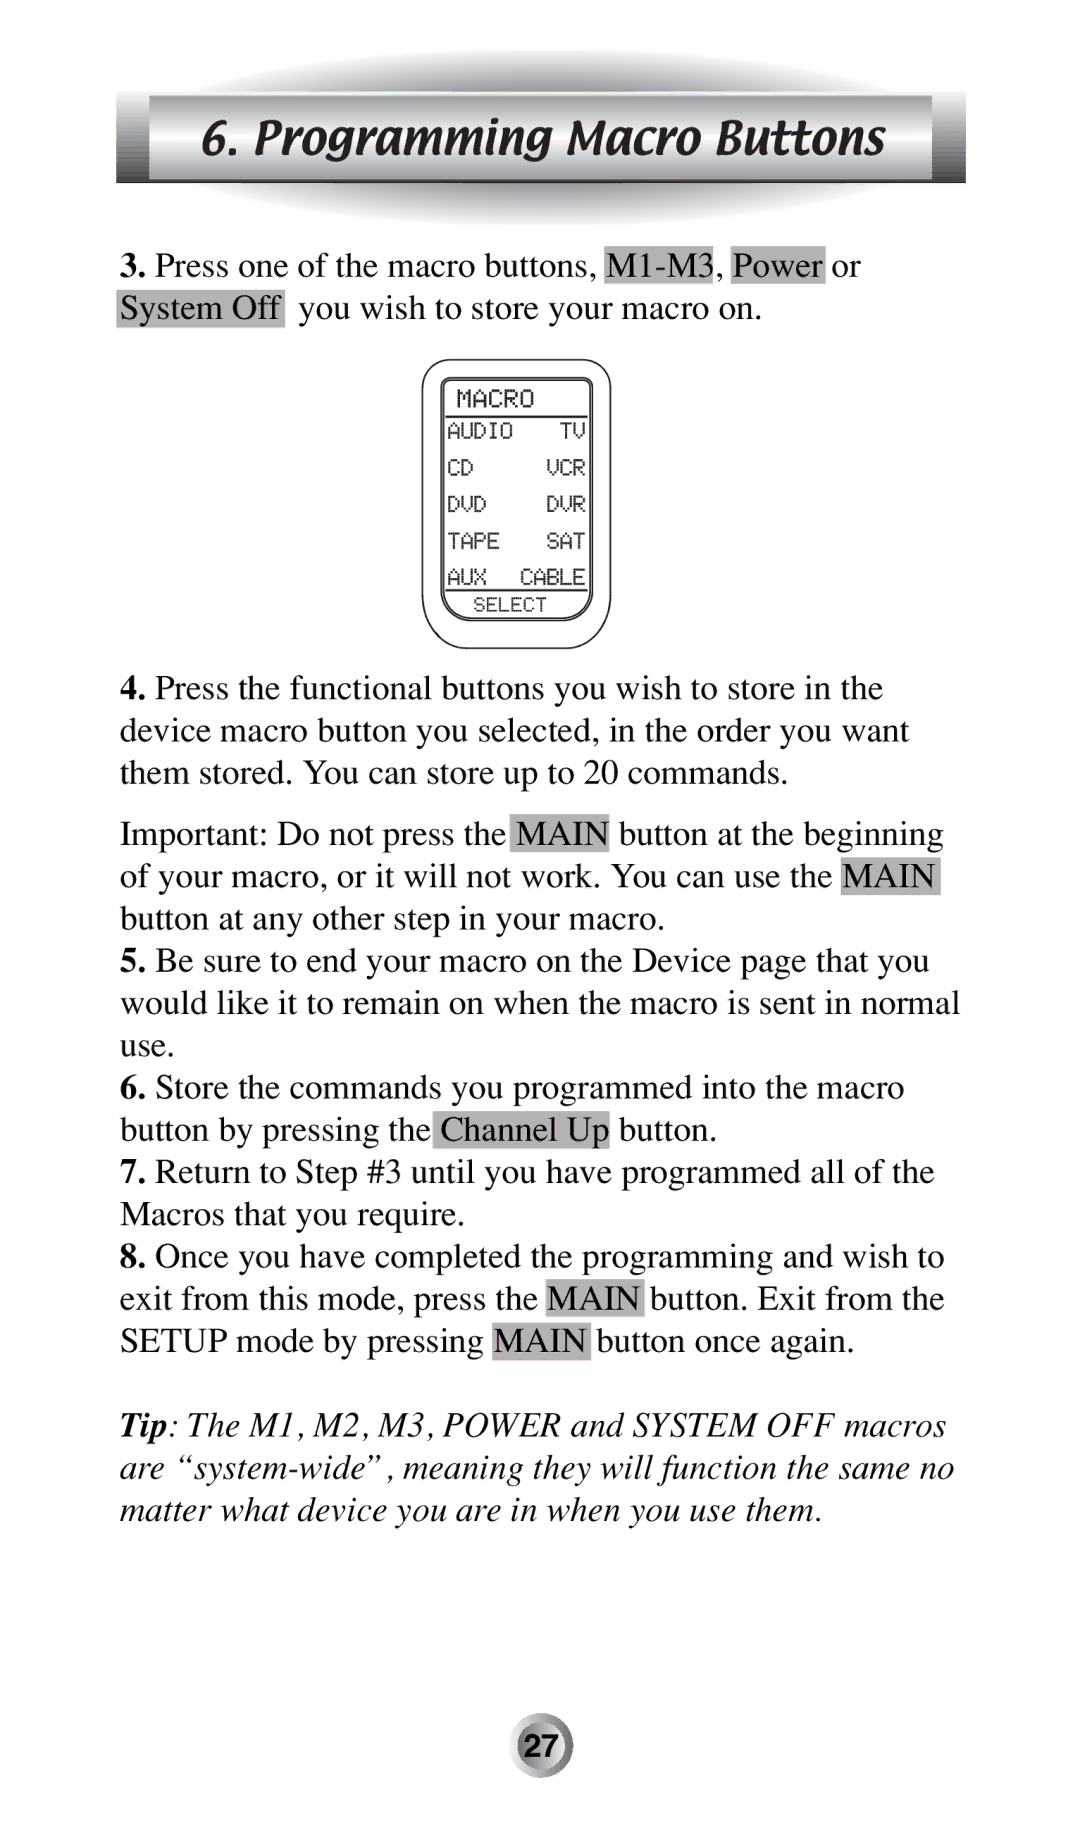
3.Press one of the macro buttons,
4.Press the functional buttons you wish to store in the device macro button you selected, in the order you want them stored. You can store up to 20 commands.
Important: Do not press the MAIN button at the beginning of your macro, or it will not work. You can use the MAIN button at any other step in your macro.
5.Be sure to end your macro on the Device page that you would like it to remain on when the macro is sent in normal use.
6.Store the commands you programmed into the macro button by pressing the Channel Up button.
7.Return to Step #3 until you have programmed all of the Macros that you require.
8.Once you have completed the programming and wish to exit from this mode, press the MAIN button. Exit from the SETUP mode by pressing MAIN button once again.
Tip: The M1, M2, M3, POWER and SYSTEM OFF macros are
![]()
![]()
![]()
![]()
![]()
![]()
![]()
![]()
![]()
![]()
![]()
![]()
![]()
![]()
![]()
![]()
![]()
![]()
![]()
![]()
![]()
![]()
![]()
![]()
![]() 27
27![]()
![]()
![]()
![]()
![]()
![]()
![]()
![]()
![]()
![]()
![]()
![]()
![]()
![]()
![]()
![]()
![]()
![]()
![]()
![]()
![]()
![]()
![]()
![]()
![]()
![]()
![]()
![]()
![]()
![]()
![]()
![]()
![]()
![]()
![]()
![]()
![]()
![]()
![]()
![]()
![]()
![]()
![]()
![]()
![]()
![]()
![]()
![]()
![]()
![]()
![]()
![]()
![]()
![]()
![]()