Quick Start
Your scanner requires a 2 x
mm)mounting area. Allow an additional
1. Remove the four rear screws that secure the outer metal case and pull off the case with care.
2. Insert the DIN sleeve into the opening in your dashboard, lip facing out.
3. Push out the top and bottom tabs to hold the sleeve firmly in place.
4. Slowly slide the scanner into the sleeve until it locks in place.
•When mounting in your dashboard, you will need to
NOTES | connect an external antenna and an external speaker. |
•To remove your scanner from the DIN sleeve, insert the two removal keys straight into the scanner’s front panel and pull the scanner out.
step 2: power your scanner
You can power your scanner from a wall outlet, through your vehicle’s ignition, or from your vehicle’s cigarette lighter or power port. You must use a Class 2 power source that supplies 12V DC and delivers at least 500mA. Its center tip must be set to positive and its plug must fit the scanner’s DC 12V jack. Using an adapter that does not meet these specifications could damage the scanner or the adapter.
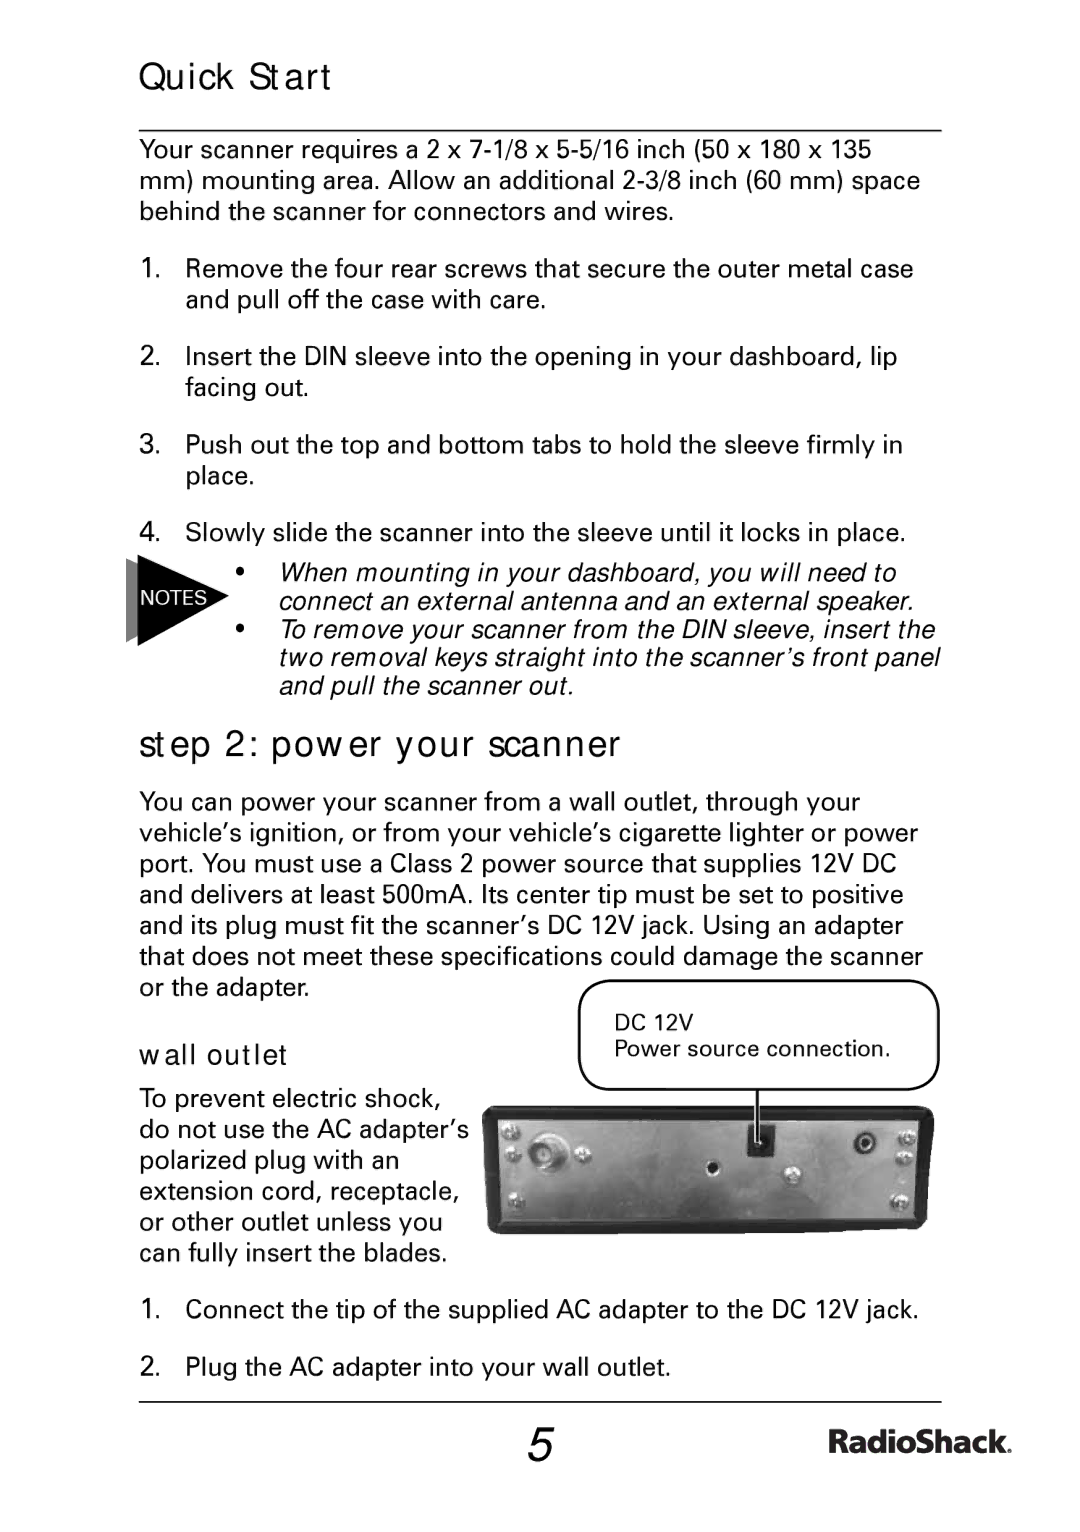
| DC 12V |
wall outlet | Power source connection. |
To prevent electric shock, do not use the AC adapter’s polarized plug with an extension cord, receptacle, or other outlet unless you can fully insert the blades.
1. Connect the tip of the supplied AC adapter to the DC 12V jack.
2. Plug the AC adapter into your wall outlet.
5