Connections & Setup
VCR Basics
Now that you’ve finished the initial setup, you can watch TV or start using the VCR part of your product.
Playing a Tape
1.Insert a tape in the VCR (the VCR turns on automatically and the VCR indicator lights on the front panel).
If the safety tab on the videotape is removed, the tape automatically begins playback.
2.Press the VCR button on the remote to put the remote in VCR mode.
•Press FORWARD or REVERSE on the remote to advance the tape forwards or backwards respectively.
•Press PLAY (if necessary) to begin playing the tape.
• Press PAUSE for stop action.
•Press TRACK + or - on the remote to remove any streaks from the picture, if necessary.
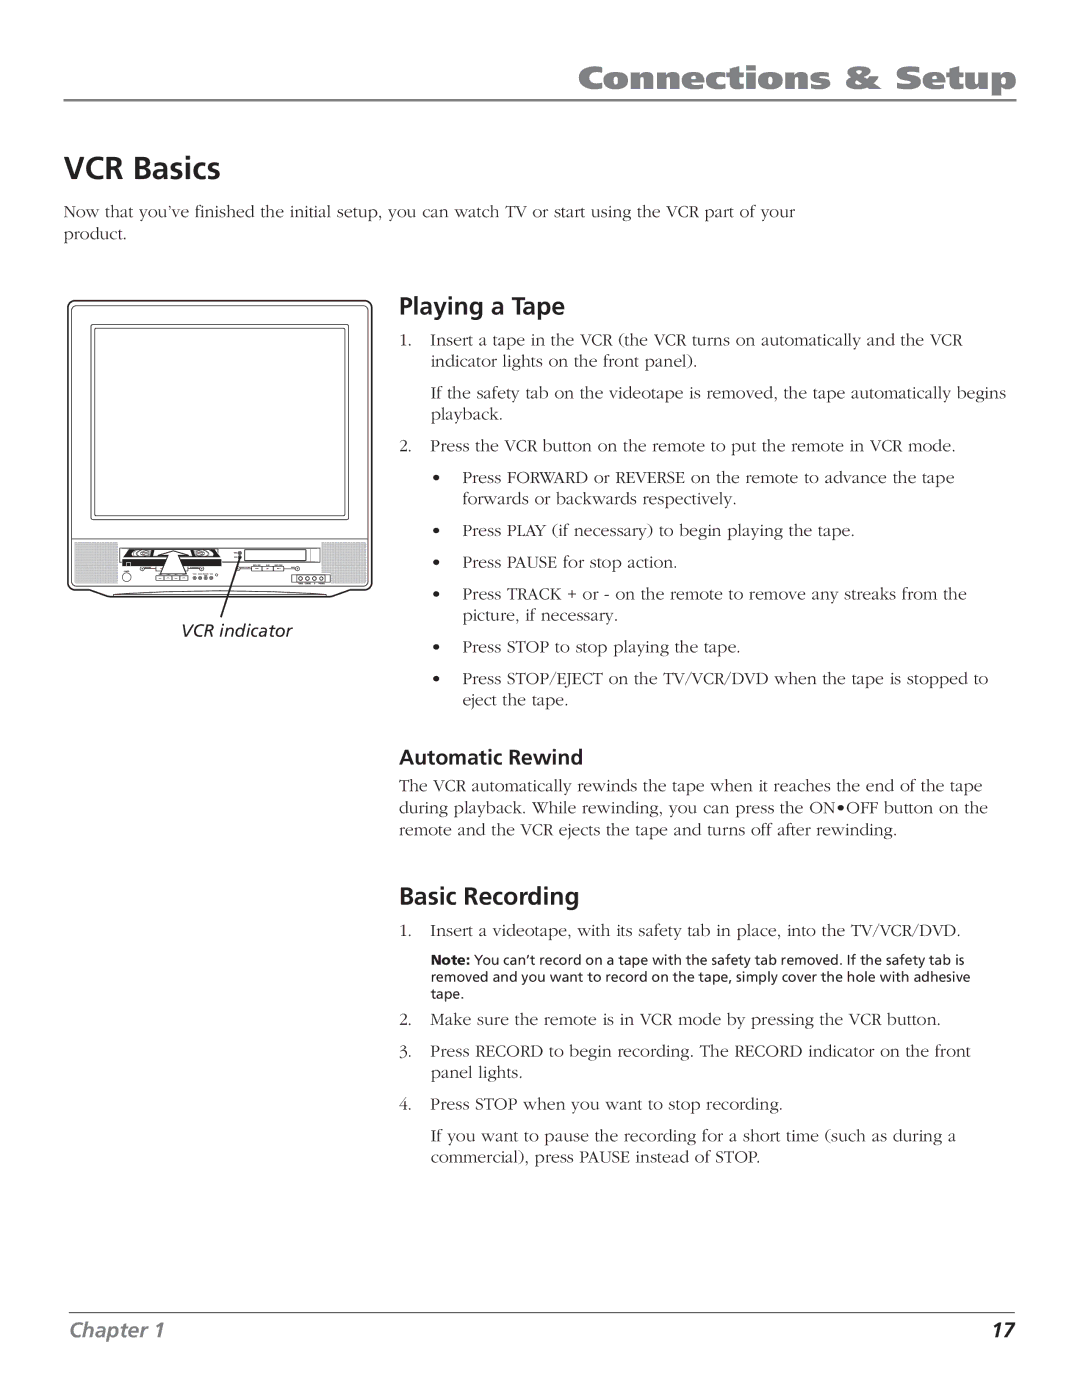
VCR indicator
•Press STOP to stop playing the tape.
•Press STOP/EJECT on the TV/VCR/DVD when the tape is stopped to eject the tape.
Automatic Rewind
The VCR automatically rewinds the tape when it reaches the end of the tape during playback. While rewinding, you can press the ON•OFF button on the remote and the VCR ejects the tape and turns off after rewinding.
Basic Recording
1.Insert a videotape, with its safety tab in place, into the TV/VCR/DVD.
Note: You can’t record on a tape with the safety tab removed. If the safety tab is removed and you want to record on the tape, simply cover the hole with adhesive tape.
2.Make sure the remote is in VCR mode by pressing the VCR button.
3.Press RECORD to begin recording. The RECORD indicator on the front panel lights.
4.Press STOP when you want to stop recording.
If you want to pause the recording for a short time (such as during a commercial), press PAUSE instead of STOP.
Chapter 1 | 17 |