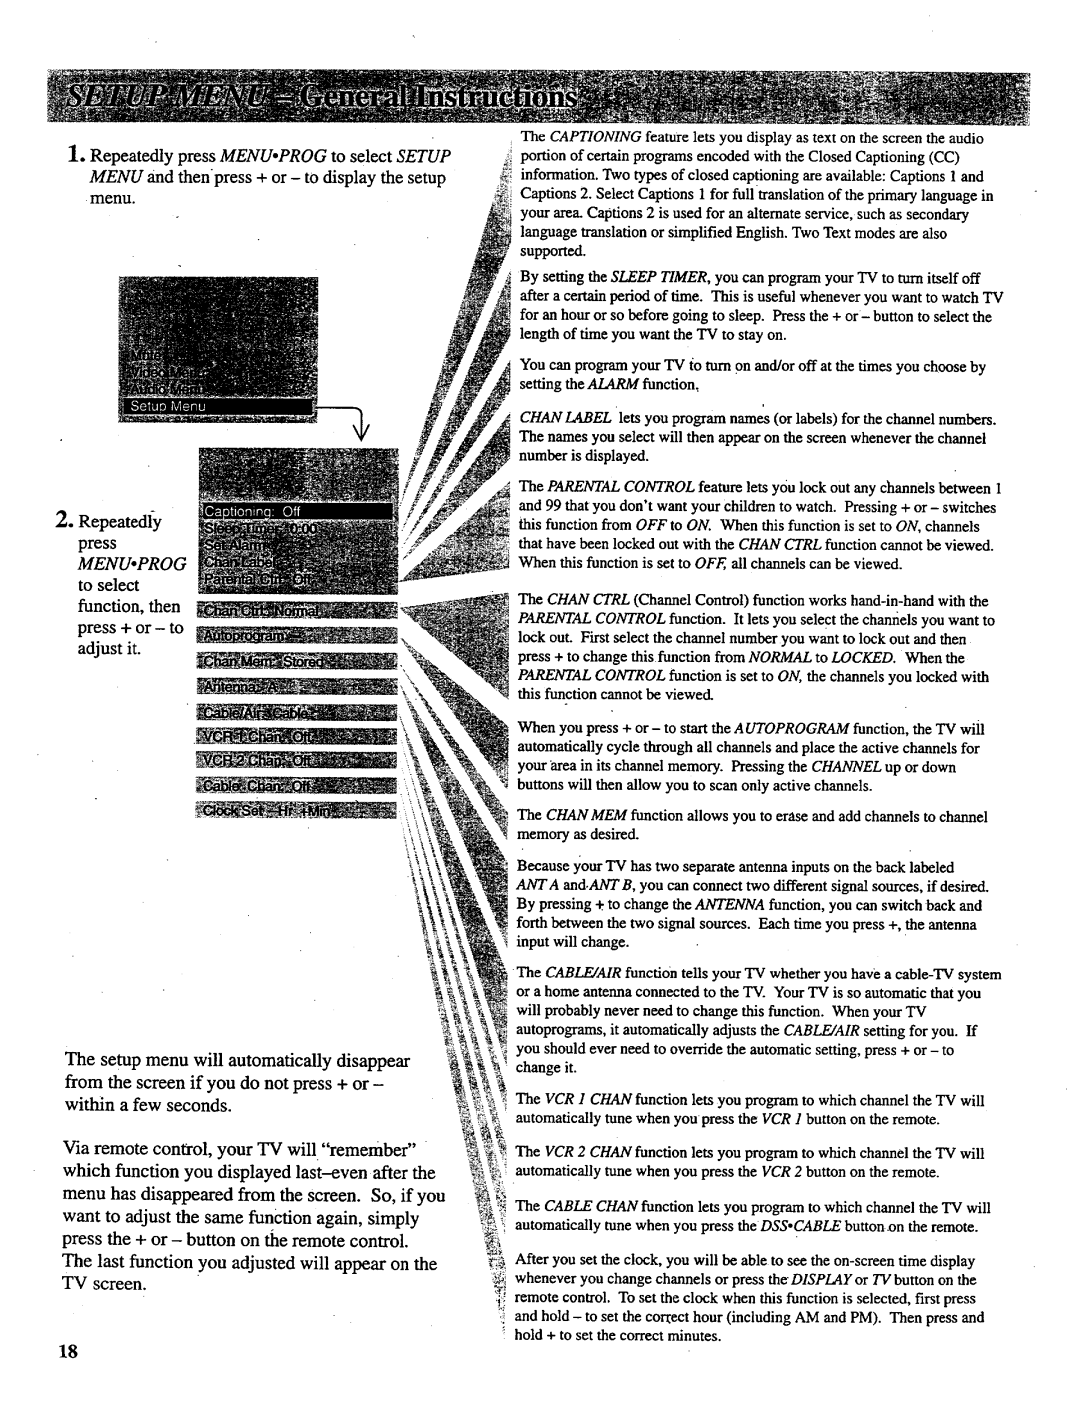
1° Repeatedly press MENUopROG to select SETUP MENU and thenpress + or - to display the setup menu.
2.Repeatedly
press MENUopROG to select function, then
press + or - to adjust it.
The setup menu will automatically disappear
from the screen if you do not press + or - within a few seconds.
Via remote control, your TV will "remember" which function you displayed
The last function you adjusted will appear on the TV screen.
The CAPTIONING feature lets you display as text on the screen the audio portion of certain programs encoded with the Closed Captioning (CC) information. Two types of closed captioning are available: Captions 1 and Captions 2. Select Captions 1 for full translation of the primary language in your area. Captions 2 is used for an alternate service, such as secondary language translation or simplified English. Two Text modes are also supportS.
By setting the SLEEP TIMER, you can program your TV to turn itself off after a certain period of time. This is useful whenever you want to watch TV for an hour or so before going to sleep. Press the + or- button to select the length of time you want the TV to stay on.
You can program your TV io turn on and/or off at the times you choose by setting the MARk/function:
CHANLABEL lets you program nam£s (or labels) for the channel numbers. The names you select will then appear on the screen whenever the channel number is displayed.
The PARENTAL CONTROL feature lets you lock out any channels between I
and 99 that you don't want your children to watch. Pressing + or - switches this function from OFF to ON. When this function is set to ON, channels
that have been locked out with the CHAN CTRL function cannot be viewed. When this function is set to OFF, all channels can be viewed.
The CHAN CTRL (Channel Control) function works
PARENTAL CONTROL function is set to ON, the channels you locked with this function cannot be viewed.
When you press + or- to start the AUTOPROGRAM function, the TV wil! automatically cycle through all channels and place the active channels for your area in its channel memory. Pressing the CHANNEL up or down buttons will then allow you to scan only active channels.
The CHANMEM function allows you to erase and add channels to channel memory as desired.
Because your TV has two separate antenna inputs on the back labeled ANTA and.ANTB, you can connect two different signal sources, if desired. By pressing +.to change the ANTENNA function, you can switch back and forth between the two signal sources. Each time you press +, the antenna input will change.
The CABLE/MR function tells your TV whether you have a
The VCR 1 CHAN function lets you program to which channel the TV will automatically tune when you press the VCR 1 button on the remote.
The VCR 2 CHAN function lets you program to which channel the TV will automatically tune when you press the VCR 2 button on the remote.
The CABLE CHAN function lets you program to which channel the TV will automatically tune when you press the DSS.CABLE button.on the remote.
_), After you set the clock, you will be able to see the
;_ remote control. To set the clock when this function is selected, first press ,_ and hold - to set the correct hour (including AM and PM). Then press and ! hold + to set the correct minutes.
18
