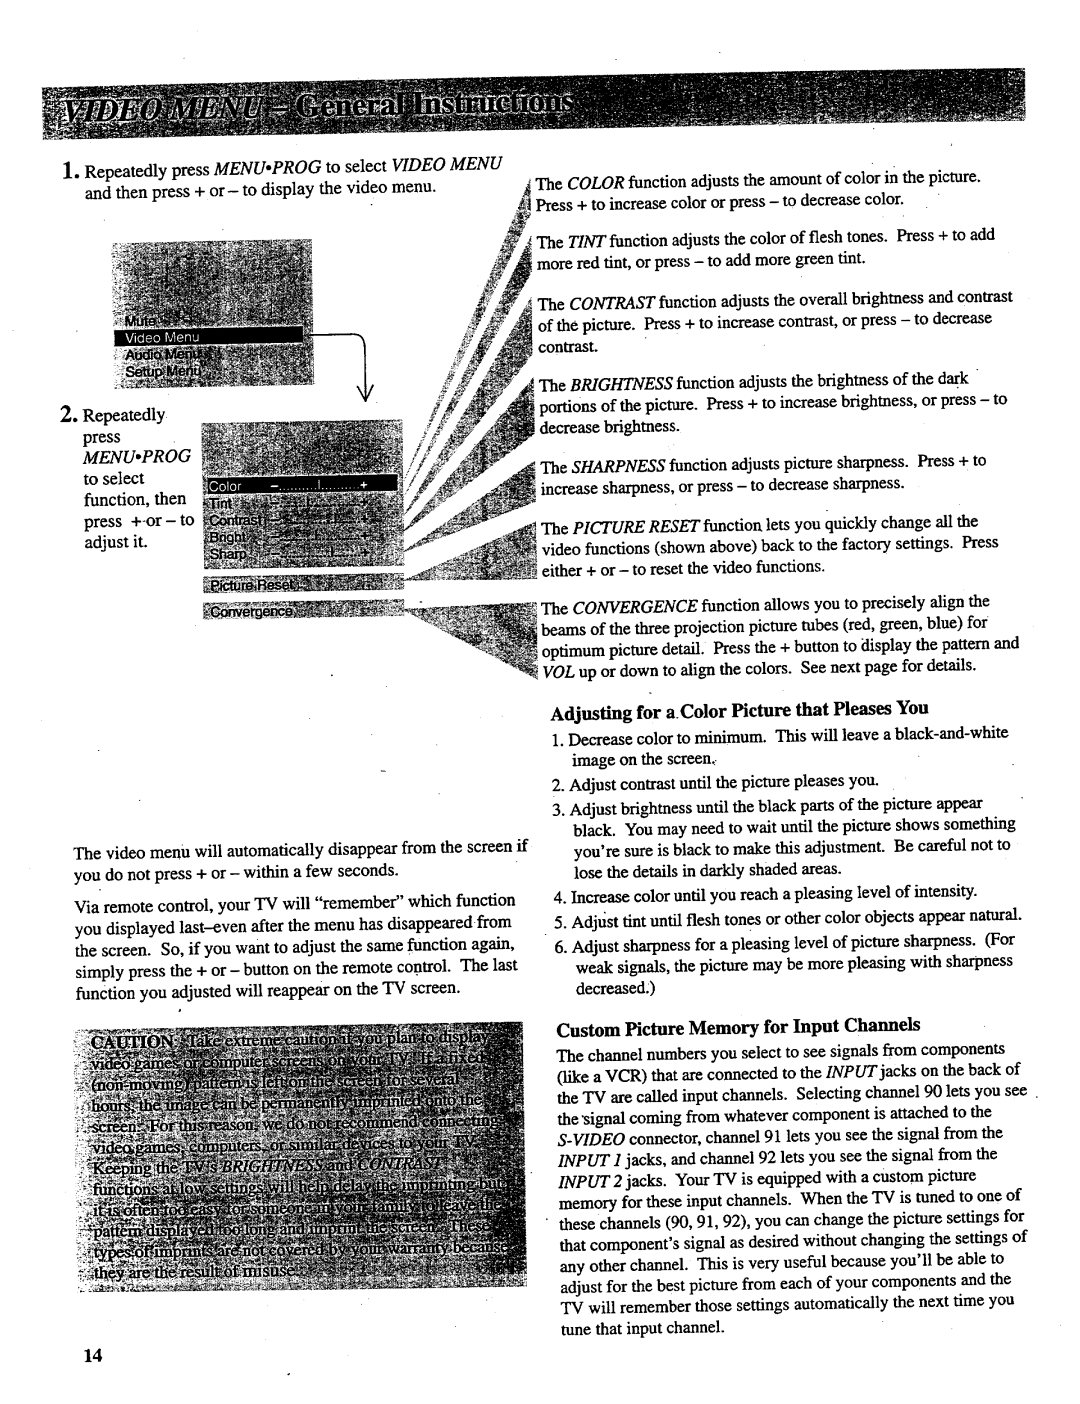
1.RepeatedlypressMENUopROG to select VIDEO MENU
and then | press + or- to display the video menu. | The COLOR function adjusts the amount | of color in the picture. | |||||
|
|
| Press + to increase color or press - to decrease color. |
| ||||
|
|
| The TINT function adjusts the color of flesh tones. Press + to add | |||||
|
|
| more red tint, or press - to add more green tint. |
| ||||
|
|
| The CONTRAST function adjusts the overall brightness and contrast | |||||
|
|
| of the picture. Press + to increase contrast, or press - to decrease | |||||
|
|
| contrast. |
|
|
|
|
|
2. Repeatedly |
| The BRIGHTNESS function adjusts the brightness of the dark | ||||||
| portions | of the picture. Press + to increase brightness, | or press - to | |||||
press |
|
| decrease | brightness. |
|
|
| |
MENU,PROG |
|
|
|
|
|
|
| |
to select |
|
| The SHARPNESS | function | adjusts picture | sharpness. | Press + to | |
function, | then |
| increase | sharpness, | or press | - to decrease | sharpness. |
|
press |
| The PICTURE RESET function lets you quickly change all the | ||||||
adjust it. |
|
| ||||||
|
|
|
|
|
|
|
| |
|
|
| video functions (shown above) back to the factory settings. Press | |||||
|
|
| either + or - to reset the video functions. |
|
| |||
|
|
| The CONVERGENCE function allows you to precisely align the | |||||
|
|
| beams of the three projection picture tubes (red, green, blue) for | |||||
|
|
| optimum picture detail. Press the + button to display the pattern and | |||||
| • | "_ | VOL up or down to align the colors. See next page for details. | |||||
The video menu will automatically disappear from the screen if you do not press + or- within a few seconds.
Via remote control, your TV will "remember" which function you displayed
Adjusting for a.Color Picture that Pleases You
1.Decrease color to minimum. This will leave a
2.Adjust contrast until the picture pleases you.
3.Adjust brightuess until the black parts of the picture appear black. You may need to wait until the picture shows something
you're sure is black to make this adjustment. Be careful not to lose the details in darkly shaded areas.
4.Increase color until you reach a pleasing level of intensity.
5.Adjust tint until flesh tones or other color objects appear natural.
6.Adjust sharpness for a pleasing level of picture sharpness. (For weak signals, the picture may be more pleasing with sharpness decreased)
Custom Picture Memory for Input Channels
The channel numbers you select to see signals from components (like a VCR) that are connected to the INPUT jacks on the back of the TV are called input channels. Selecting channel 90 lets you see the _ignal coming from whatever component is attached to the
14