INSTALLATION

5)Re-install the grate (reverse step 3).

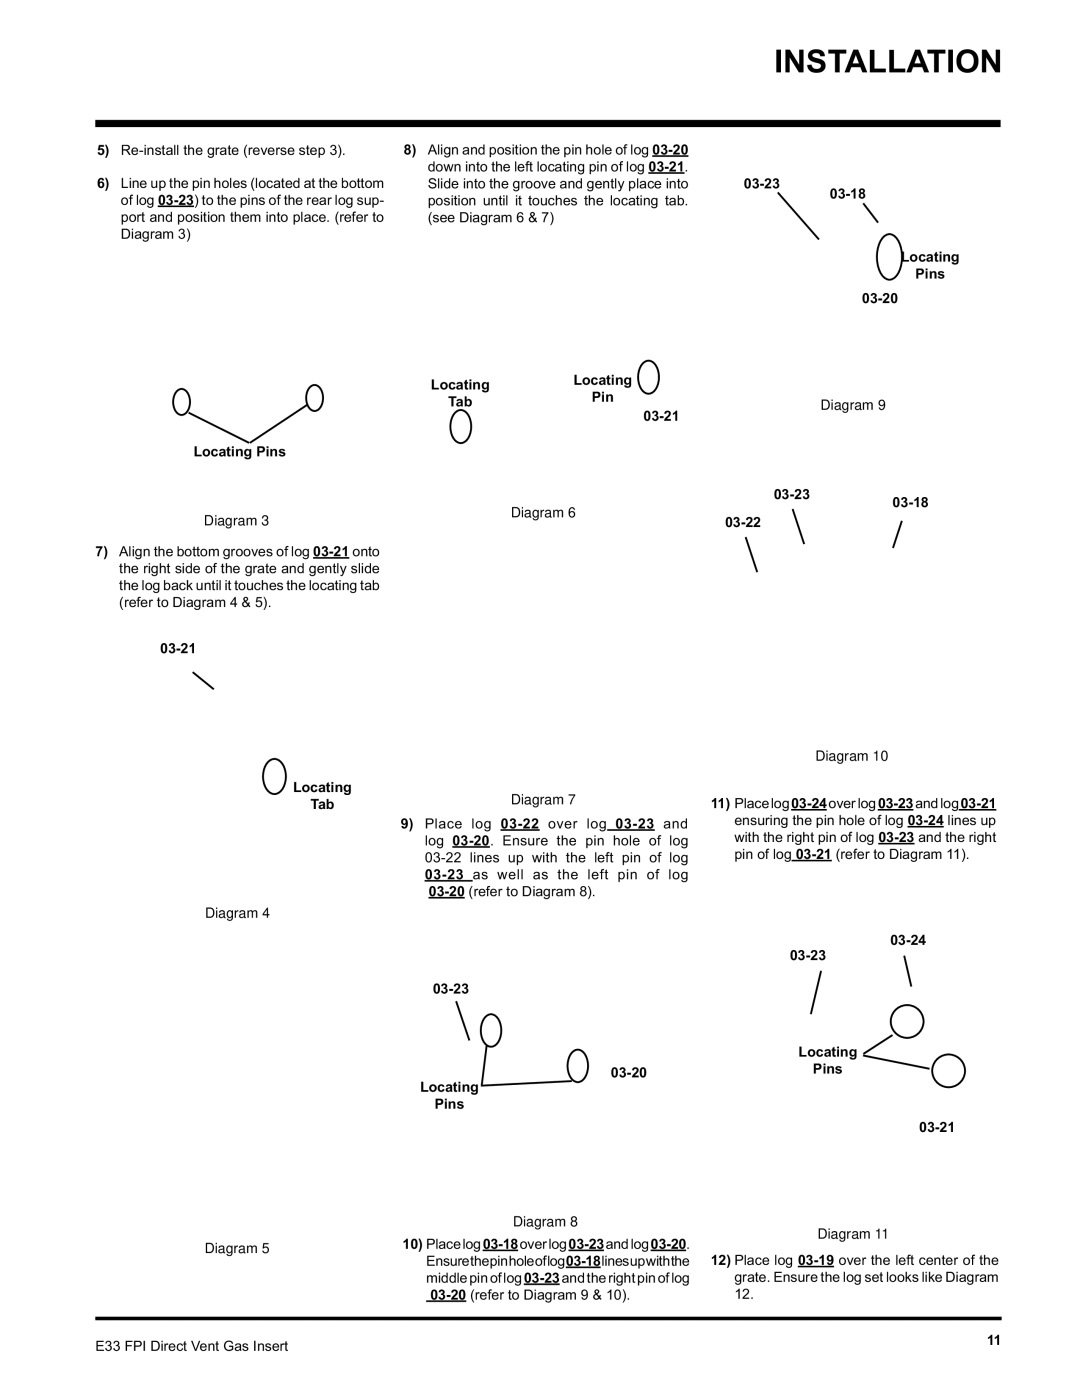
6)Line up the pin holes (located at the bottom of log 03-23) to the pins of the rear log sup- port and position them into place. (refer to Diagram 3)

03-23

Locating Pins

Diagram 3

7)Align the bottom grooves of log 03-21 onto the right side of the grate and gently slide the log back until it touches the locating tab (refer to Diagram 4 & 5).

03-21

8)Align and position the pin hole of log 03-20 down into the left locating pin of log 03-21.

Slide into the groove and gently place into

03-23

position until it touches the locating tab.

03-18


(see Diagram 6 & 7)

Locating

Pins


03-20


03-20


Locating

Locating


Pin


Tab

Diagram 9


03-21

03-23

03-18

Diagram 6


03-22


03-23

03-20 03-17

03-21

03-17

Locating

Tab

Diagram 4

03-23

03-21

03-17

Diagram 7

9)Place log 03-22 over log 03-23and log 03-20. Ensure the pin hole of log 03-22 lines up with the left pin of log 03-23 as well as the left pin of log 03-20 (refer to Diagram 8).

03-22

03-23

03-20

Locating

Pins

Diagram 10

11)Placelog03-24overlog03-23andlog03-21 ensuring the pin hole of log 03-24 lines up with the right pin of log 03-23 and the right pin of log 03-21(refer to Diagram 11).

03-24

03-23

Locating

Pins

03-21

Diagram 5

Diagram 8

Diagram 11

10)Placelog03-18overlog03-23andlog03-20.

Ensurethepinholeoflog03-18linesupwiththe 12) Place log 03-19 over the left center of the

middle pin of log 03-23 and the right pin of log

grate. Ensure the log set looks like Diagram

03-20(refer to Diagram 9 & 10).

12.


E33 FPI Direct Vent Gas Insert

11


Page 11
Image 11
Regency E33-LP, E33-NG 03-21, Locating Pins 03-20, 03-23 03-18, 03-22, Locating Tab, 03-23 03-20 Locating Pins