Optional Functions
C Check the image position on the trial or proof print.
![]()
![]() Note
Note
❒If the image position is not cor- rect, adjust it using the {Image Position} key (see p.18 “Shifting
2 | the Print Image Position For- |
wards or Backwards”) or by |
moving the position of the pa- per (see p.19 “Shifting the Print Image Position to the Right or Left”).
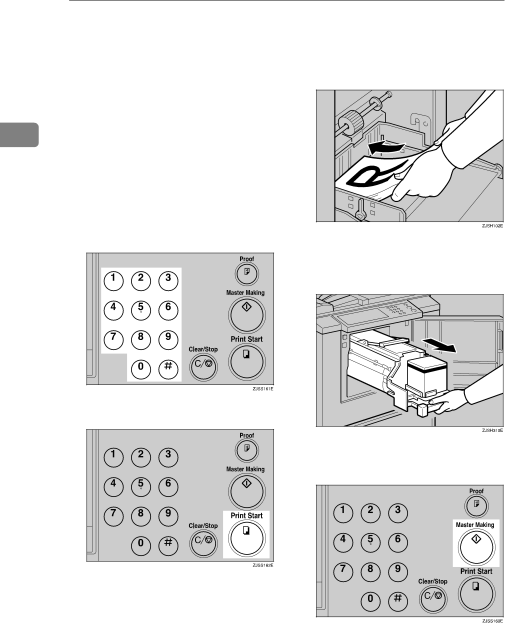
D Enter the number of prints with the number keys.
E Press the {Print Start} key.
F Remove the prints from the paper delivery tray and
G Change the drum unit. See p.34 “Changing the Colour Drum Unit”.
H Place the second original and press the {Master Making} key.
I Check the image position. J Press the {Print Start} key.
36
