Manuals
/
Ricoh
/
Computer Equipment
/
All in One Printer
Ricoh
JP730
manual
Models:
JP730
1
1
171
171
Download
171 pages
14.83 Kb
1
2
3
4
5
6
7
8
Troubleshooting
Specs
Combination Chart
Symbols
Indicators
Dimension
Access to Machine
How to
Master Roll Replacement
Safety
Page 1
Image 1
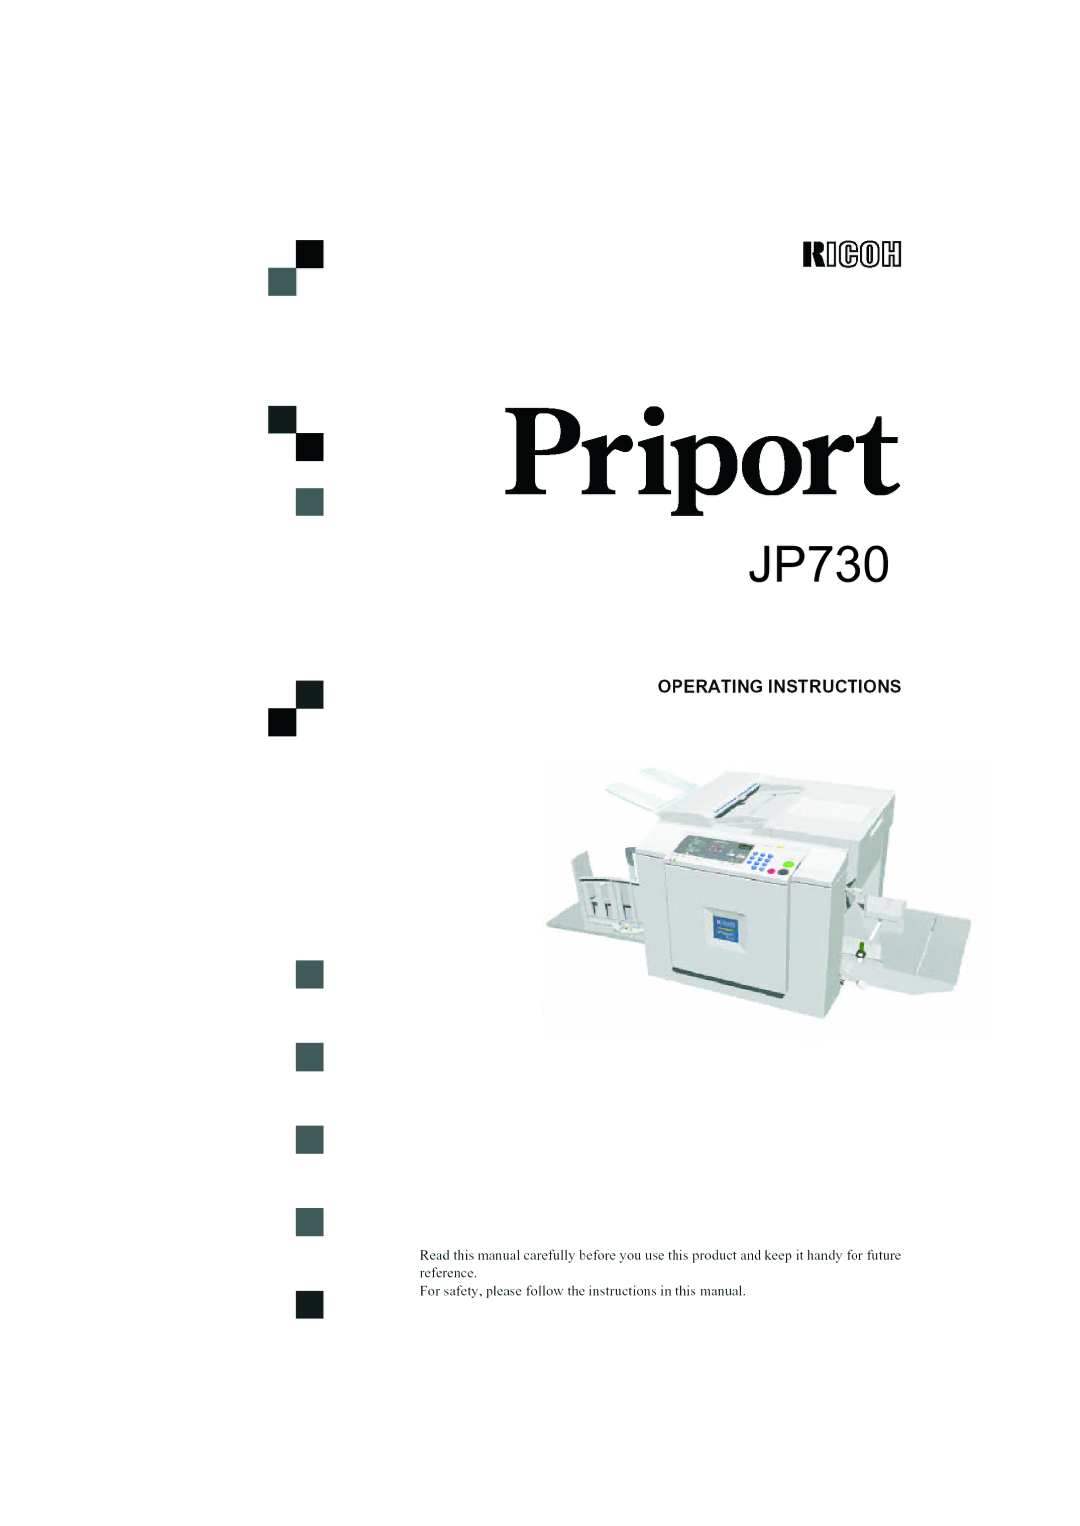
JP730
Page 1
Page 2
Page 1
Image 1
Page 1
Page 2
Contents
JP730
Page
Introduction
Means Power ON. b means Power OFF
Table of Contents
Specifications
Safety During Operation
Safety Information
Page
Symbols
How to Read this Manual
What You Can Do with this Machine
Making Colour Prints
Combining Originals onto One Print
Printing in Two Colours
Feed roller pressure lever
Machine Exterior
Machine Interior
Keys
Control Panel
Magnification indicators
Indicators
Page
Printing Paper
Operation
Originals
Loading Paper
Printing Preparations
Preparing the Paper Delivery Tray
Printing
Standard Printing
Enter the number of prints re- quired with the number keys
After Printing
Shifting the Image Position Forwards or Backwards
Adjusting the Print Image Position
Shifting the Image Position to the Right or Left
Shifting the Print Image Position Forwards or Backwards
Shifting the image to the right
Shifting the Print Image Position to the Right or Left
Shifting the image to the left
Before Making a Master
Adjusting the Print Image Density
After Making a Master
Before Making a Master
Press the Speed key to select the printing speed
Changing the Printing Speed
Stopping the Machine during the Multi-print Run
Reduction Inch version
Reduction Metric version
Enlargement Inch version
Enlargement Metric version
Feed Roller Pressure Lever
Printing on Different Types of Paper Thickness
Posi Metric Inch version Tion Version
Separation Pressure Lever
Letter mode
Photo mode
Selecting Original Type
Auto Cycle-Processing a Master and Making Prints in One Step
Metric version
Combine-Combining Two Originals onto One Print
Inch version
Press the Master Making key
Combine-Combining Two Originals onto One Print
Operation
Making Colour Prints
Colour Printing Using the Optional Colour Drum
Changing the Colour Drum Unit
Printing in Two Colours
Check the image position on the trial or proof print
Replenishing Paper
Loading Paper into the Paper Feed Tray
Changing the Paper Size
When the Add Ink Indicator j Lights
Remove the cap of the new ink cartridge
Set the paper edge of the master roll as shown
Master Roll Replacement
Close the right side cover
If Your Machine does not Operate as You Want
Troubleshooting
When the supply/exchange indicators light up
When the open cover/unit indicator M lights up
Clearing Misfeeds
To prevent original misfeeds
When x and P light up
When x, B and a light up
To prevent paper misfeeds
When x and B light up
When you use curled paper, correct the curl as shown
When x and C light up
To prevent paper misfeeds
When x and D light up
When a master misfeed occurs in the master eject section
When x and E light up
When a master misfeed occurs on the drum
Right Side Cover
When the Open Cover/Unit Indicator M Lights
Front Door
Drum Unit
Take out the master eject box and remove the used masters
When the Master Eject Indicator k Lights
Dirt on the Back Side of Paper
Poor Printing
See p.34 Changing the Colour Drum Unitfor the details
Dirt on the Front Side of Paper Black Line/Stain
White Prints or Incomplete Prints
Remove paper that is stuck to the drum
General Cautions
Operation Notes
Remarks
Originals
Print Paper
Environmental Conditions
Where to Put Your Machine
Optimum environmental conditions
Environments to avoid
Access to Machine
Power Connection
Main Frame
Document Feeder
Maintaining Your Machine
Paper Feed Roller paper feed tray
Combination Chart
Remarks
Main Frame
Image Position Adjustment
Print Paper Weight
Dimensions W ⋅ D ⋅ H
Weight
Power Consumption
Power Source
Noise Emission *1
Optional Equipment
Name Size Remarks
Consumables
Index
Type of Original key
Memo
GB GB AE AE
Operating Instructions
Page
Color Printing Using the Optional Color Drum
Replenishing Supplies
Safety Information
Page
How to Read this Manual
What You Can Do with this Machine
Printing in Two Colors
Making Color Prints
Machine Exterior
Machine Interior
Image Densitykey
Indicators
Page
Operation
Originals
Correct the paper curl before
Preparing the Paper Delivery Tray
Standard Printing
Press the Print Startkey
After Printing
Adjust the image position using the Image Positionkeys
Shift the paper towards the back of the machine
Adjusting the Print Image Density
Press the Speedkey to select the printing speed
Stopping the Machine during the Multi- print Run
Indicator Origi Print Reduc Nal Size Tion Ratio
Enlargement Inch version
Metric version Inch version
Posi Metric version Inch version Tion
Letter/Photo mode
Auto Cycle-Processing a Master and Making Prints in One Step
51/2 ⋅ 81/2K
Press the Master Makingkey
Combine-Combining Two Originals onto One Print
Operation
Making Color Prints
Color Printing Using the Optional Color Drum
Changing the Color Drum Unit
Set the color drum unit on the guide rail
Printing in Two Colors
Optional Functions
Press the Clear/Stopkey
Changing the Paper Size
When the Add Ink Indicator j Lights
Insert the new cartridge into the ink holder
TSLT011E
Master Roll Replacement
Close the right side cover
Replenishing Supplies
Rcaution
When the open cover/unit indicator M lights up
Clearing Misfeeds
When x and P light up
To prevent original misfeeds
Pull out the drum unit Remove the misfed paper
To prevent paper misfeeds
When x and C light up
If you followed step B or C, close the front door
Troubleshooting
When x and D light up
When x and E light up
When a master misfeed occurs on the drum
When the Open Cover/Unit Indicator M Lights
Drum Unit
When the Master Eject Indicator k Lights
Poor Printing
See p.33 Changing the Color Drum Unitfor the details
Dirt on the Front Side of Paper Black Line/Stain
White Prints or Incomplete Prints
Remove the master from the drum
Close the front door
Remarks
Remarks
Print Paper
Where to Put Your Machine
Power Connection
Maintaining Your Machine
Combination Chart
Remarks
Image Density
Color Printing
Color Drum B4 drum LG drum
Consumables
Auto Cyclekey, 8
Type of Originalkey
Memo
EN USA
Top
Page
Image
Contents