OPERATION
TO USE THE MICRO-ADJUST FEATURE ON THE RIP FENCE
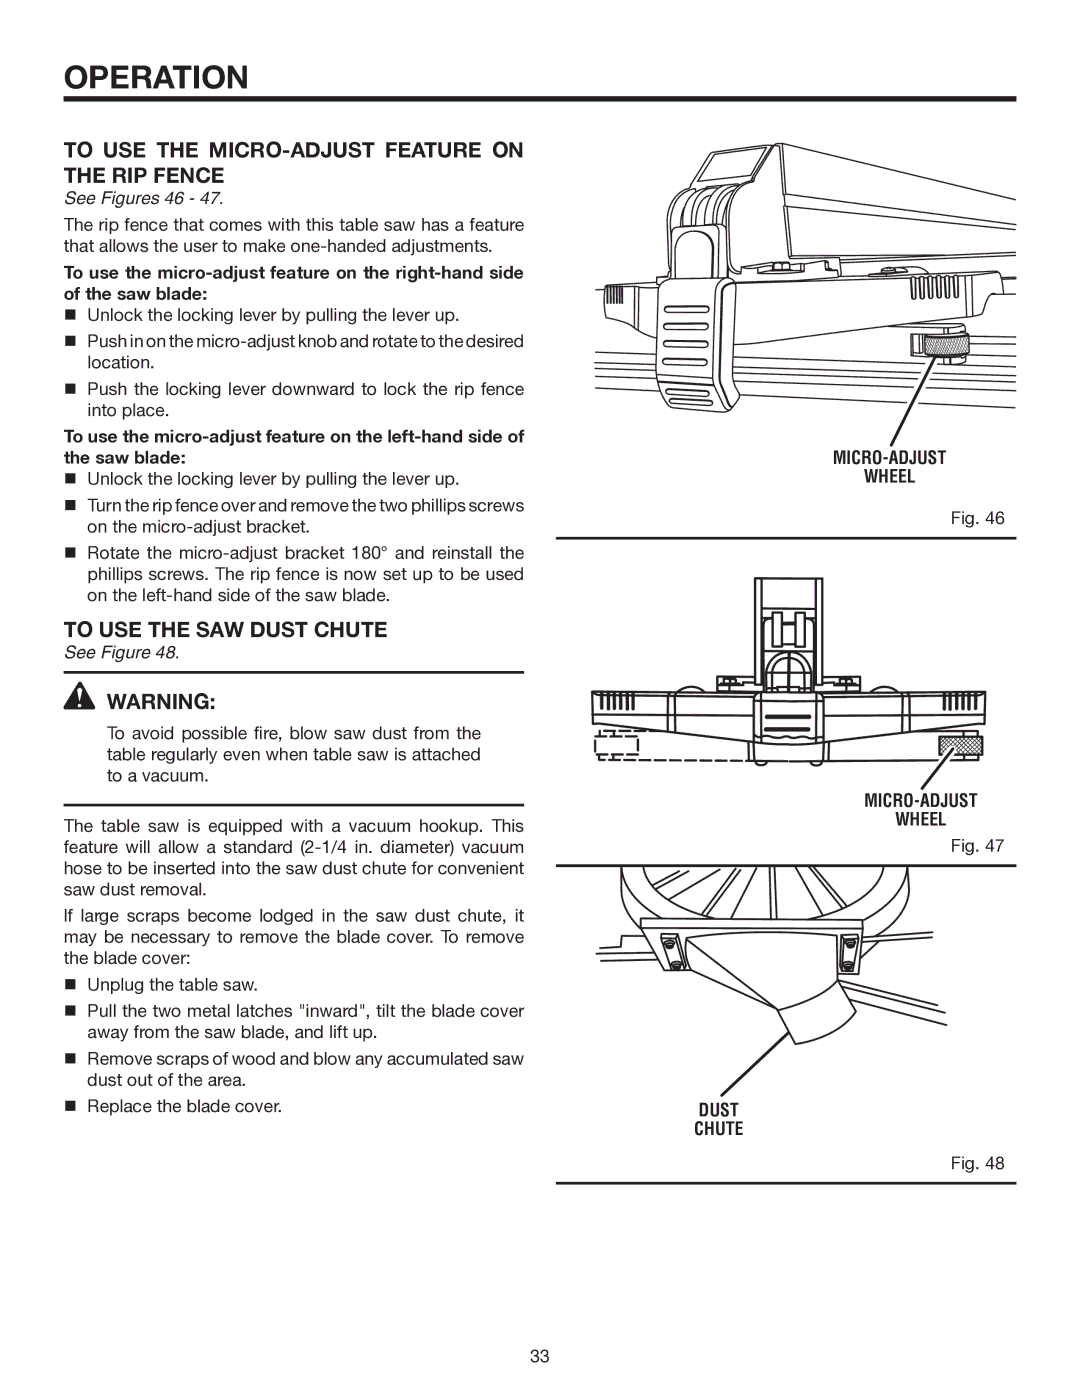
See Figures 46 - 47.
The rip fence that comes with this table saw has a feature that allows the user to make
To use the
Unlock the locking lever by pulling the lever up.
Push in on the
Push the locking lever downward to lock the rip fence into place.
To use the
Unlock the locking lever by pulling the lever up.
Turn the rip fence over and remove the two phillips screws on the
Rotate the
TO USE THE SAW DUST CHUTE
See Figure 48.
![]() WARNING:
WARNING:
To avoid possible fire, blow saw dust from the table regularly even when table saw is attached to a vacuum.
The table saw is equipped with a vacuum hookup. This feature will allow a standard
lf large scraps become lodged in the saw dust chute, it may be necessary to remove the blade cover. To remove the blade cover:
Unplug the table saw.
Pull the two metal latches "inward", tilt the blade cover away from the saw blade, and lift up.
Remove scraps of wood and blow any accumulated saw dust out of the area.
Replace the blade cover.
MICRO-ADJUST
WHEEL
Fig. 46
WHEEL
Fig. 47
DUST
CHUTE
Fig. 48
33