
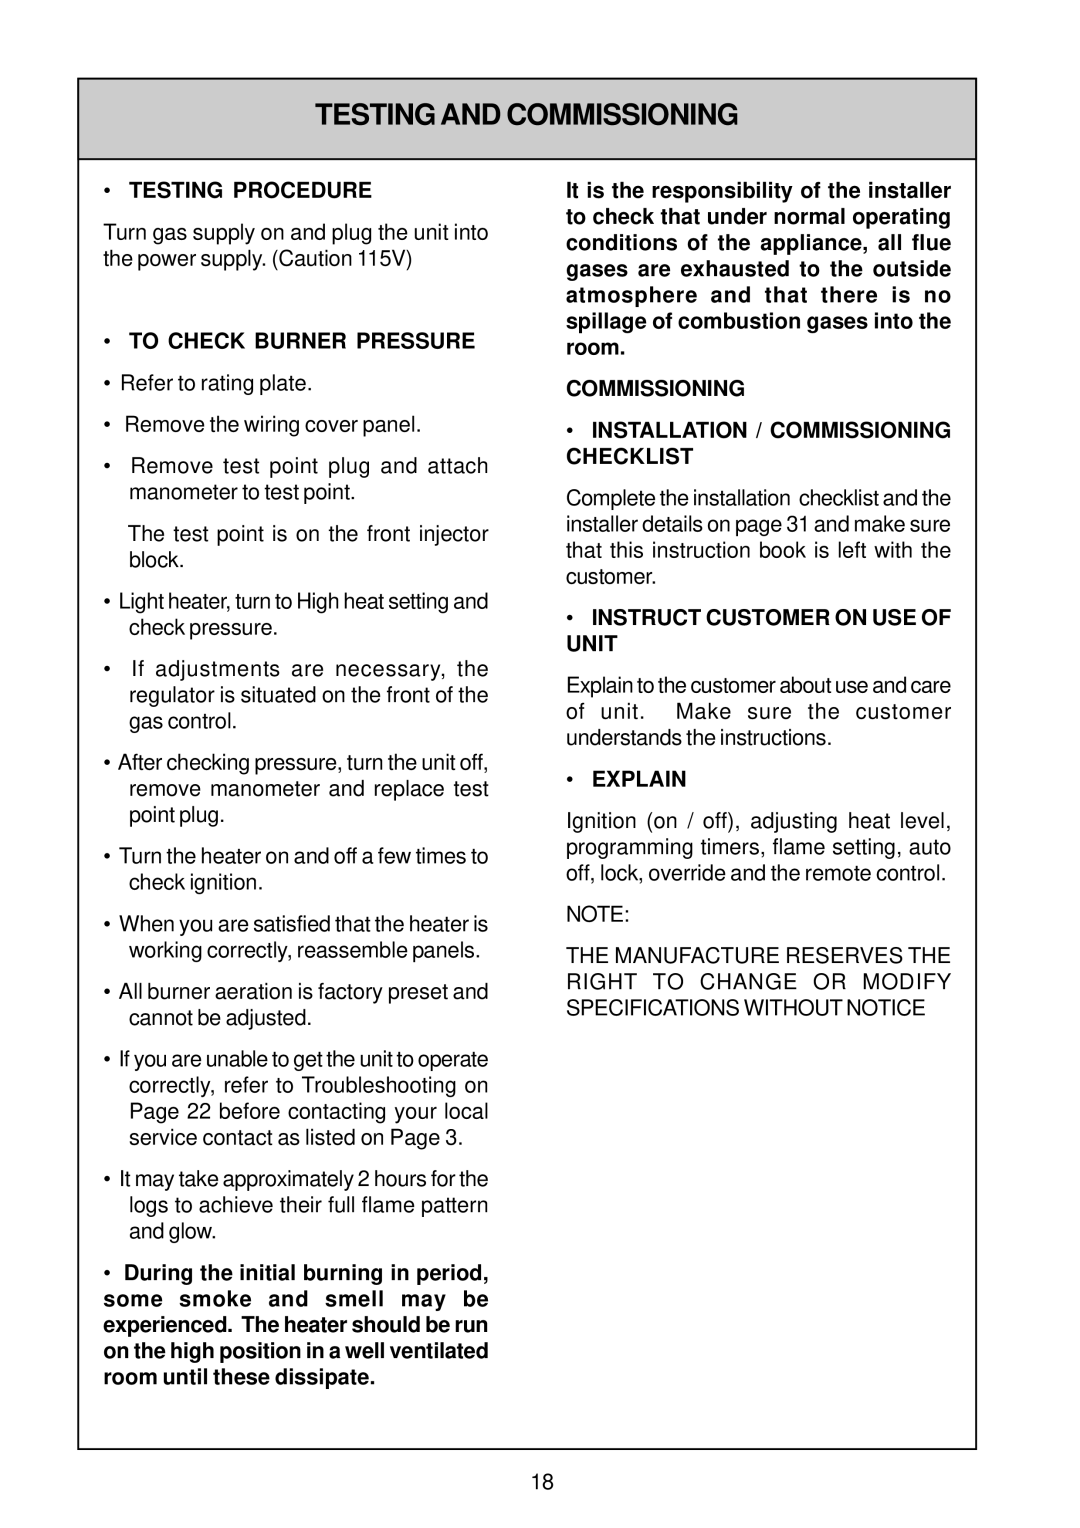
IB35ETRN, IB35ETRLC specifications
The Rinnai IB35ETRN and IB35ETRLC are advanced, energy-efficient heating solutions designed for residential and light commercial applications. These models belong to Rinnai's innovative range of condensing boilers, delivering exceptional performance while maximizing fuel efficiency.One of the primary features of the Rinnai IB35ETRN and IB35ETRLC is their compact design. Both models are engineered to fit seamlessly into a variety of spaces, making them ideal for homes where space is at a premium. Their sleek, modern aesthetic complements contemporary décor, providing a discreet heating solution that does not compromise on performance.
The IB35ETRN and IB35ETRLC utilize cutting-edge condensing technology, which captures and reuses exhaust gases to enhance efficiency. This feature allows the boilers to achieve an impressive annual fuel utilization efficiency (AFUE) rating, making them not only environmentally friendly but also cost-effective in terms of energy consumption. Homeowners can appreciate reduced utility bills while maintaining comfortable indoor temperatures.
Another significant characteristic of these models is their modulating heating capacity. Both units can adjust their output based on the heating demands of the space, ensuring optimal comfort without unnecessary energy waste. This modulation capability means that the units can operate efficiently even in varying weather conditions, providing reliable warmth throughout the year.
The Rinnai IB35ETRN and IB35ETRLC are also designed with user-friendly interfaces that allow for easy operation and monitoring. Features such as programmable thermostats enable homeowners to set desired temperatures for different times of the day, further enhancing energy savings. The intuitive control systems provide clear displays of performance metrics, making it simple to manage heating requirements.
Safety and reliability are paramount, and both models are equipped with several protective features, including overload protection and automatic shutoff in the event of an issue. This technology ensures the safety of the home and adds peace of mind for users.
In summary, the Rinnai IB35ETRN and IB35ETRLC are state-of-the-art heating solutions that combine efficiency, compact design, and advanced technology. With their impressive AFUE ratings and modulating heating capacities, these models are ideal for those seeking reliable, energy-efficient heating systems for their homes or light commercial spaces. Rinnai's commitment to quality and innovation positions these boilers as top choices in today's market.