Controls and Functions
1.HANDLES
Always use the handles when carrying the display. DO NOT touch or hold the screen face.
2.MAIN POWER SWITCH
Connects or disconnects the display panel from the AC power source.
3.DISPLAY STAND
Included with the Crystal Series LCD for
4.FRONT REMOTE CONTROL SENSOR
REAR REMOTE CONTROL SENSOR (not shown)
The Crystal Series LCD is equipped with two infrared (IR) sensors that receive signals from the remote control unit. The rear sensor is directly opposite the front sensor, on the back of the unit. It allows an IR “bug” to be attached to the rear of the panel (eliminating the need to wrap the wire around the frame) for a cleaner look.
5.STATUS LED
Lights orange to indicate that the Crystal Series LCD is in standby mode; Off during normal operation or if the main power switch is set to off.
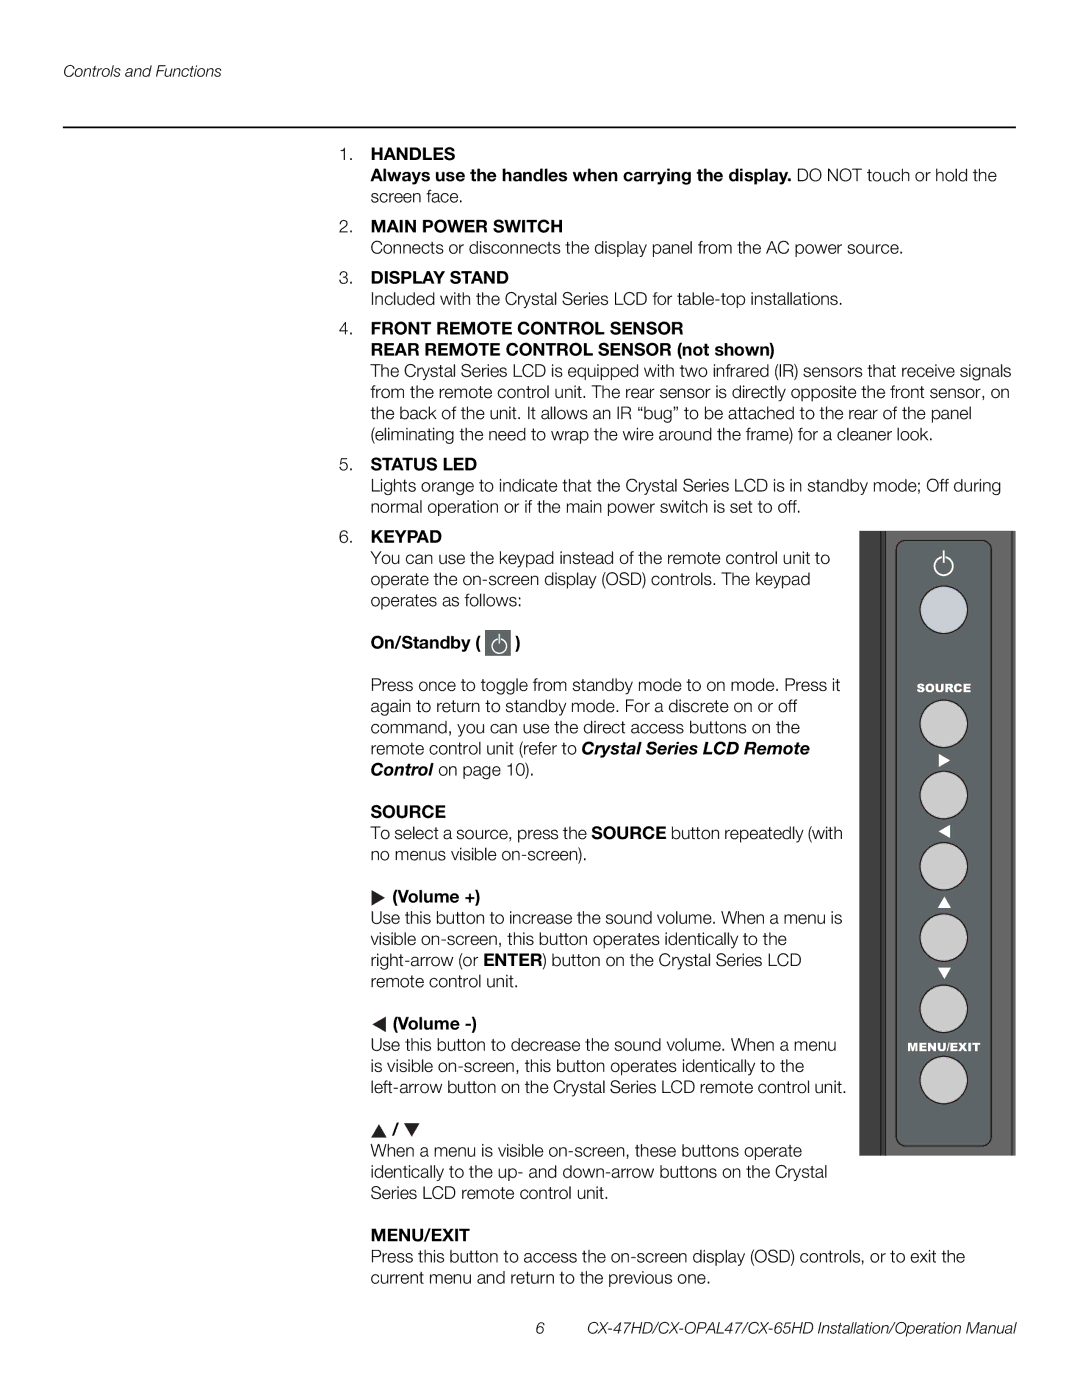
6.KEYPAD
You can use the keypad instead of the remote control unit to operate the
On/Standby (  )
)
Press once to toggle from standby mode to on mode. Press it again to return to standby mode. For a discrete on or off command, you can use the direct access buttons on the remote control unit (refer to Crystal Series LCD Remote Control on page 10).
SOURCE
To select a source, press the SOURCE button repeatedly (with no menus visible
 (Volume +)
Use this button to increase the sound volume. When a menu is visible
 (Volume
 -)
Use this button to decrease the sound volume. When a menu is visible
![]() /
/ ![]()
When a menu is visible
SOURCE
MENU/EXIT
MENU/EXIT
Press this button to access the
6