4. Operation
1.Turn on your source components.
2.Plug the female end of the supplied power cord into the AC receptacle on the side of the Crystal Series LCD (AC 100V ~ 240V). See Figure
3.Connect the other end to your AC power source.
4.Turn on the main power switch at the side of the display. The power indicator lights orange to indicate that the Crystal Series LCD is in “standby” mode.
4.1
Turning on the Power
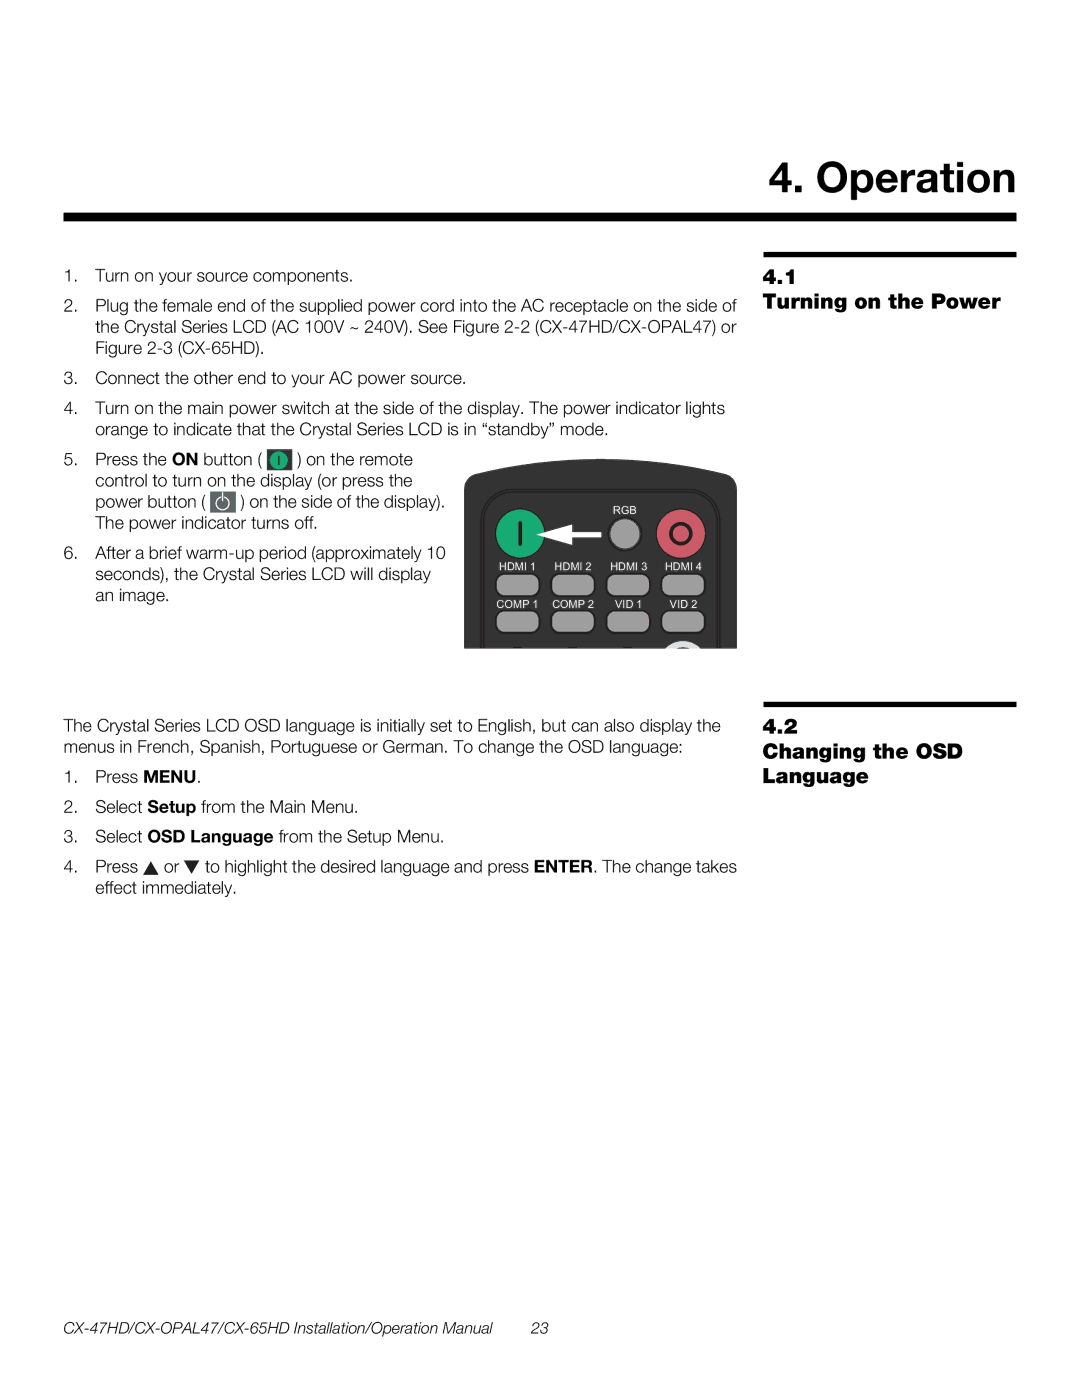
5.Press the ON button ( ![]() ) on the remote control to turn on the display (or press the
) on the remote control to turn on the display (or press the
power button ( ![]() ) on the side of the display). The power indicator turns off.
) on the side of the display). The power indicator turns off.
6.After a brief
|
| RGB |
|
HDMI 1 | HDMI 2 | HDMI 3 | HDMI 4 |
COMP 1 | COMP 2 | VID 1 | VID 2 |
The Crystal Series LCD OSD language is initially set to English, but can also display the menus in French, Spanish, Portuguese or German. To change the OSD language:
1.Press MENU.
2.Select Setup from the Main Menu.
3.Select OSD Language from the Setup Menu.
4.Press ![]() or
or ![]() to highlight the desired language and press ENTER. The change takes effect immediately.
to highlight the desired language and press ENTER. The change takes effect immediately.
4.2
Changing the OSD Language
23 |