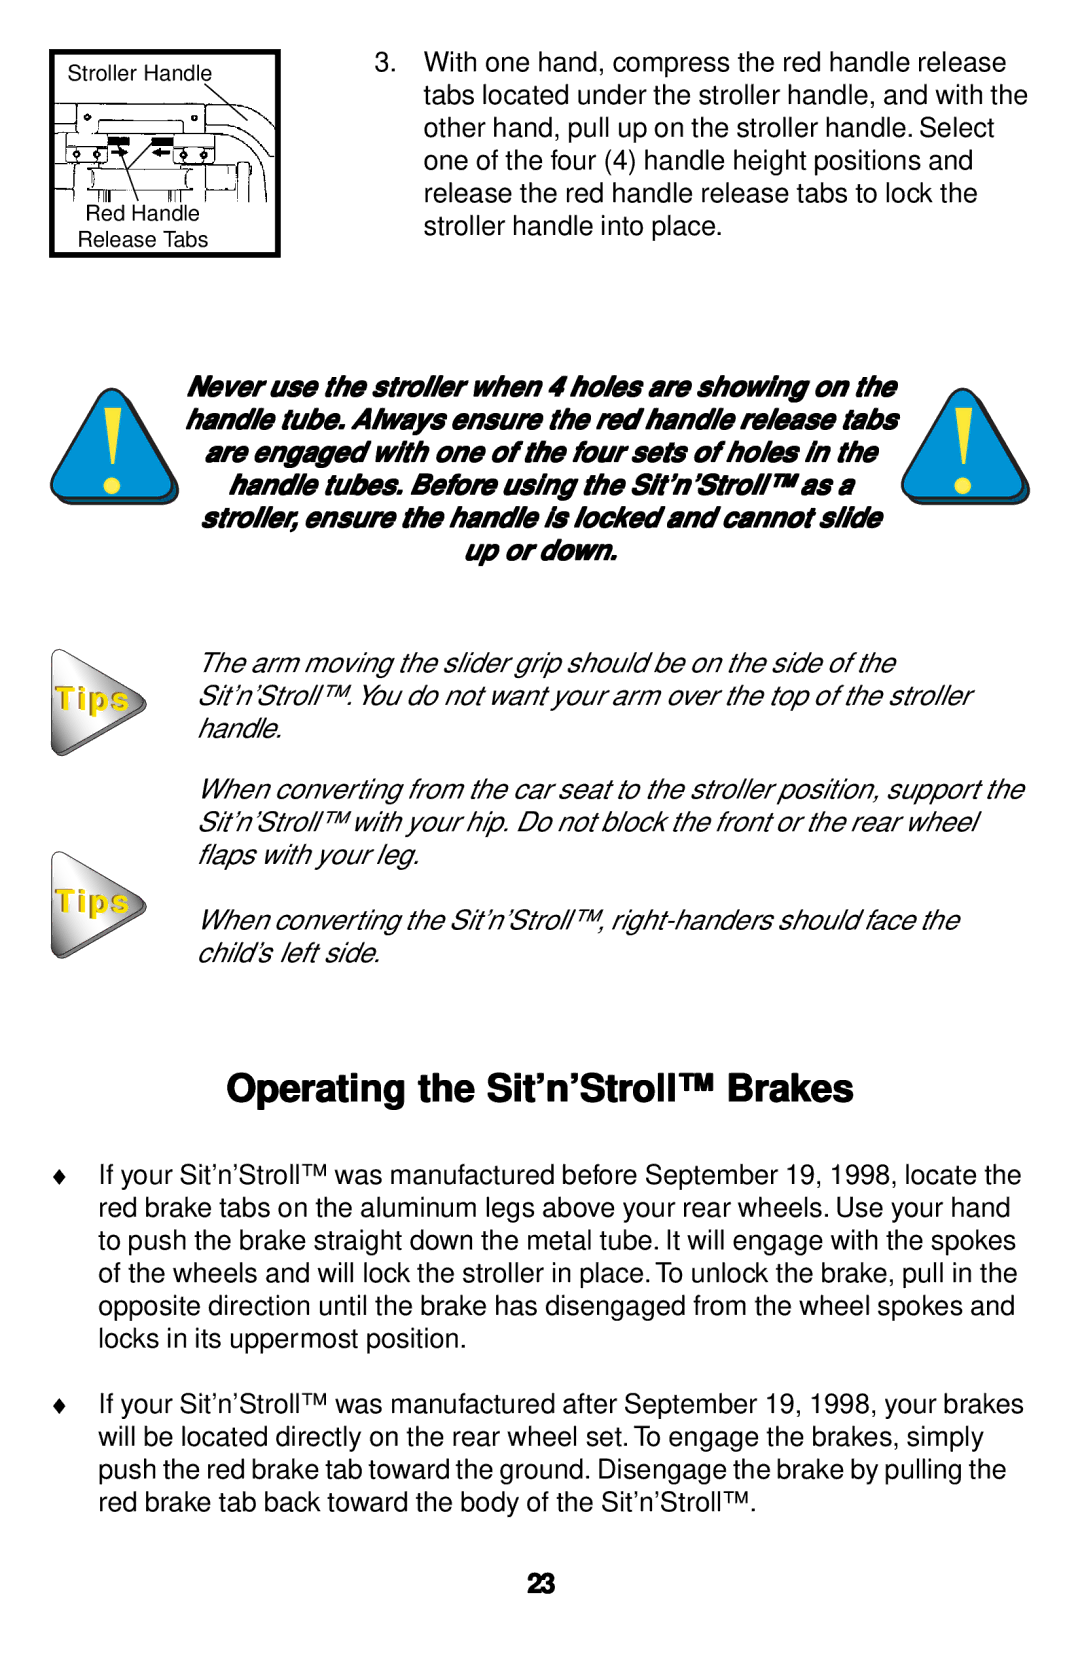
Stroller Handle
Red Handle
Release Tabs
3.With one hand, compress the red handle release tabs located under the stroller handle, and with the other hand, pull up on the stroller handle. Select one of the four (4) handle height positions and release the red handle release tabs to lock the stroller handle into place.
Tips
Tips
Never use the stroller when 4 holes are showing on the handle tube. Always ensure the red handle release tabs are engaged with one of the four sets of holes in the handle tubes. Before using the Sit’n’Stroll™ as a
stroller, ensure the handle is locked and cannot slide
up or down.
The arm moving the slider grip should be on the side of the Sit’n’Stroll™.You do not want your arm over the top of the stroller handle.
When converting from the car seat to the stroller position, support the Sit’n’Stroll™ with your hip. Do not block the front or the rear wheel flaps with your leg.
When converting the Sit’n’Stroll™,
Operating the Sit’n’Stroll™ Brakes
♦If your Sit’n’Stroll™ was manufactured before September 19, 1998, locate the red brake tabs on the aluminum legs above your rear wheels. Use your hand to push the brake straight down the metal tube. It will engage with the spokes of the wheels and will lock the stroller in place. To unlock the brake, pull in the opposite direction until the brake has disengaged from the wheel spokes and locks in its uppermost position.
♦If your Sit’n’Stroll™ was manufactured after September 19, 1998, your brakes will be located directly on the rear wheel set. To engage the brakes, simply push the red brake tab toward the ground. Disengage the brake by pulling the red brake tab back toward the body of the Sit’n’Stroll™.
23